For sales teams
Track Sales Deals
By the end you will have a Sales pipeline project holding your real deals as tasks across the Lead through Closed Won stages, connected to Claude Code, so you can ask your assistant what needs following up this week and get an answer read straight off the board.
01 : Before you start
A verified Agiflow account
Signing in lands you on /dashboard, not on a verification screen.
An existing organization
The sidebar top left shows a WORKSPACE module with your workspace name already in it.
Permission to create projects
The dashboard shows a + New project button at top right.
Permission to generate an API key
The connect modal shows a Generate API key button rather than a permission error.
macOS or Linux with zsh or bash
Run echo $SHELL. It should print a path ending in zsh or bash. Windows is not covered here.
Claude Code installed
Run claude --version. This tutorial was run against v2.1.240.
You will also need a folder to hold a config file (mkdir -p ~/agiflow-sales should succeed) and two real deals to enter: a company name, a contact name, a deal value, and the next action for each. This tutorial supplies two worked examples so you can follow along without your own data.
A brand-new account cannot sign in until its email is verified: finish signup first, then come back here. A brand-new organization also runs a short setup wizard before /dashboard is reachable. Both are out of scope for this tutorial, which starts once you already have a verified account and an existing organization.
02 : Create your pipeline project
Step 1 : Confirm your starting point
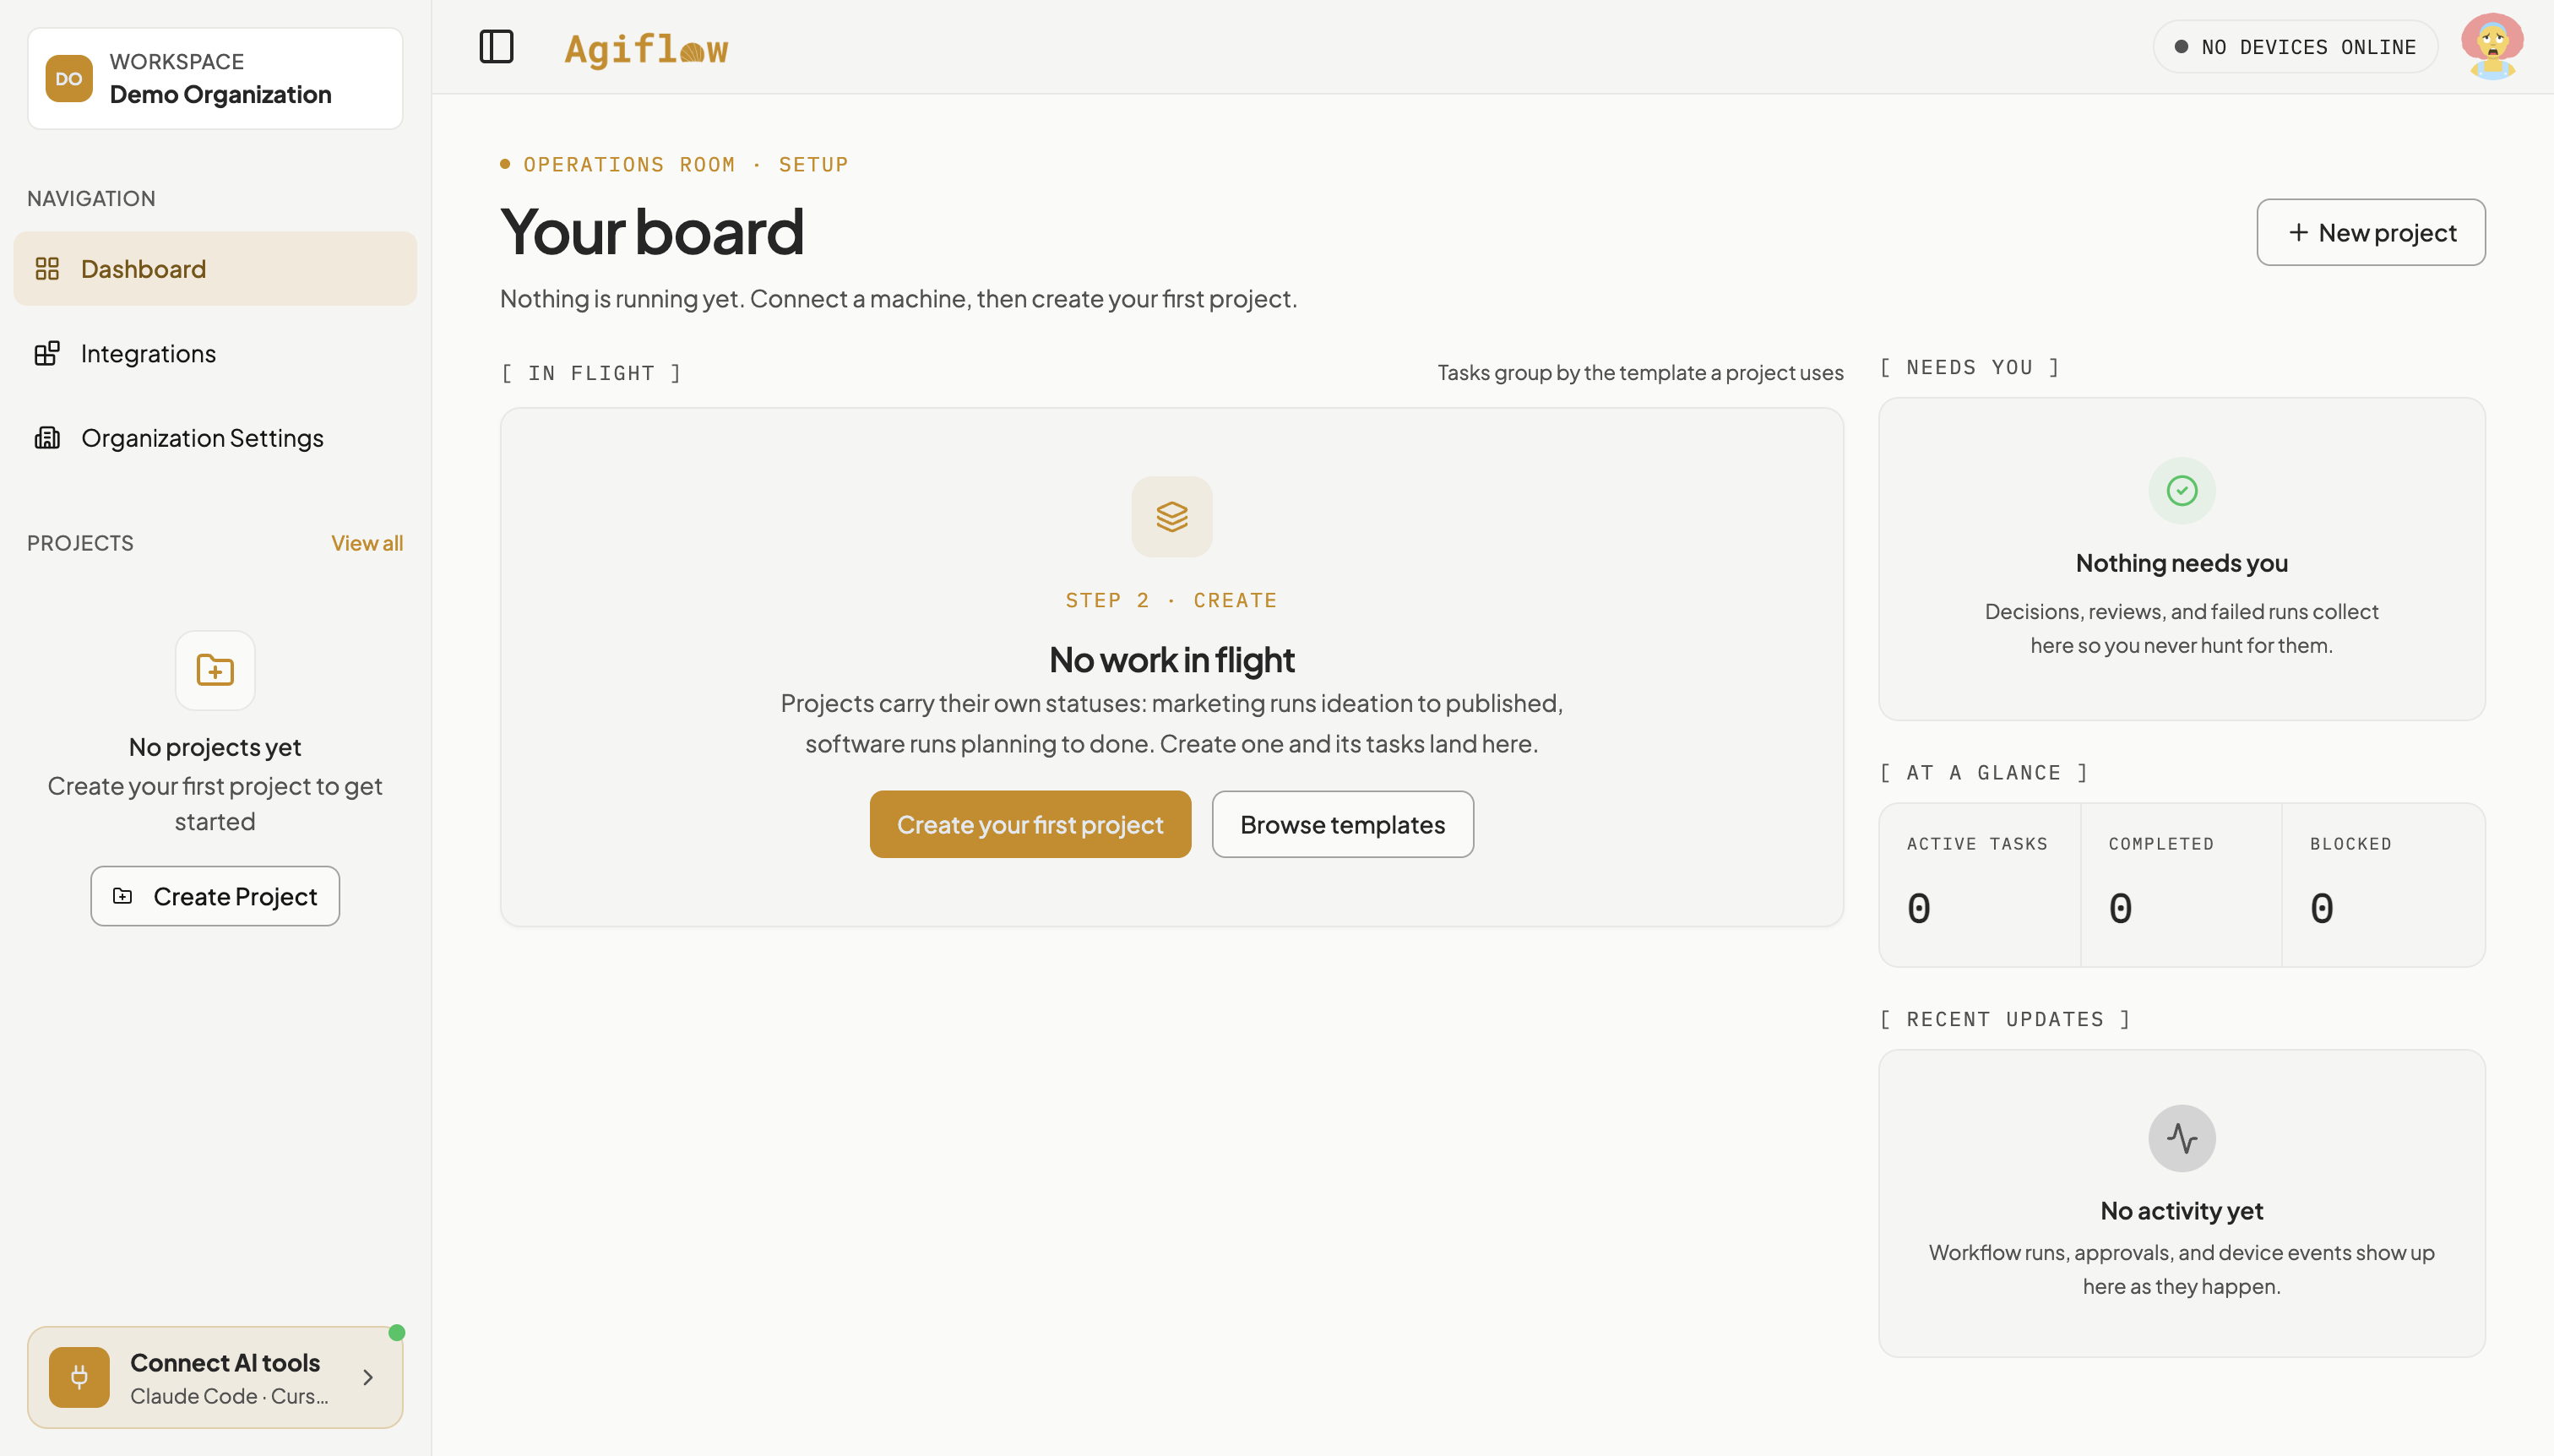
Open /dashboard and sign in. You should see the page heading “Your board” under an “OPERATIONS ROOM · SETUP” eyebrow, and the sidebar top left should show a WORKSPACE module with your workspace name in it. The organization name is not in the top header bar.
Step 2 : Create the pipeline from the Sales template
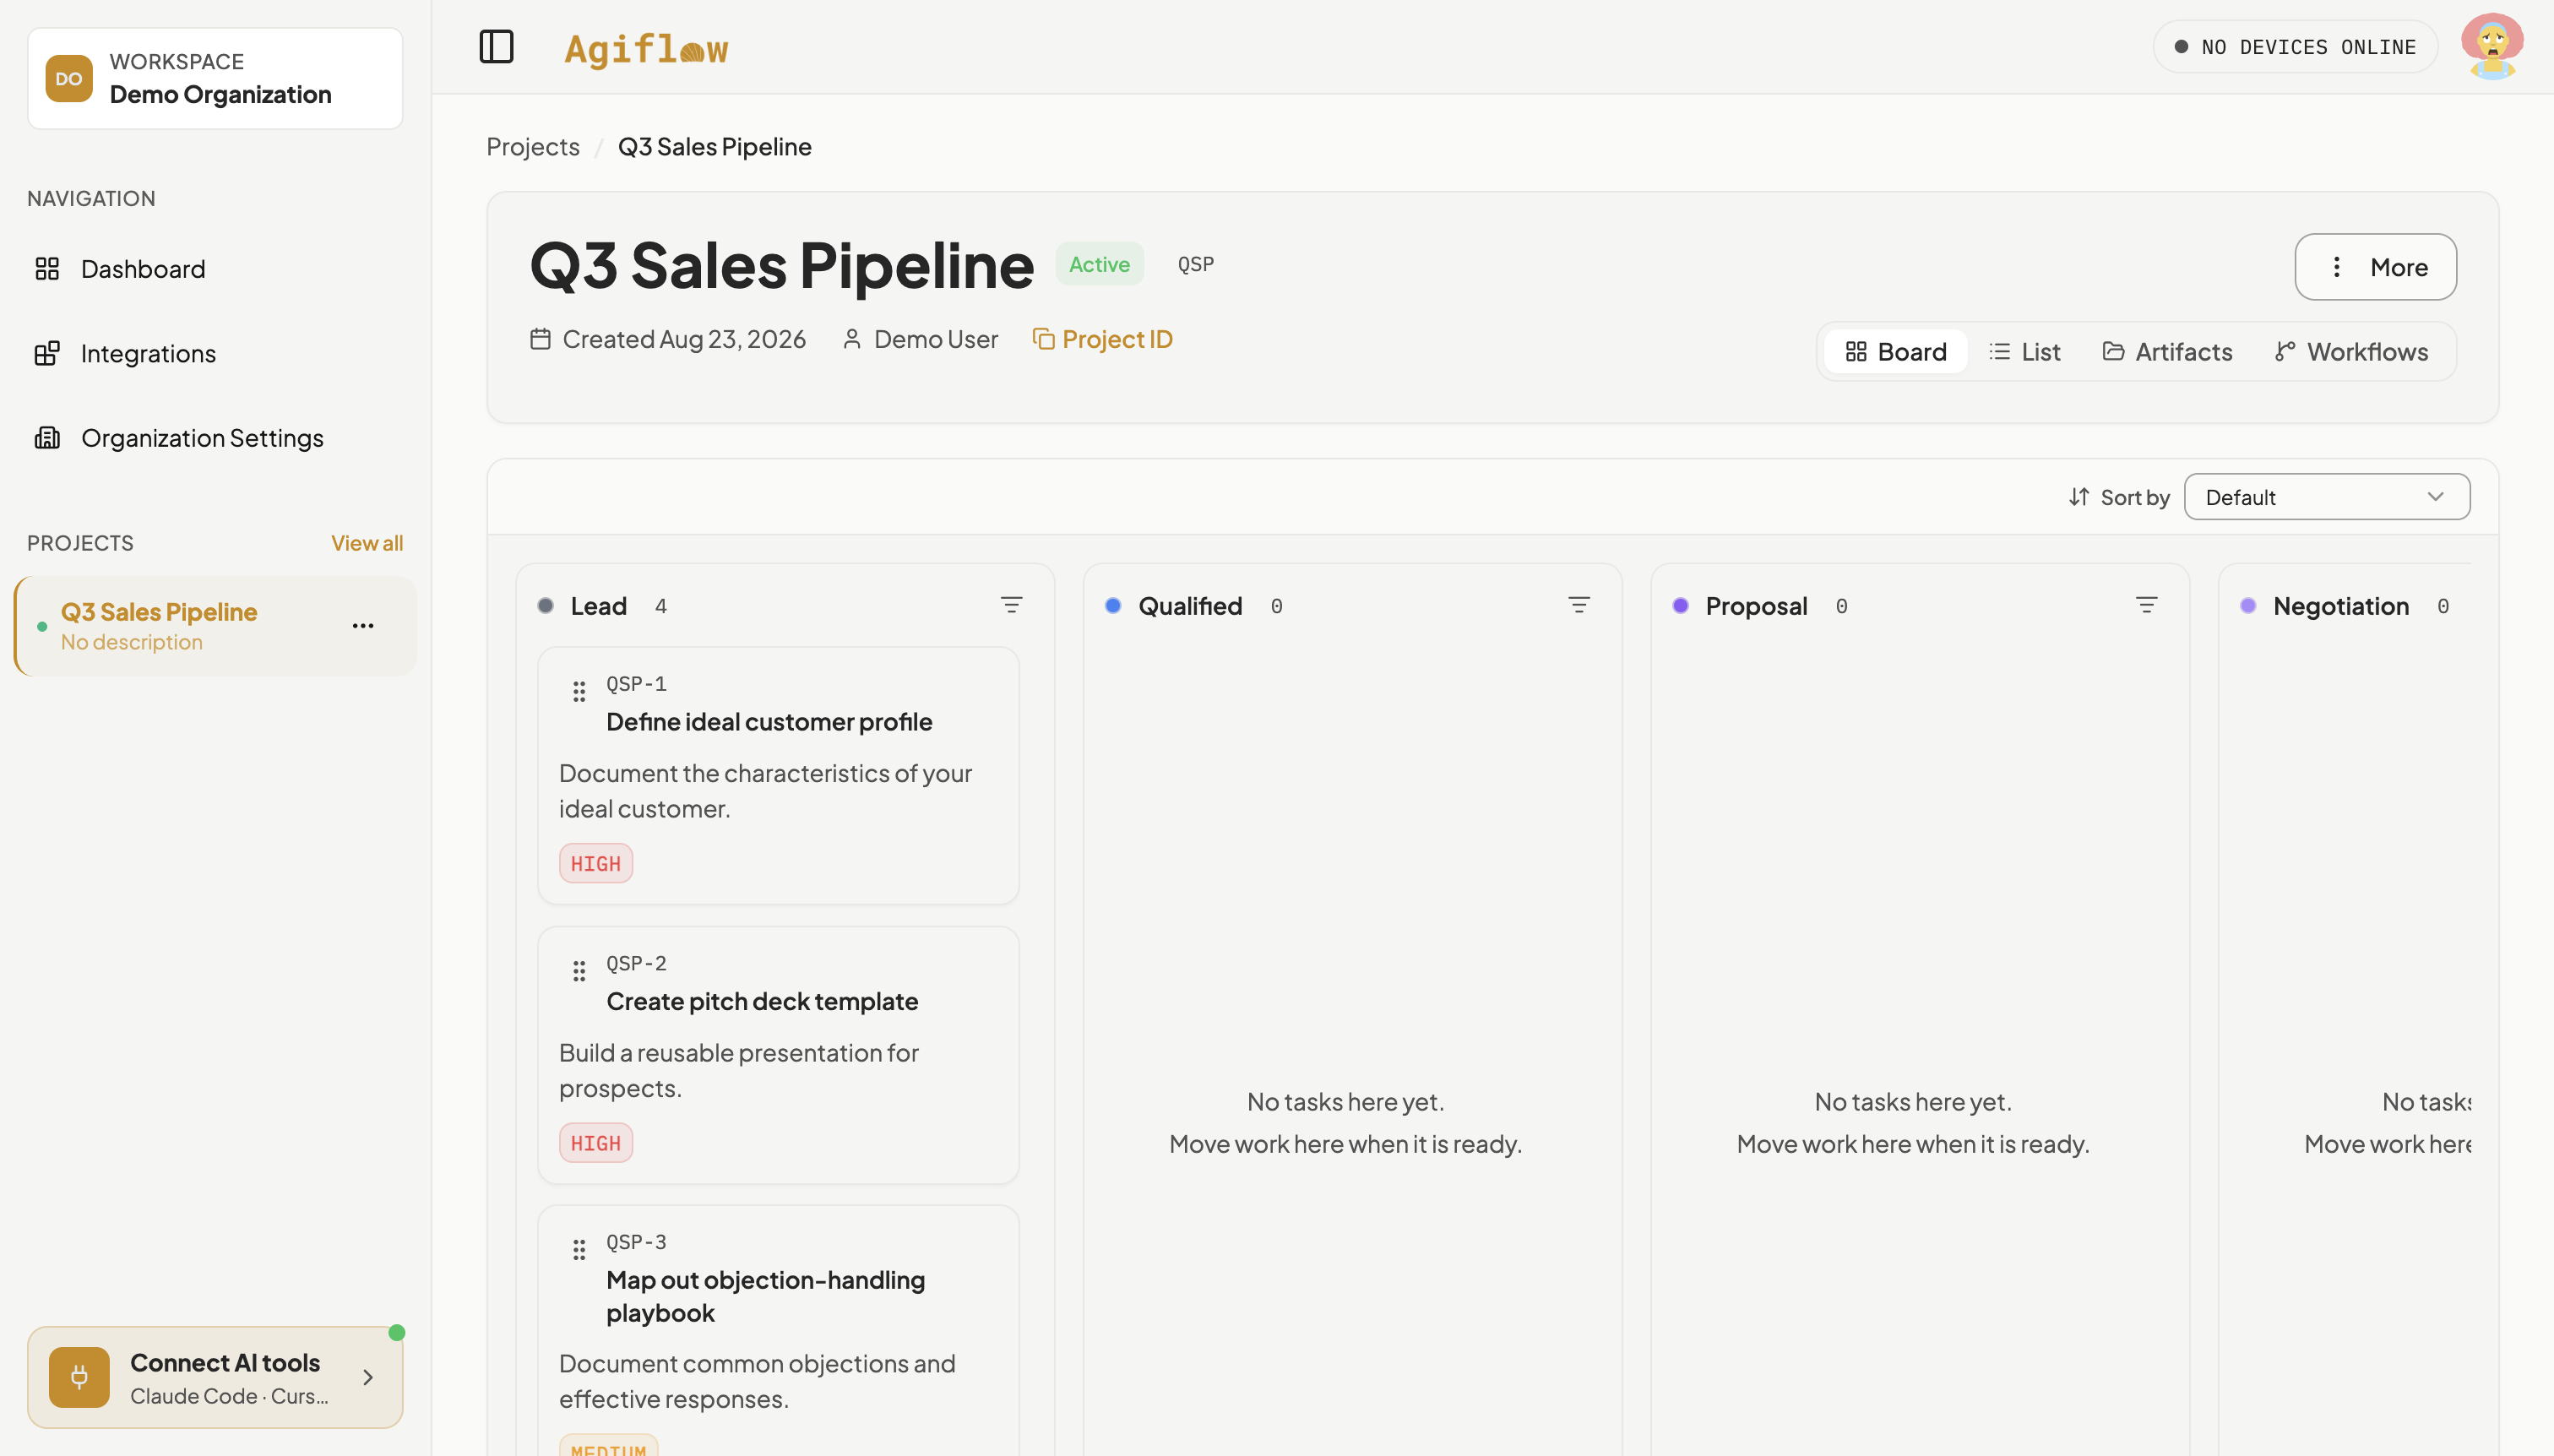
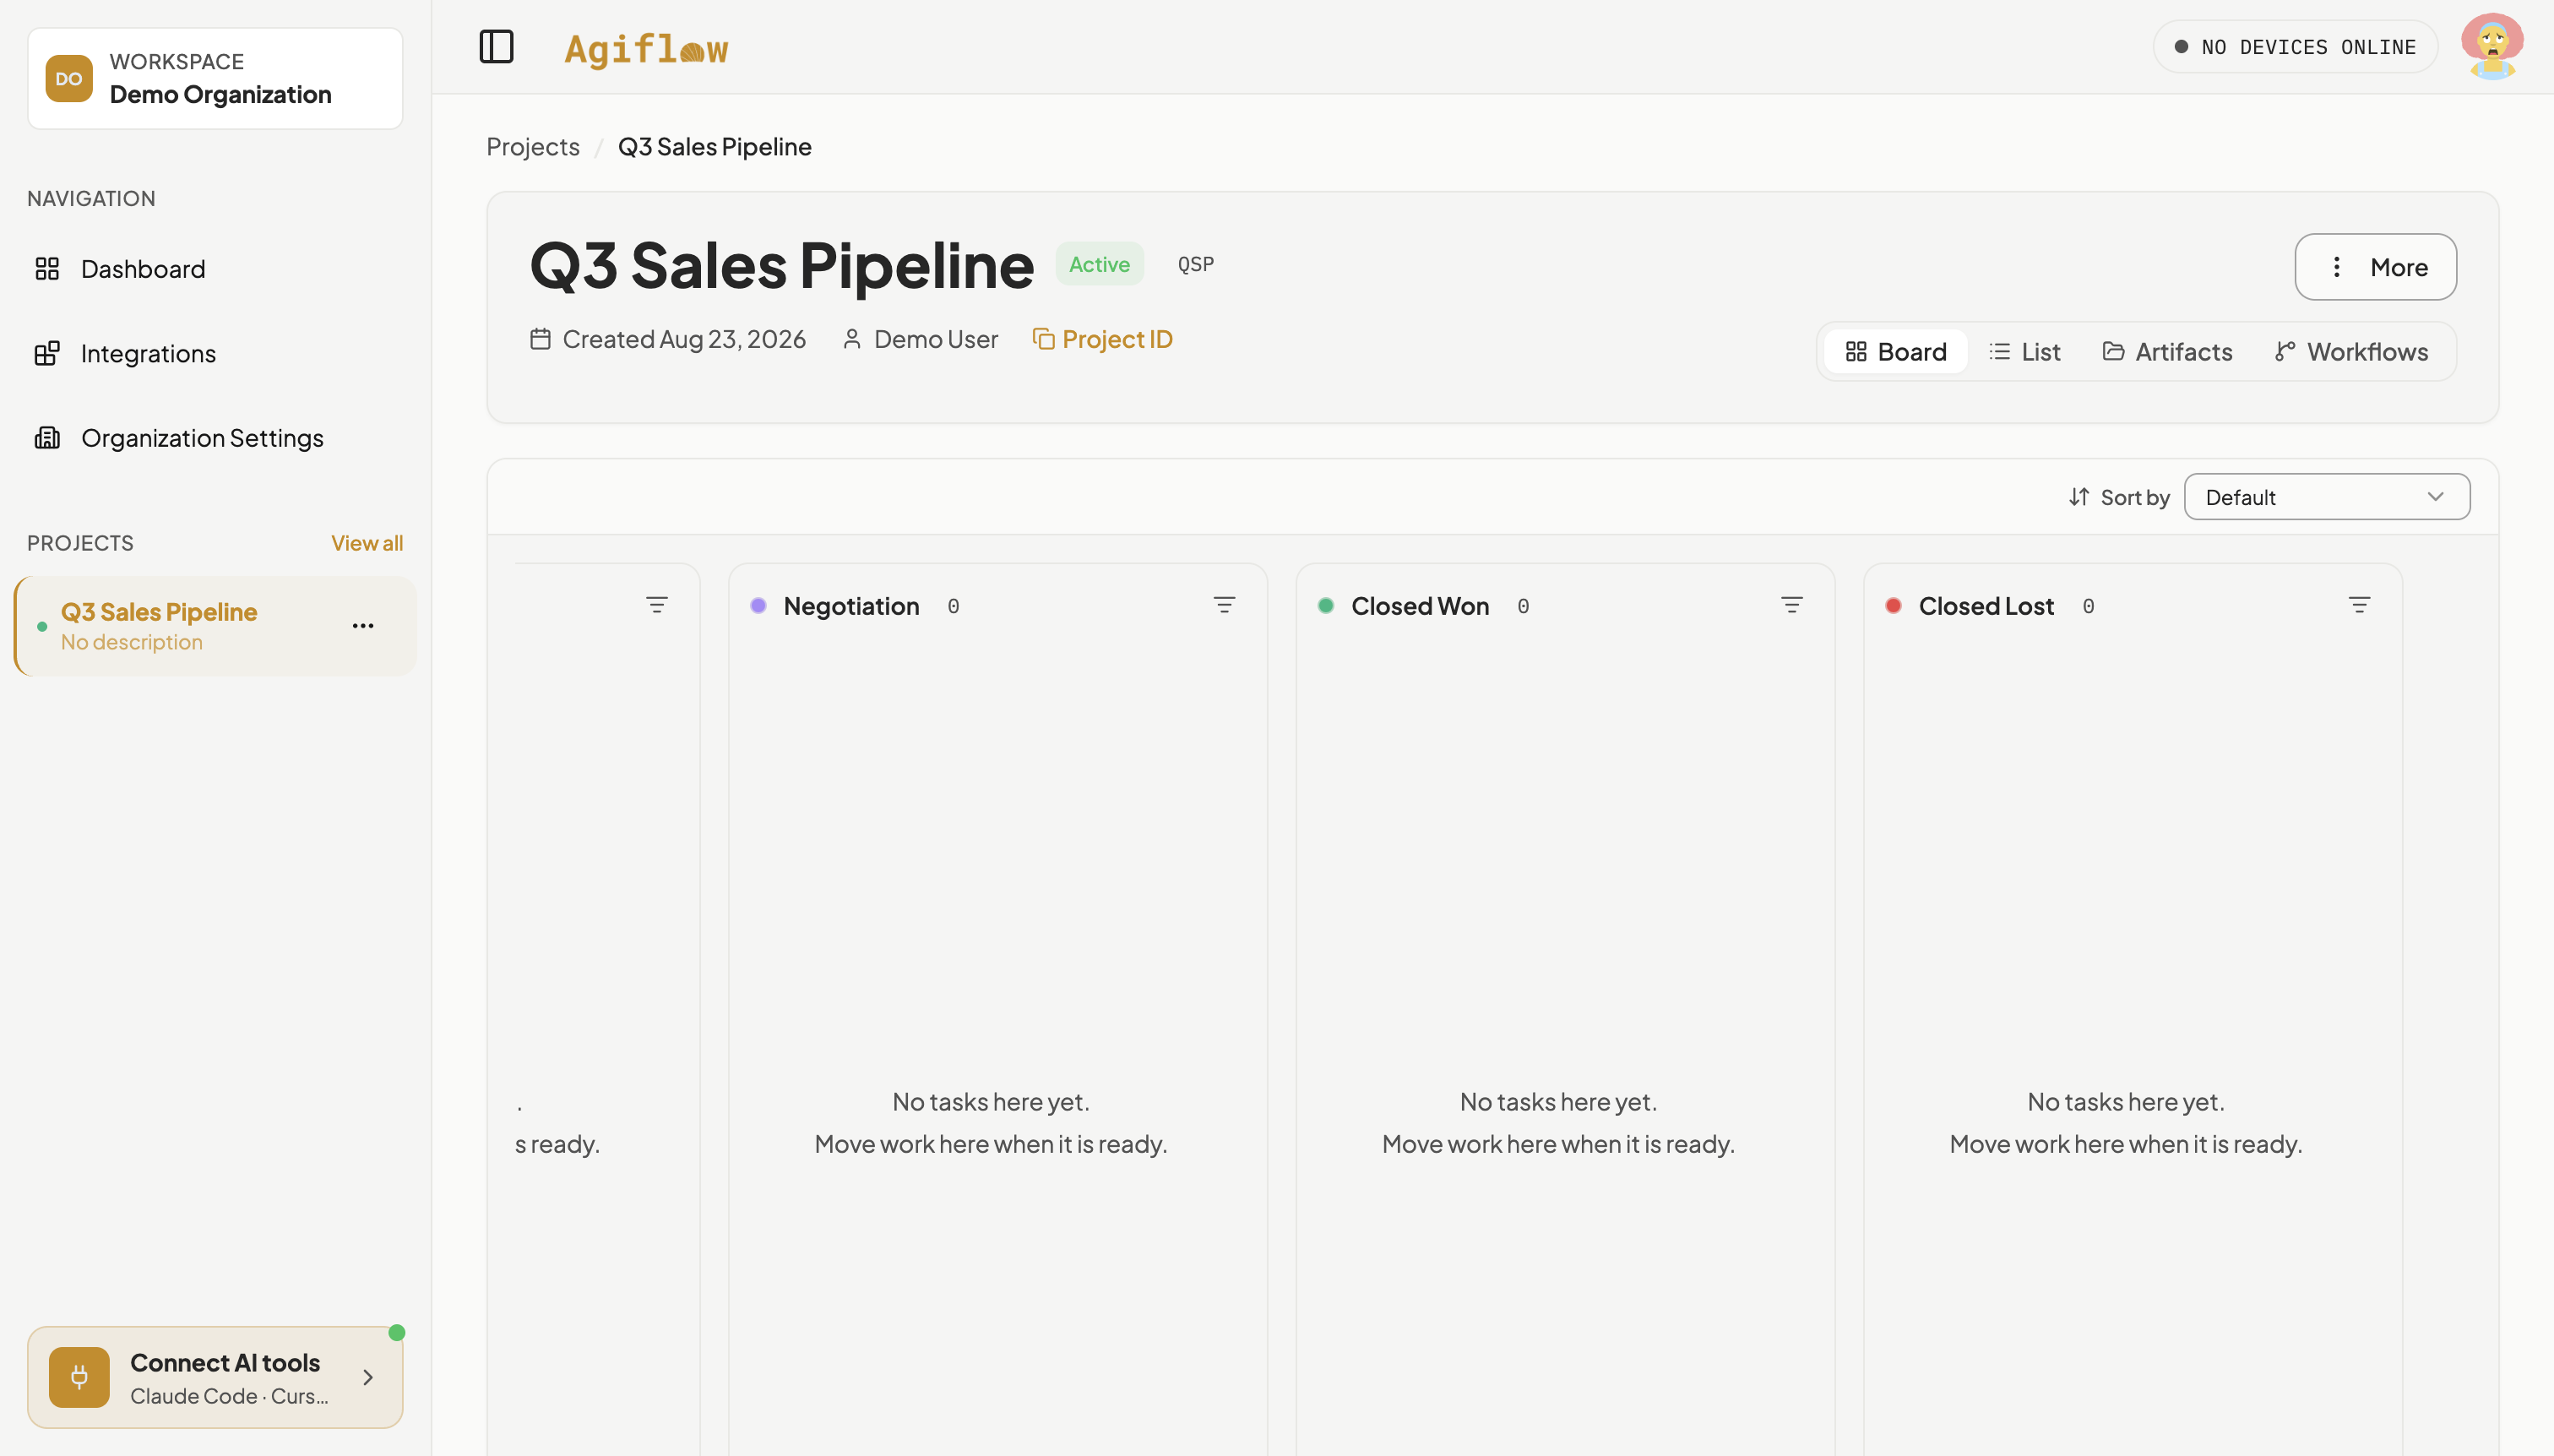
Click + New project at the top right, select the tile named Sales, type Q3 Sales Pipeline into Project Name, then click Create Project. The board opens with exactly six columns in this order: Lead, Qualified, Proposal, Negotiation, Closed Won, Closed Lost, and Lead holds four starter tasks seeded by the template.
Step 3 : Clear the four starter tasks
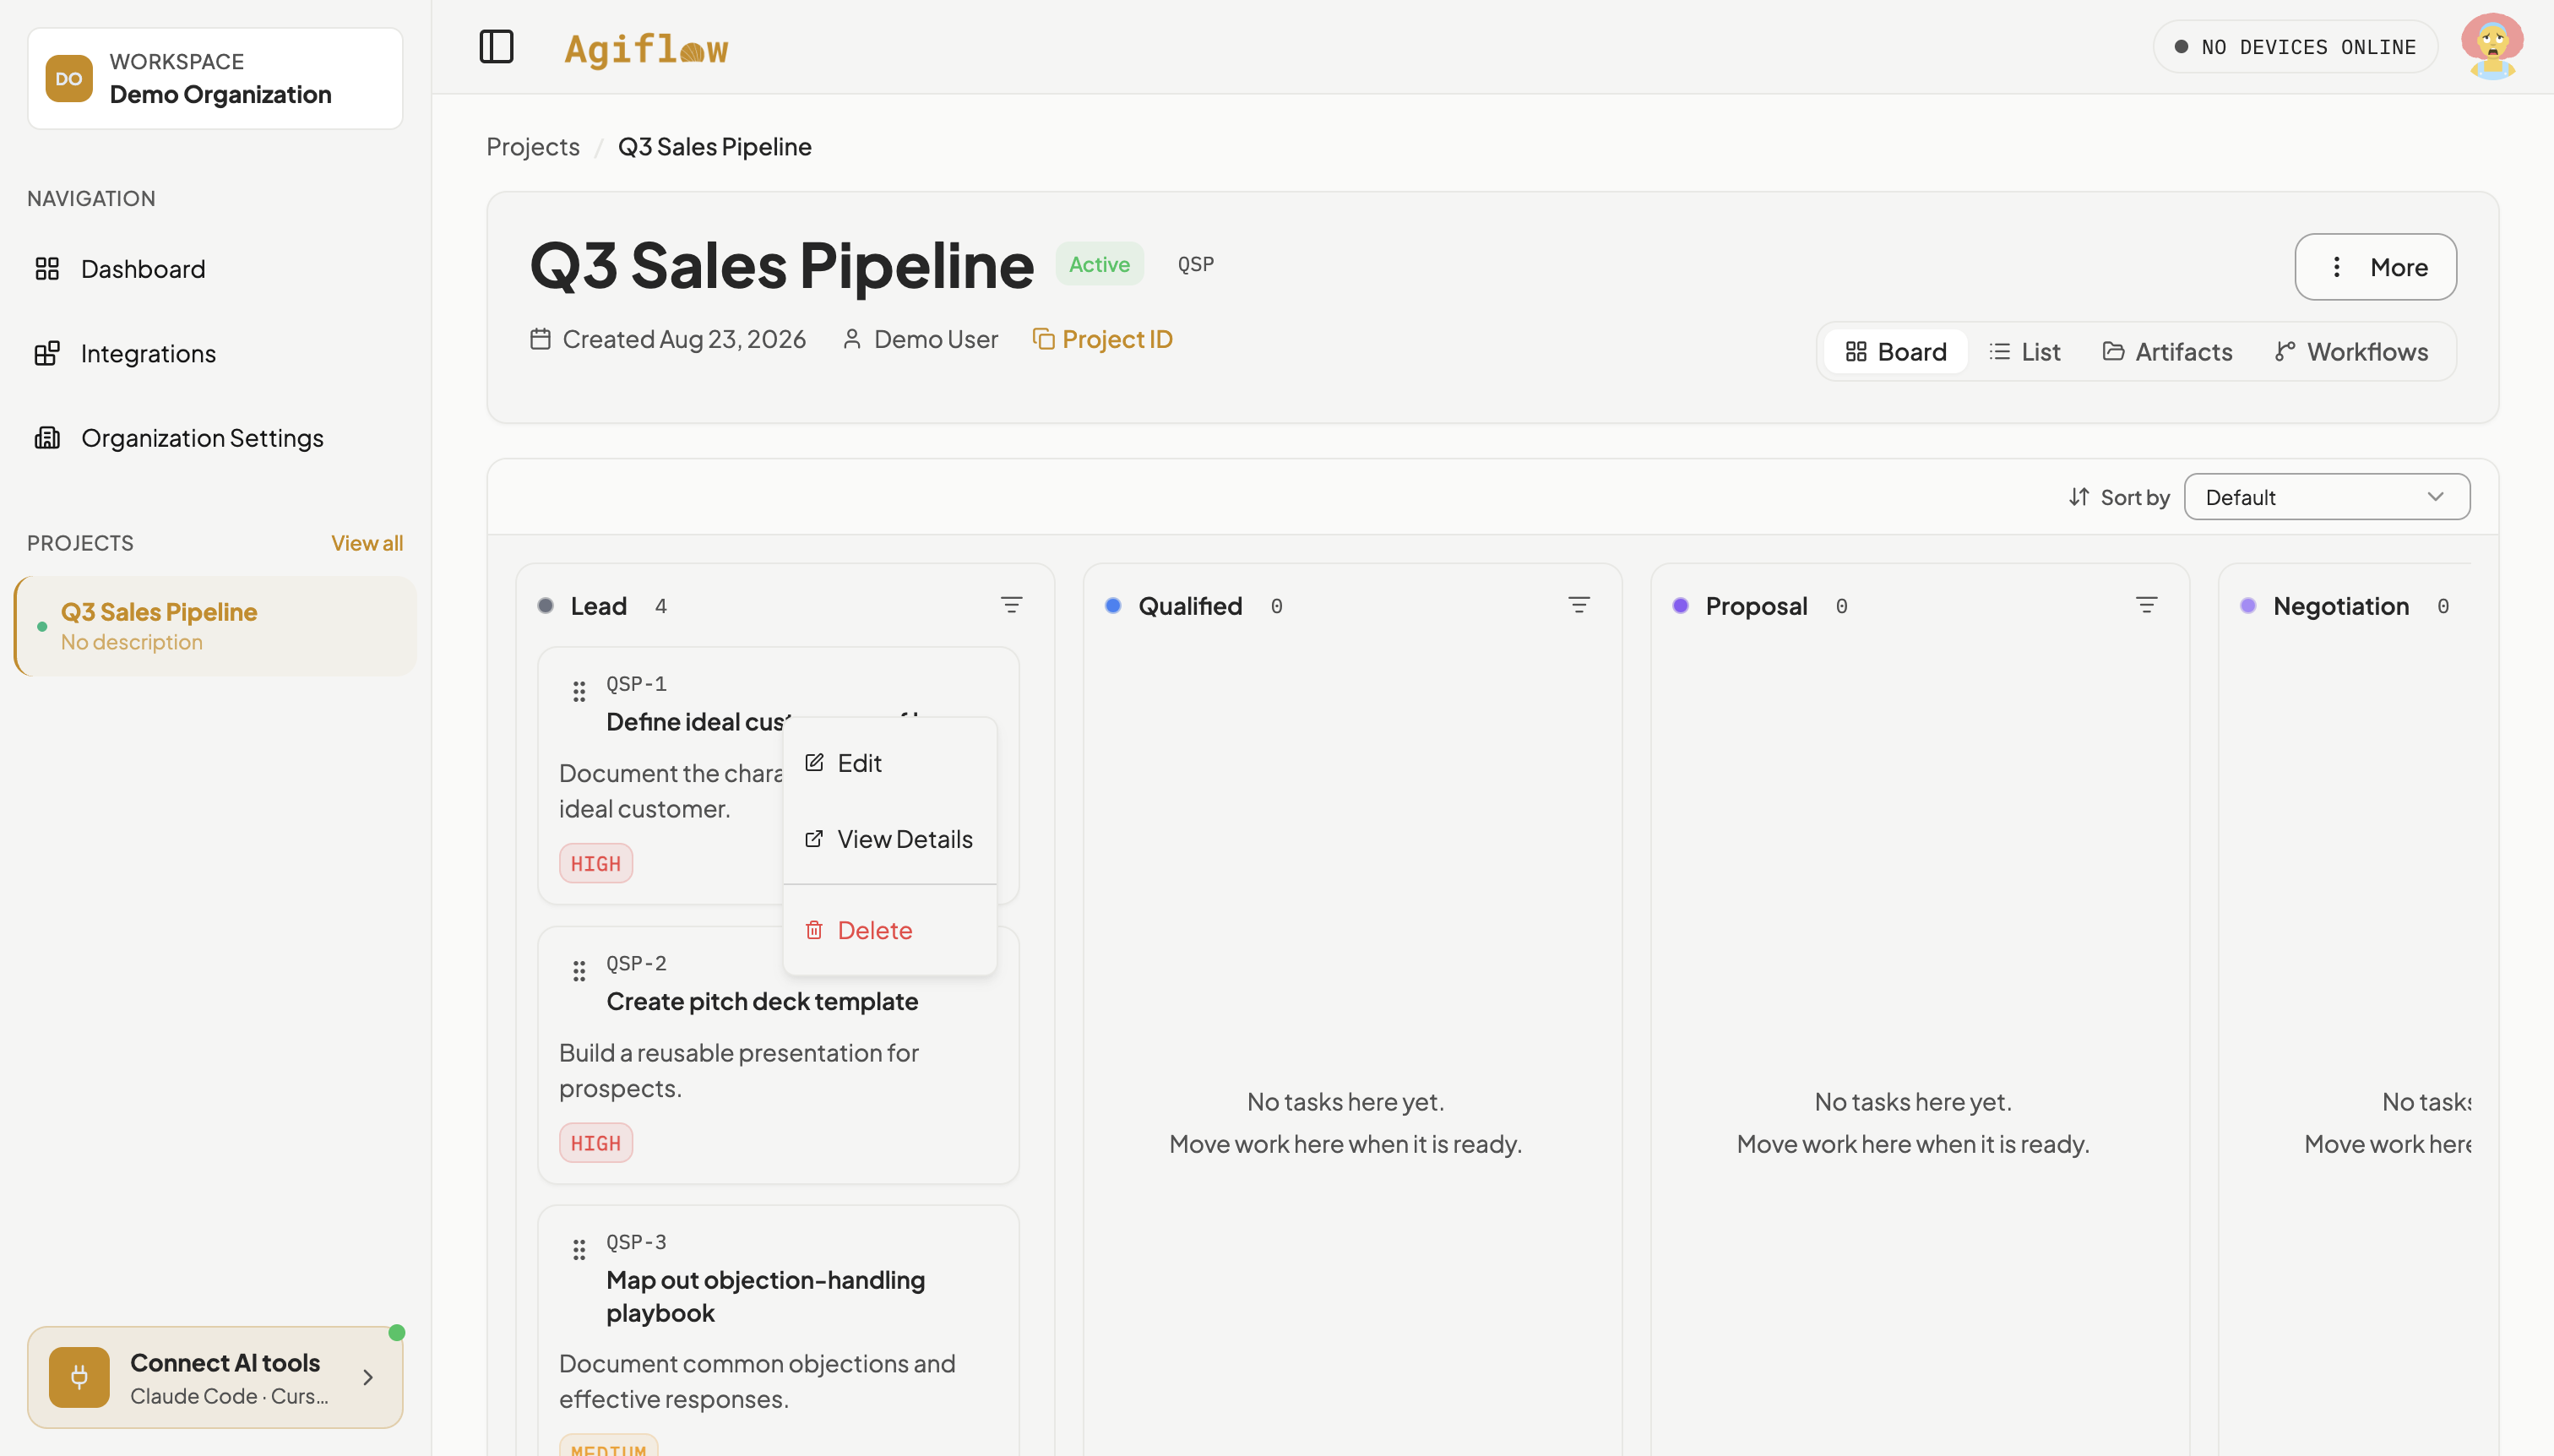
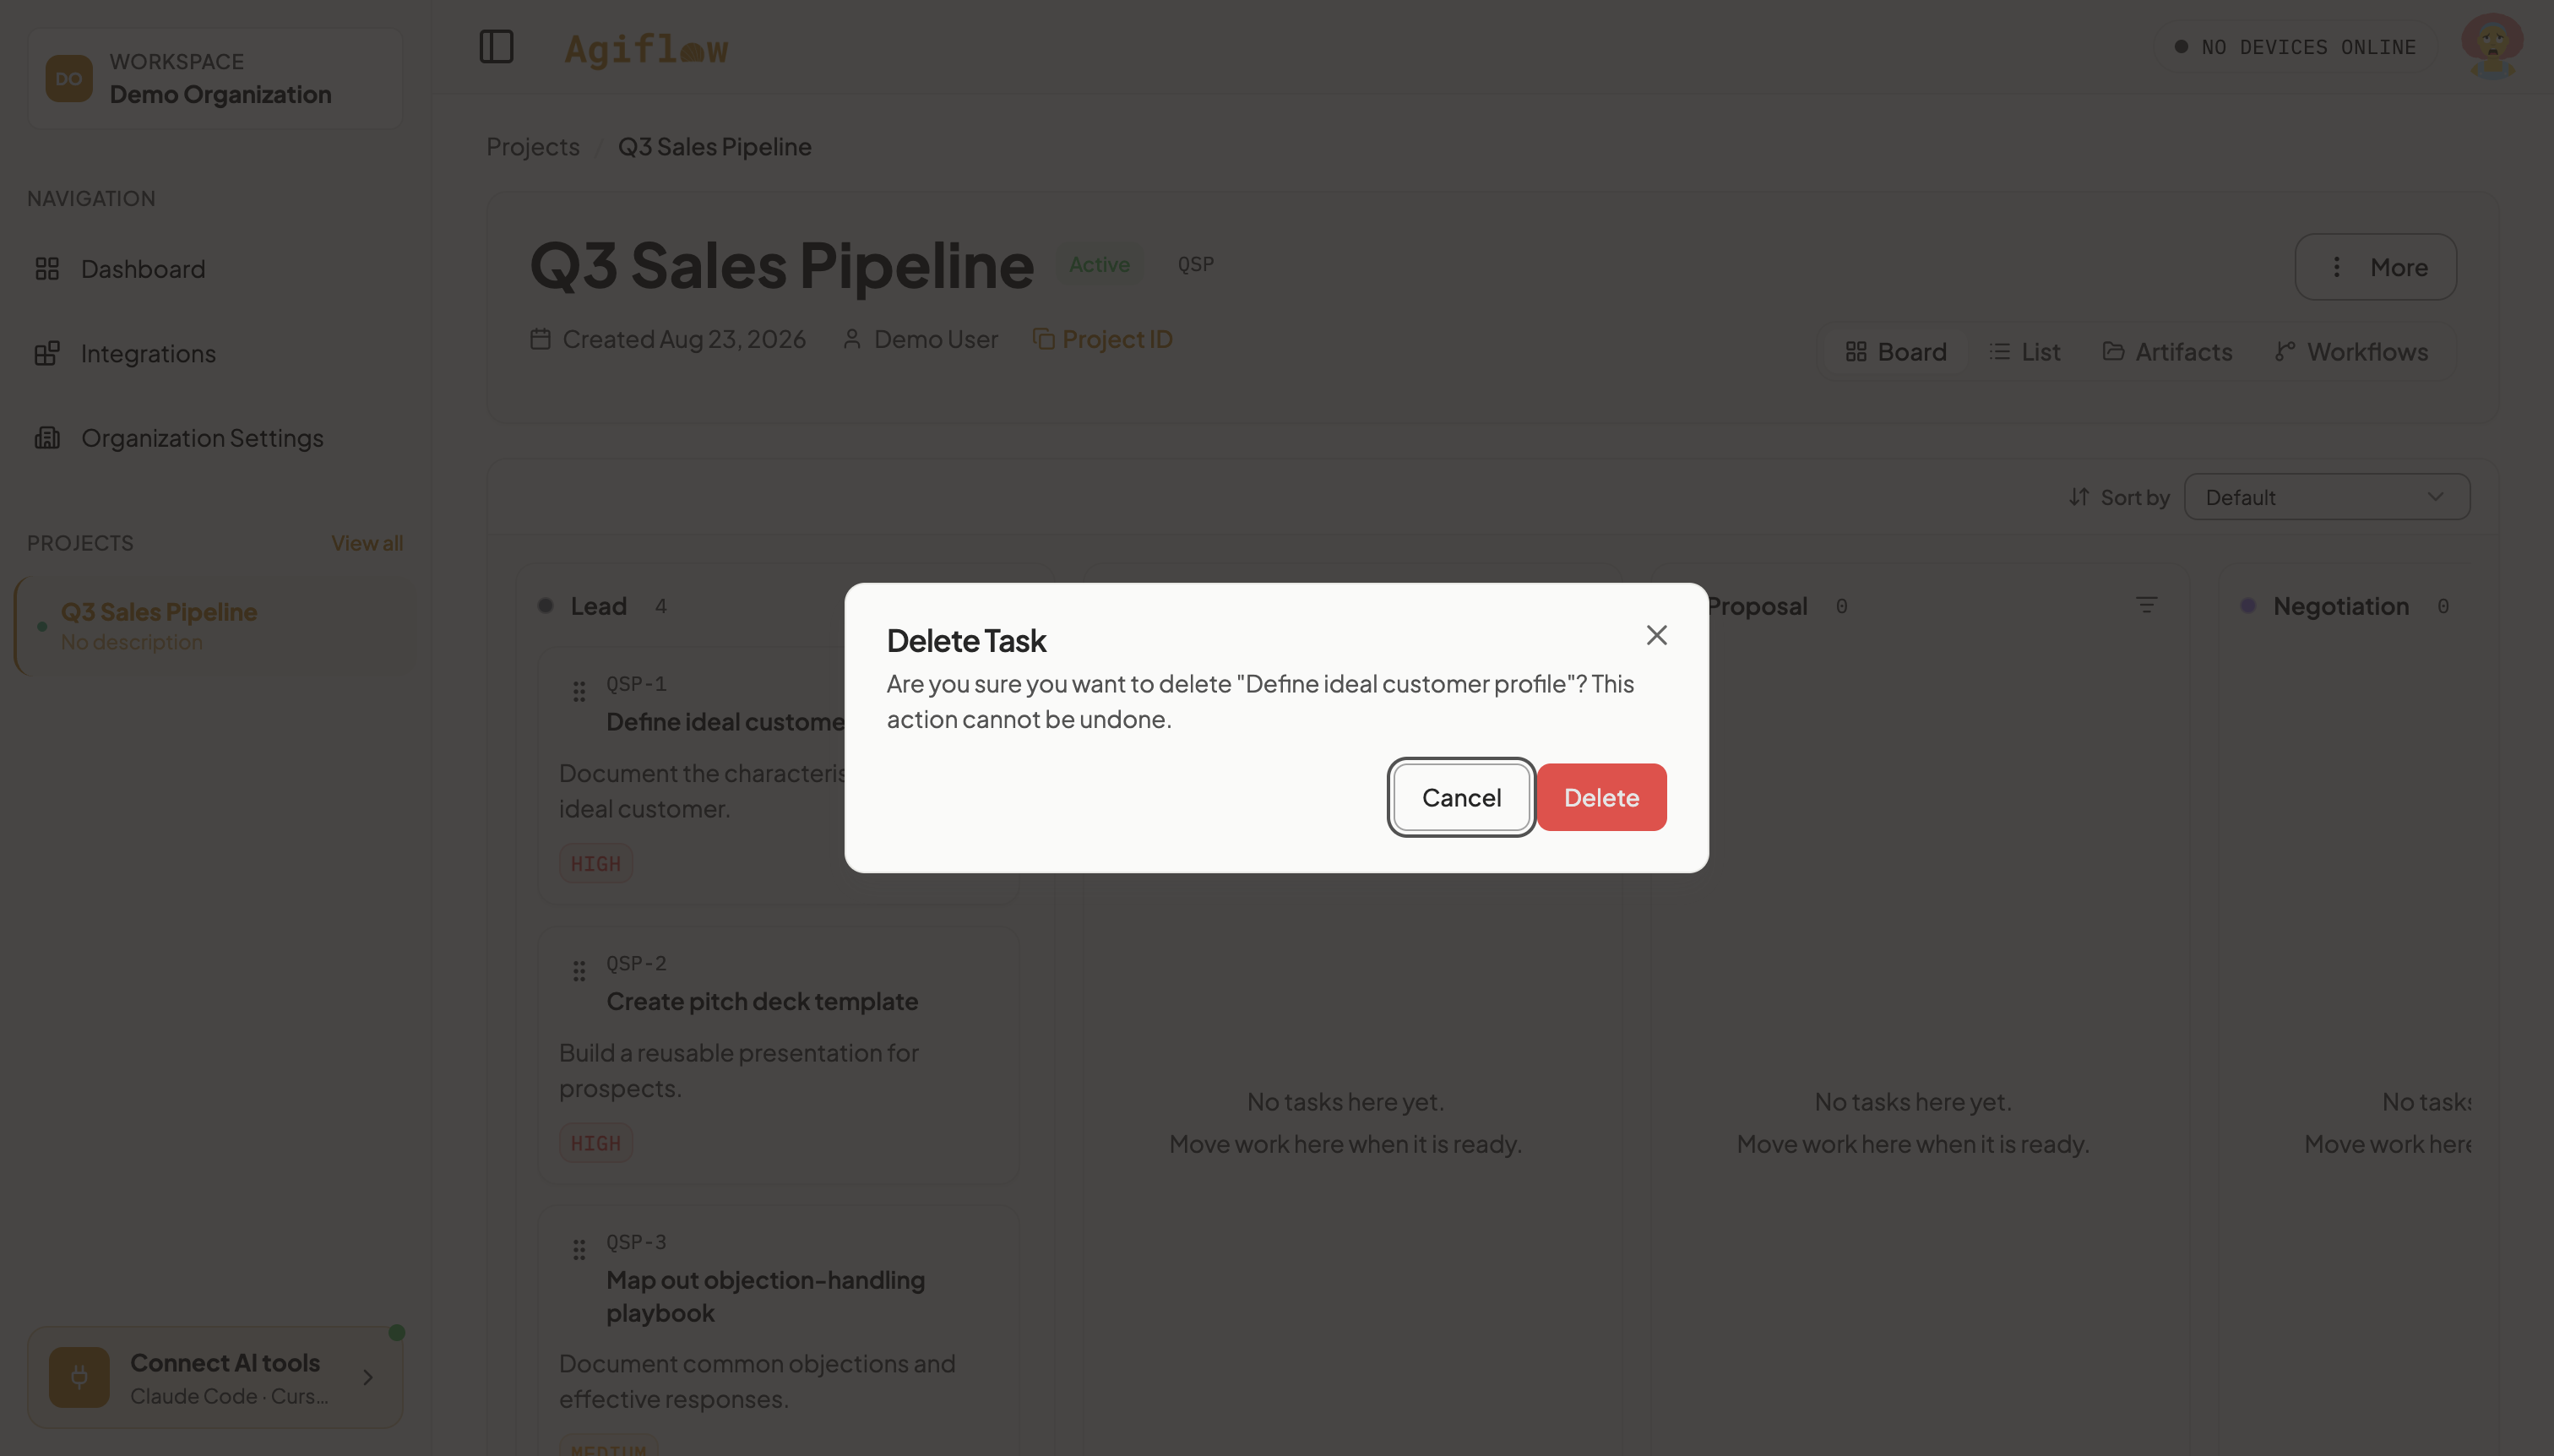
The Sales template seeds four checklist tasks that are not deals. Clearing them means every check later in this tutorial, two cards, named stages, exact placement, is unambiguous. It also teaches the card menu, which you will use again. For each of Define ideal customer profile, Create pitch deck template, Map out objection-handling playbook, and Set up follow-up cadence: click the card’s kebab (...) button, choose Delete from the menu, then click Delete on the confirmation dialog.
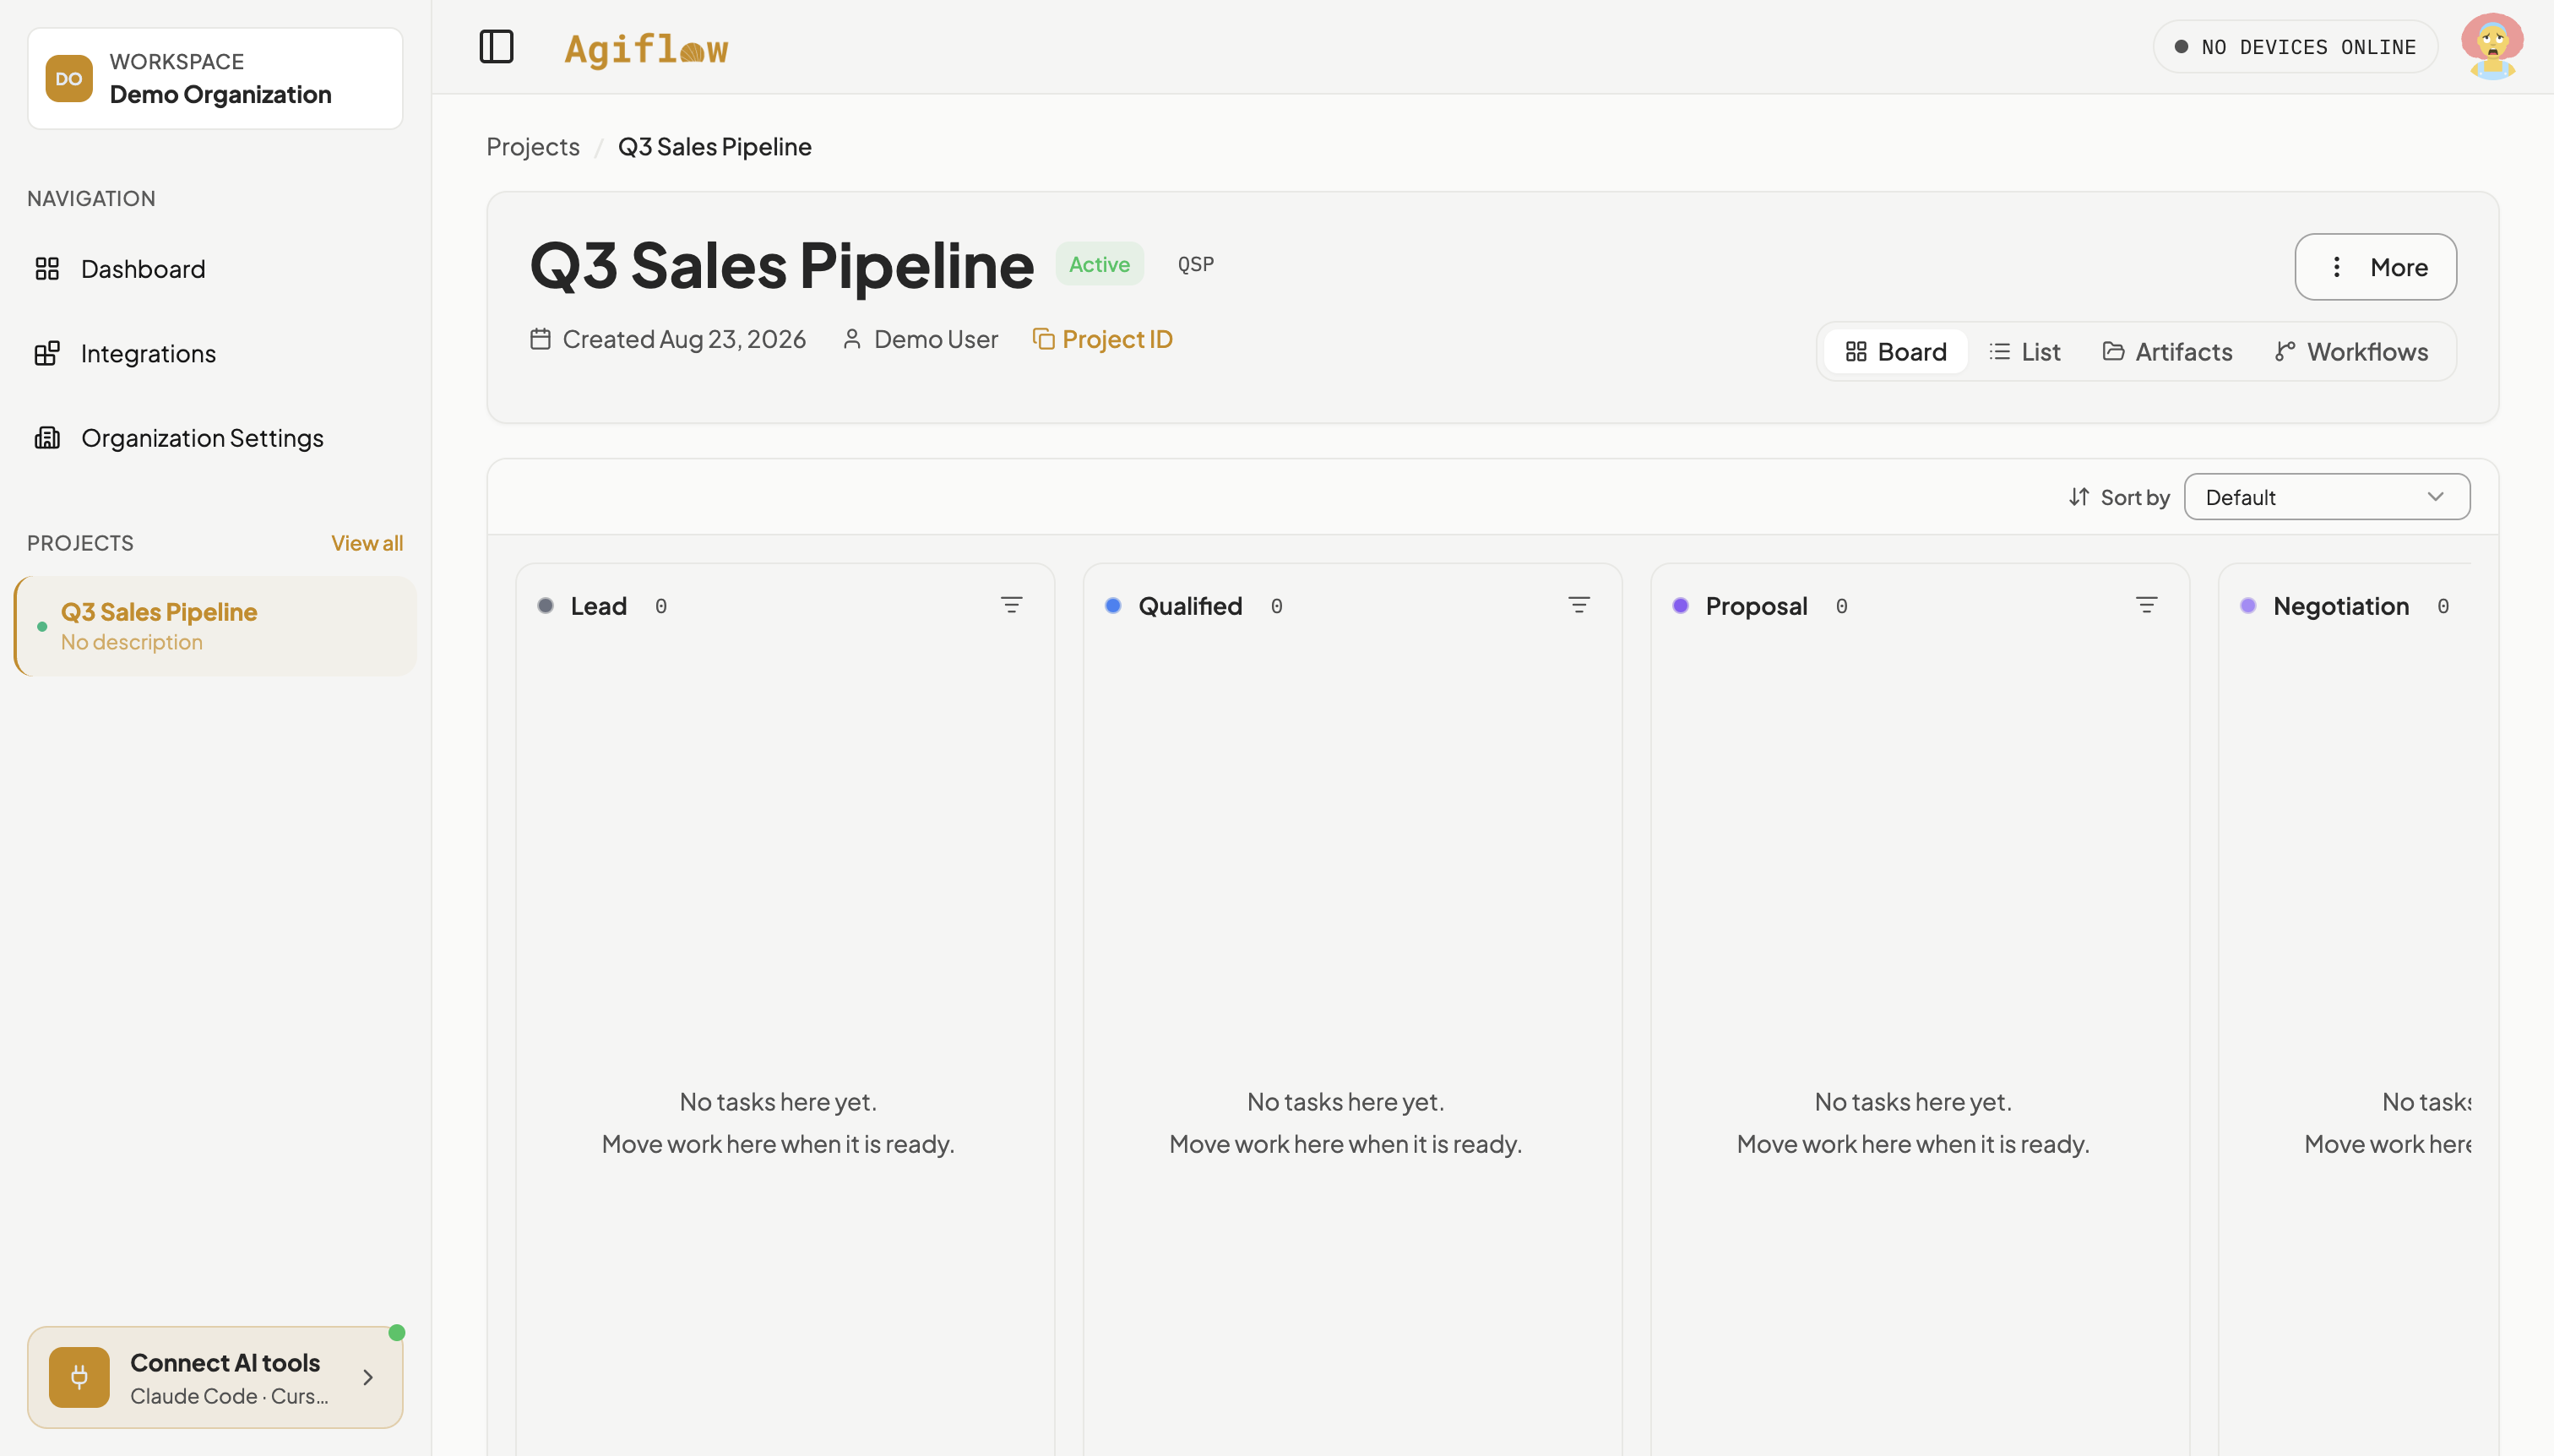
Once all four are gone, all six columns read “No tasks here yet. Move work here when it is ready.”, even after a full page reload.
03 : Connect Claude Code
Step 4 : Copy the Claude Code connection details
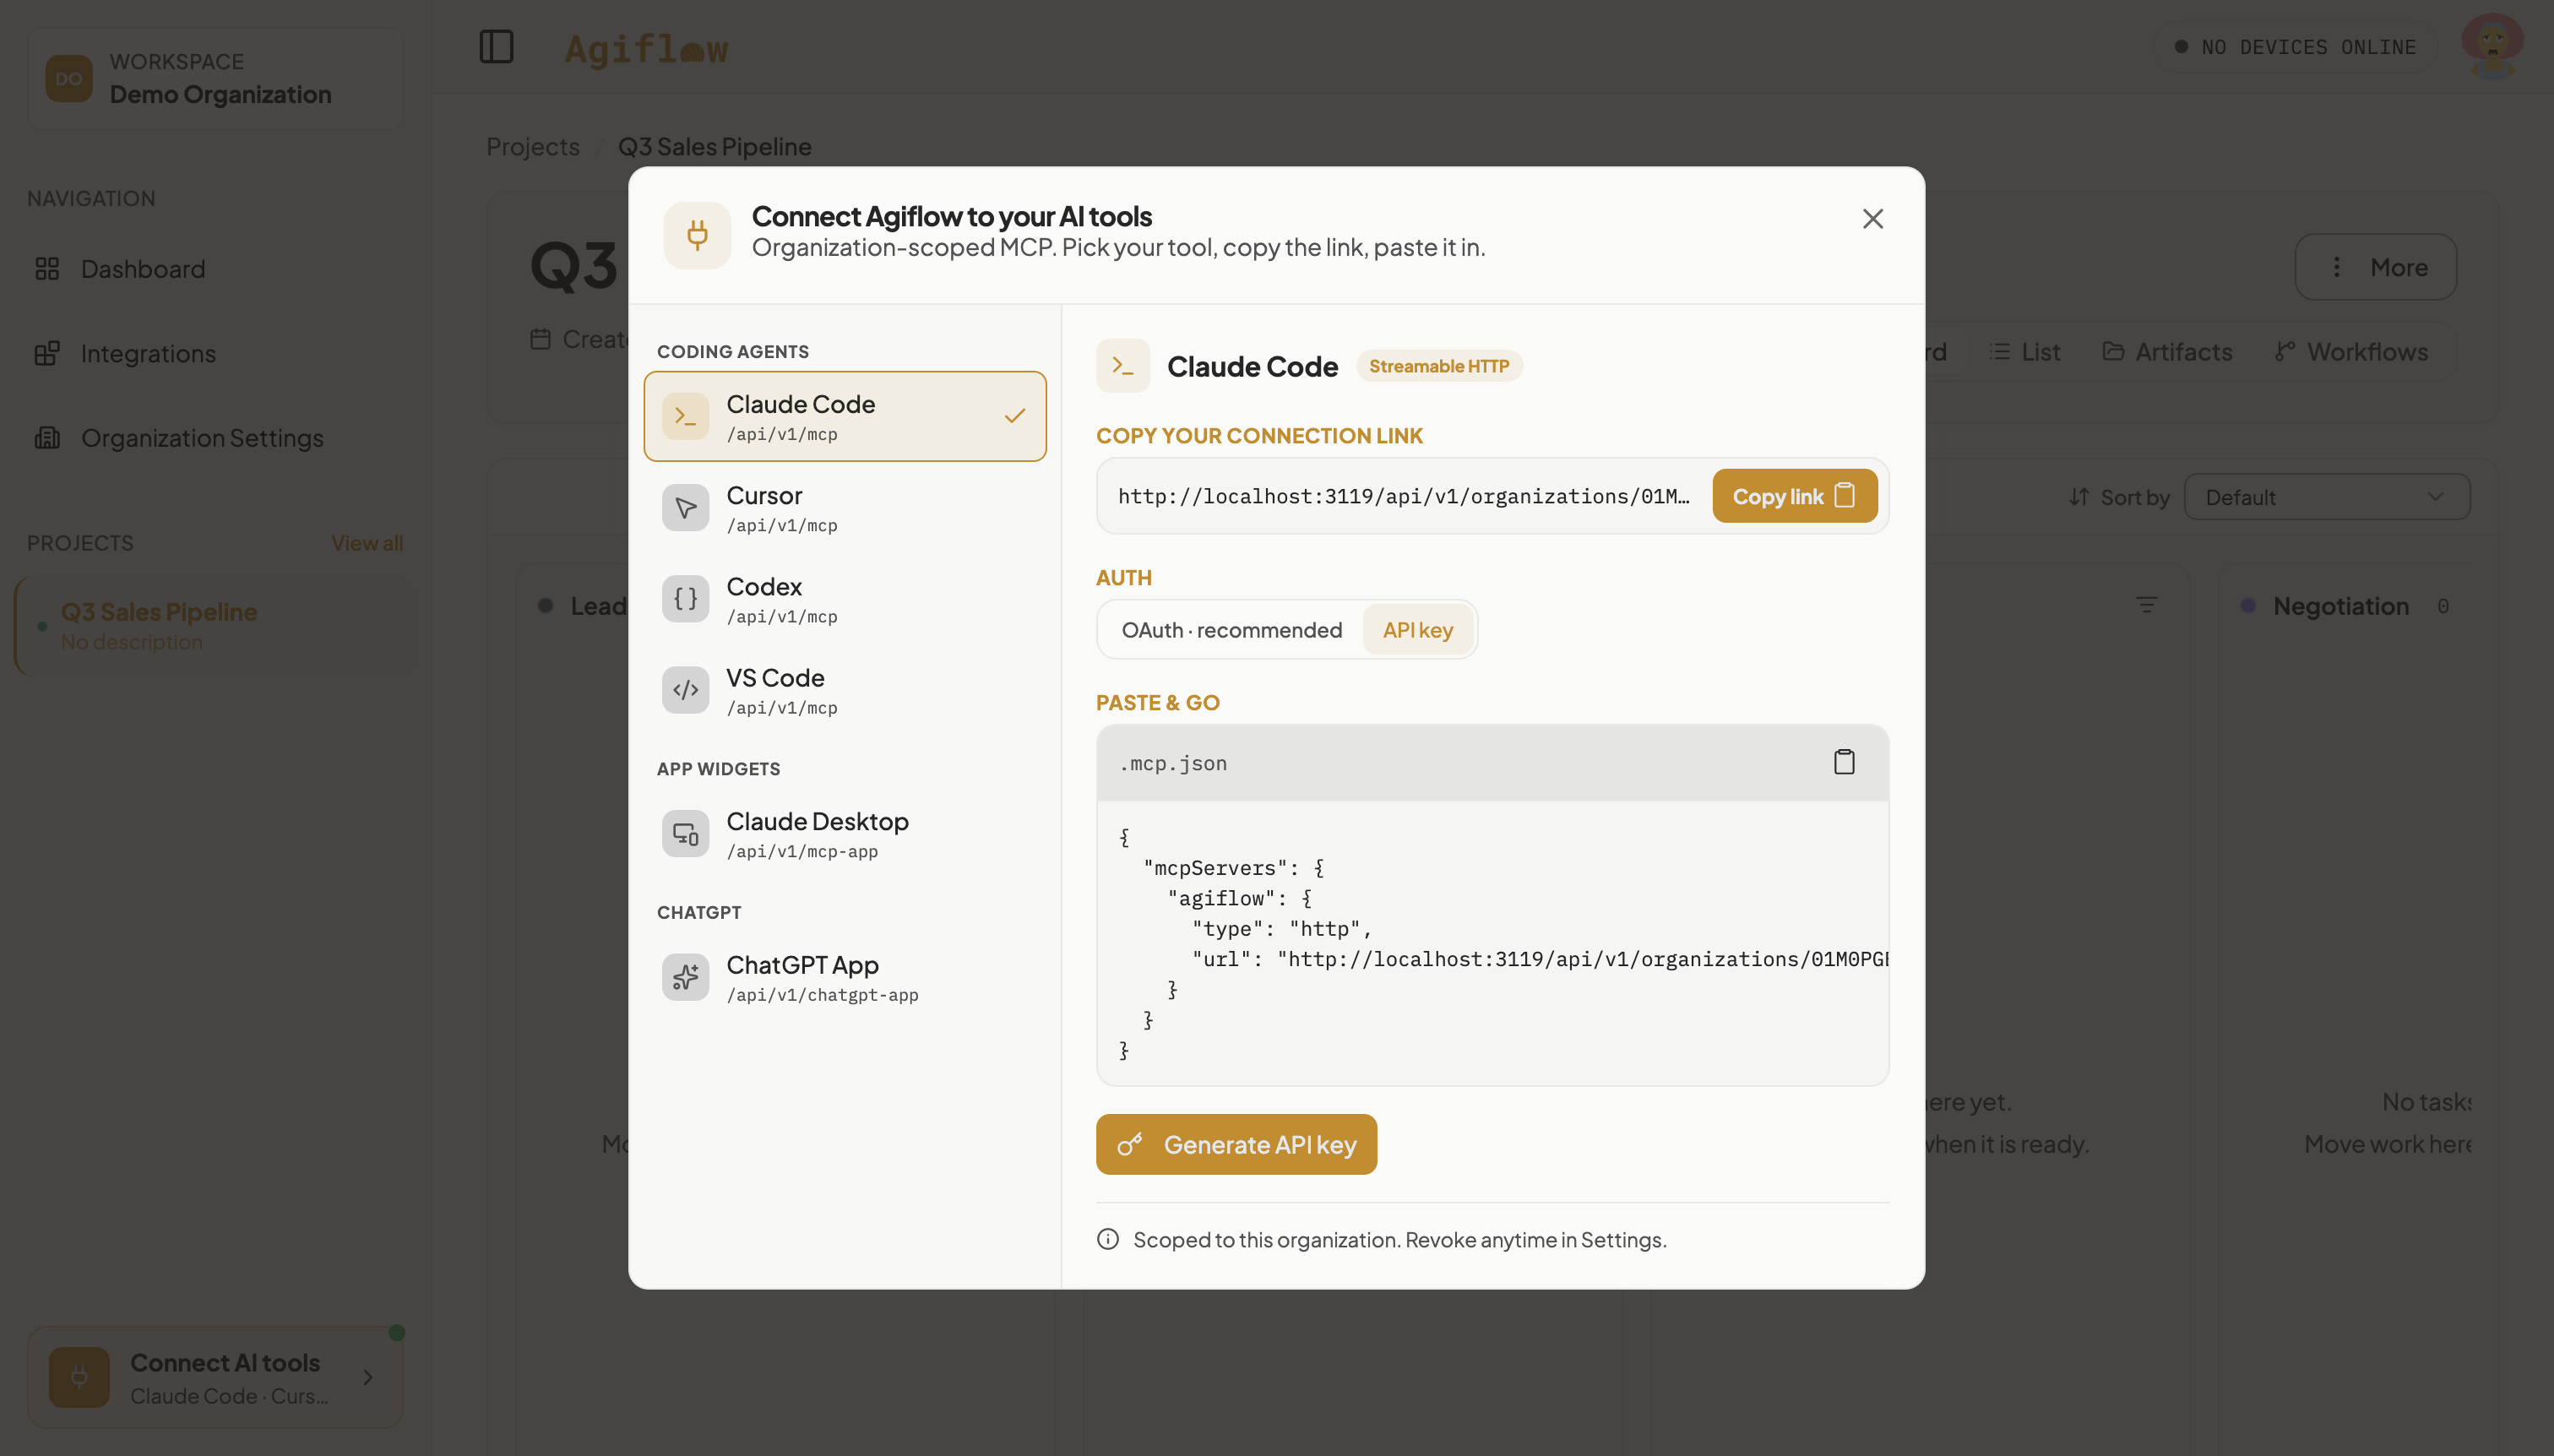
In the left sidebar footer, click Connect AI tools. In the modal that opens, Claude Code is already selected. Under AUTH, click the API key pill (the default is OAuth). Under PASTE & GO, click the copy icon on the .mcp.json block, then click Generate API key.
After you click Generate API key, a Your API key block appears with its own copy icon, and below it a second block captioned “Add headers to your config”. You need both of these in the next step.
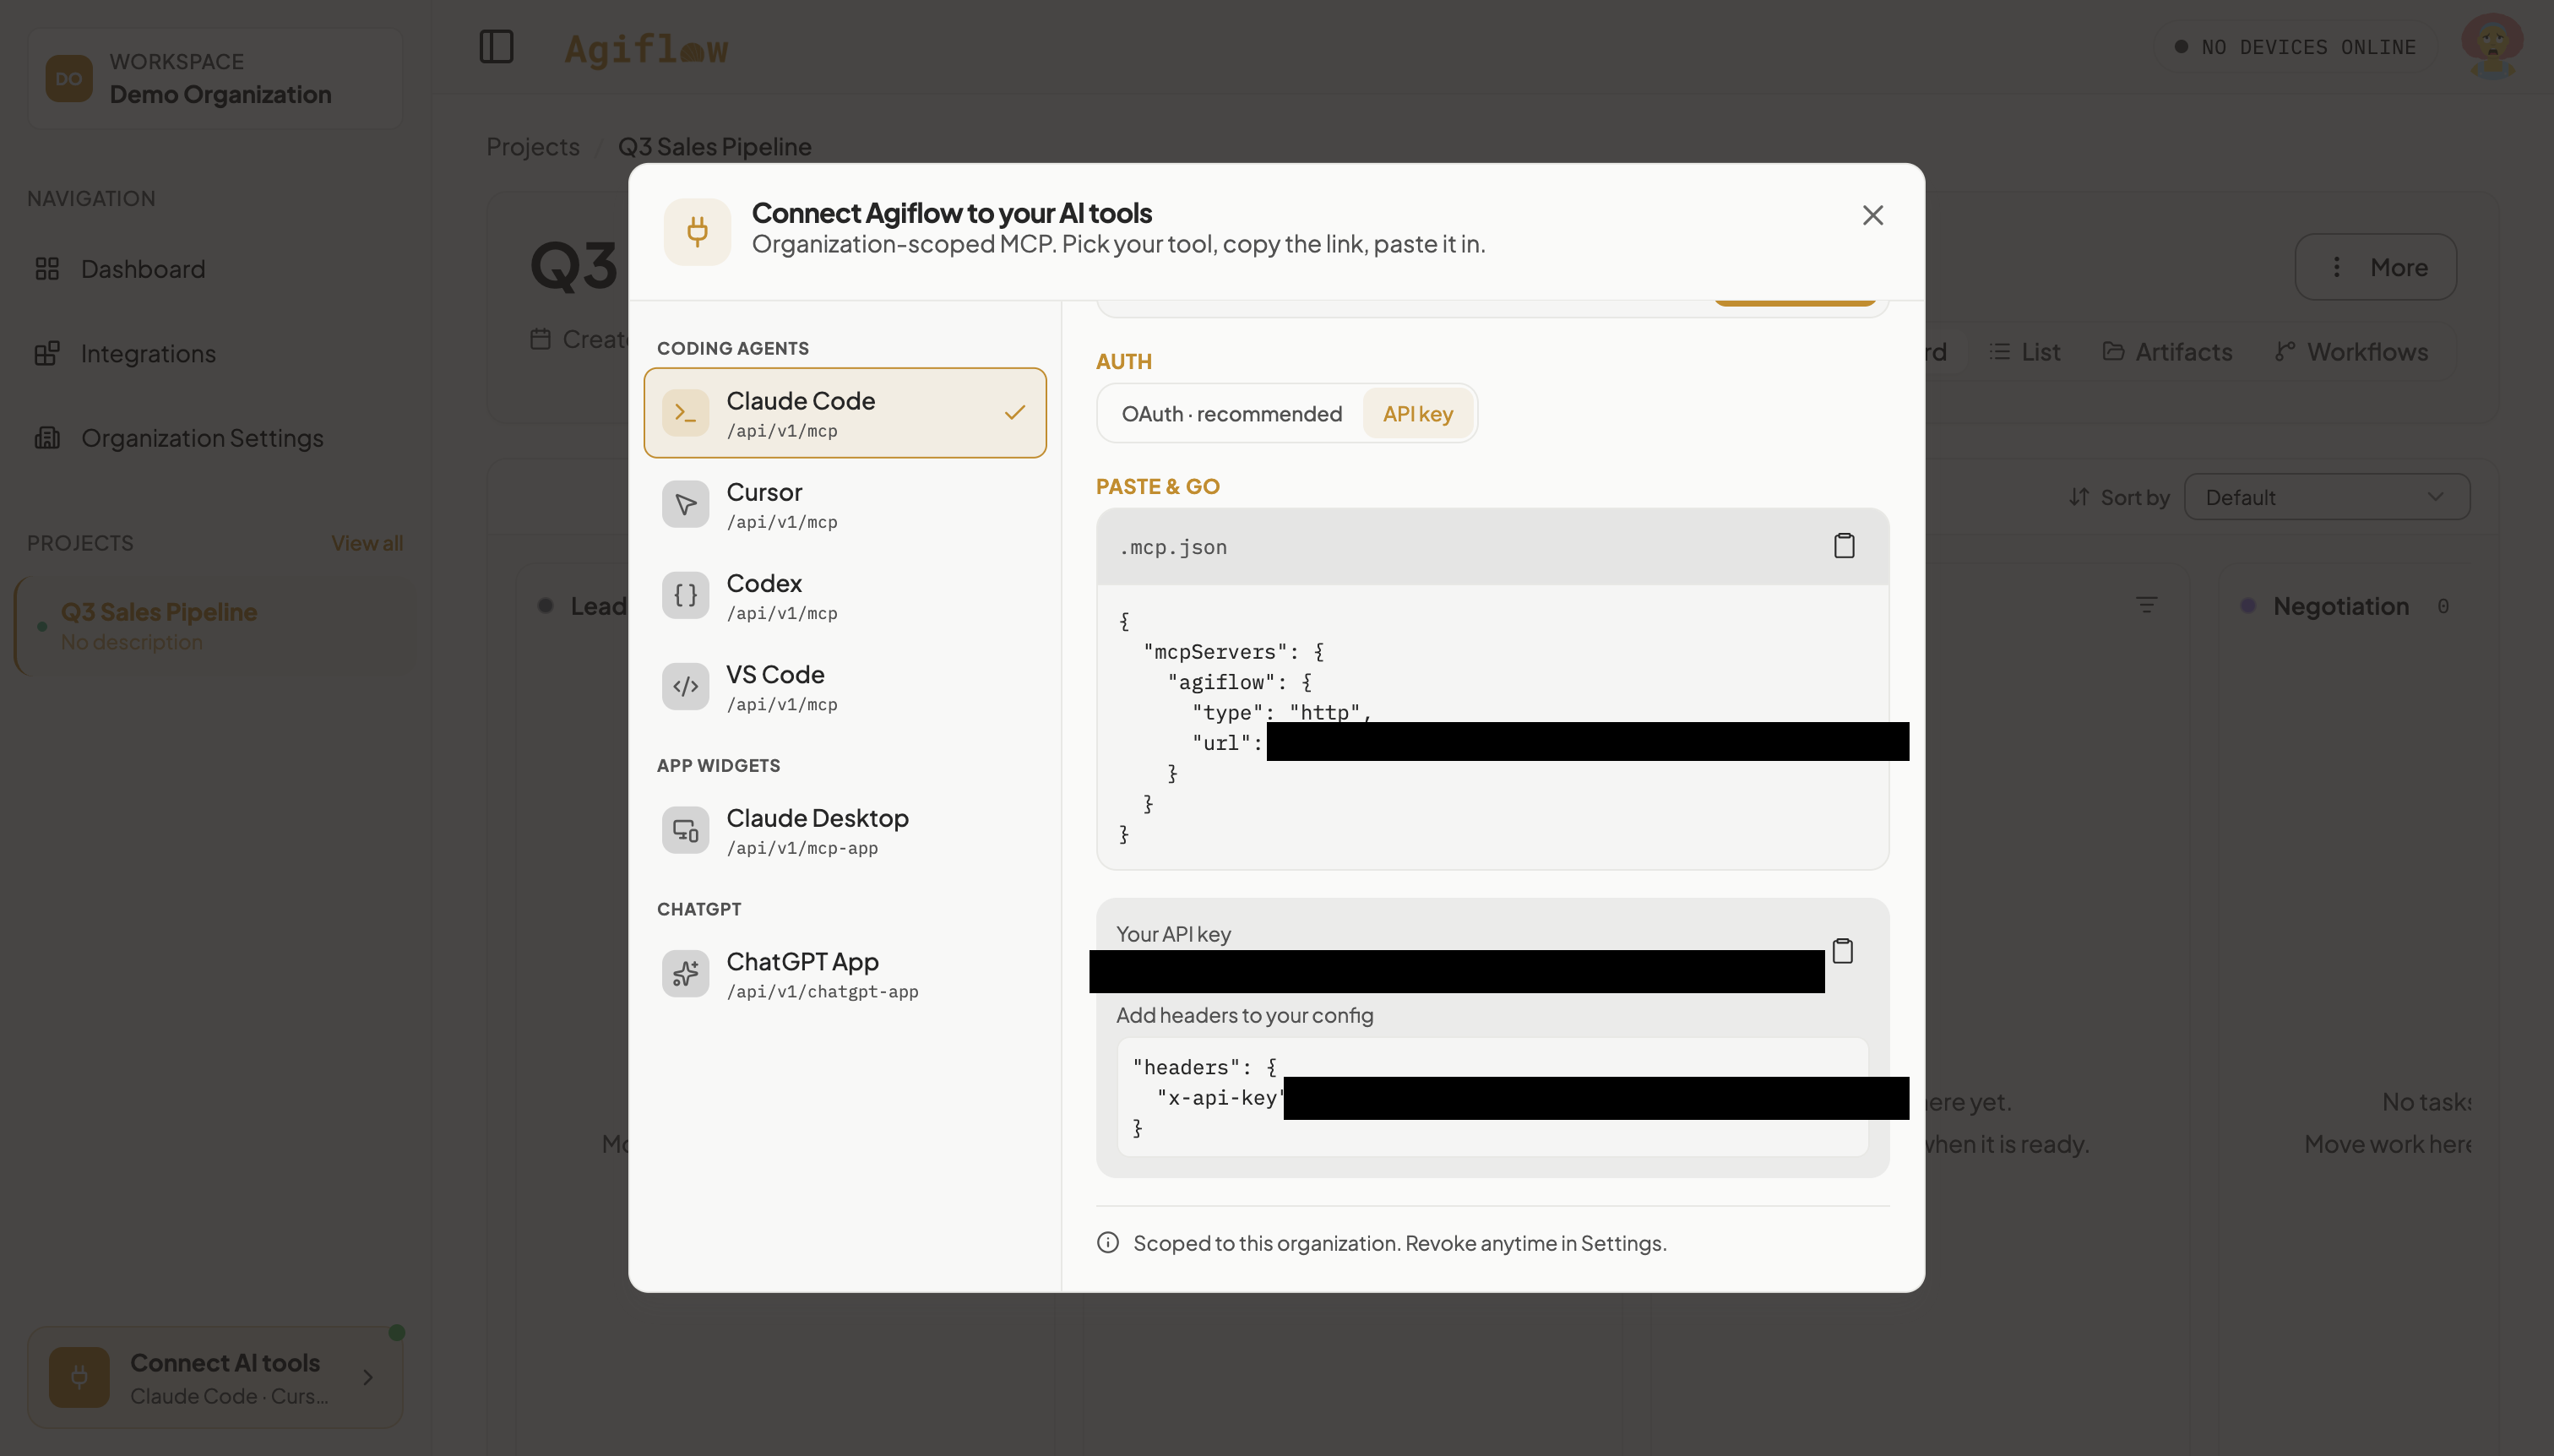
Copy everything from your own screen. Never write your API key or connection URL into a file you did not create yourself in the next step. When you are done experimenting, the modal footer tells you where to revoke it: “Scoped to this organization. Revoke anytime in Settings.”
Step 5 : Build .mcp.json and confirm the tools are live
Create and enter a folder:
mkdir -p ~/agiflow-sales && cd ~/agiflow-salesStart the file, then paste the .mcp.json fragment you copied in Step 4, press Return, then press Ctrl+D:
cat > .mcp.jsonThe product hands you two separate fragments and offers no single copy-the-finished-config action, so merge the second one by hand. Open .mcp.json in your editor, add a comma to the end of the "url" line, then paste the "headers" block from the modal inside the "agiflow" object. The finished file has exactly this shape, with your own two values in place of the angle-bracket text:
{
  "mcpServers": {
    "agiflow": {
      "type": "http",
      "url": "<your connection link from COPY YOUR CONNECTION LINK>",
      "headers": {
        "x-api-key": "<your API key>"
      }
    }
  }
}Either a missing comma after the "url" line, or pasting only the URL and skipping the "headers" block entirely, produces the same symptom: the server appears in /mcp but shows a failed or absent connection instead of connected. Re-open the file and confirm it has both url and headers before you relaunch.
Launch the assistant:
claudeOn first launch in this folder, Claude Code asks to approve the server:
New MCP server found in this project: agiflow

MCP servers may execute code or access system resources. All tool calls
require approval. Learn more in the MCP documentation.

❯ 1. Use this MCP server
  2. Use this and all future MCP servers in this project
  3. Continue without using this MCP server

Enter to confirm · Esc to cancel
Choose option 1 and press Return. Inside Claude Code, run:
/mcpFind the agiflow row. It should show a connected status and a tool count greater than zero. The run behind this tutorial read:
agiflow · ✔ connected · 35 toolsChoosing “Continue without using this MCP server” on an earlier launch persists a rejection in .claude/settings.local.json inside the project folder. Clear that file before relaunching, or the server will not connect.
04 : Work the pipeline through your assistant
Step 6 : Ask the assistant to create your deals
Type this prompt into Claude Code, rather than creating the cards on the board yourself:
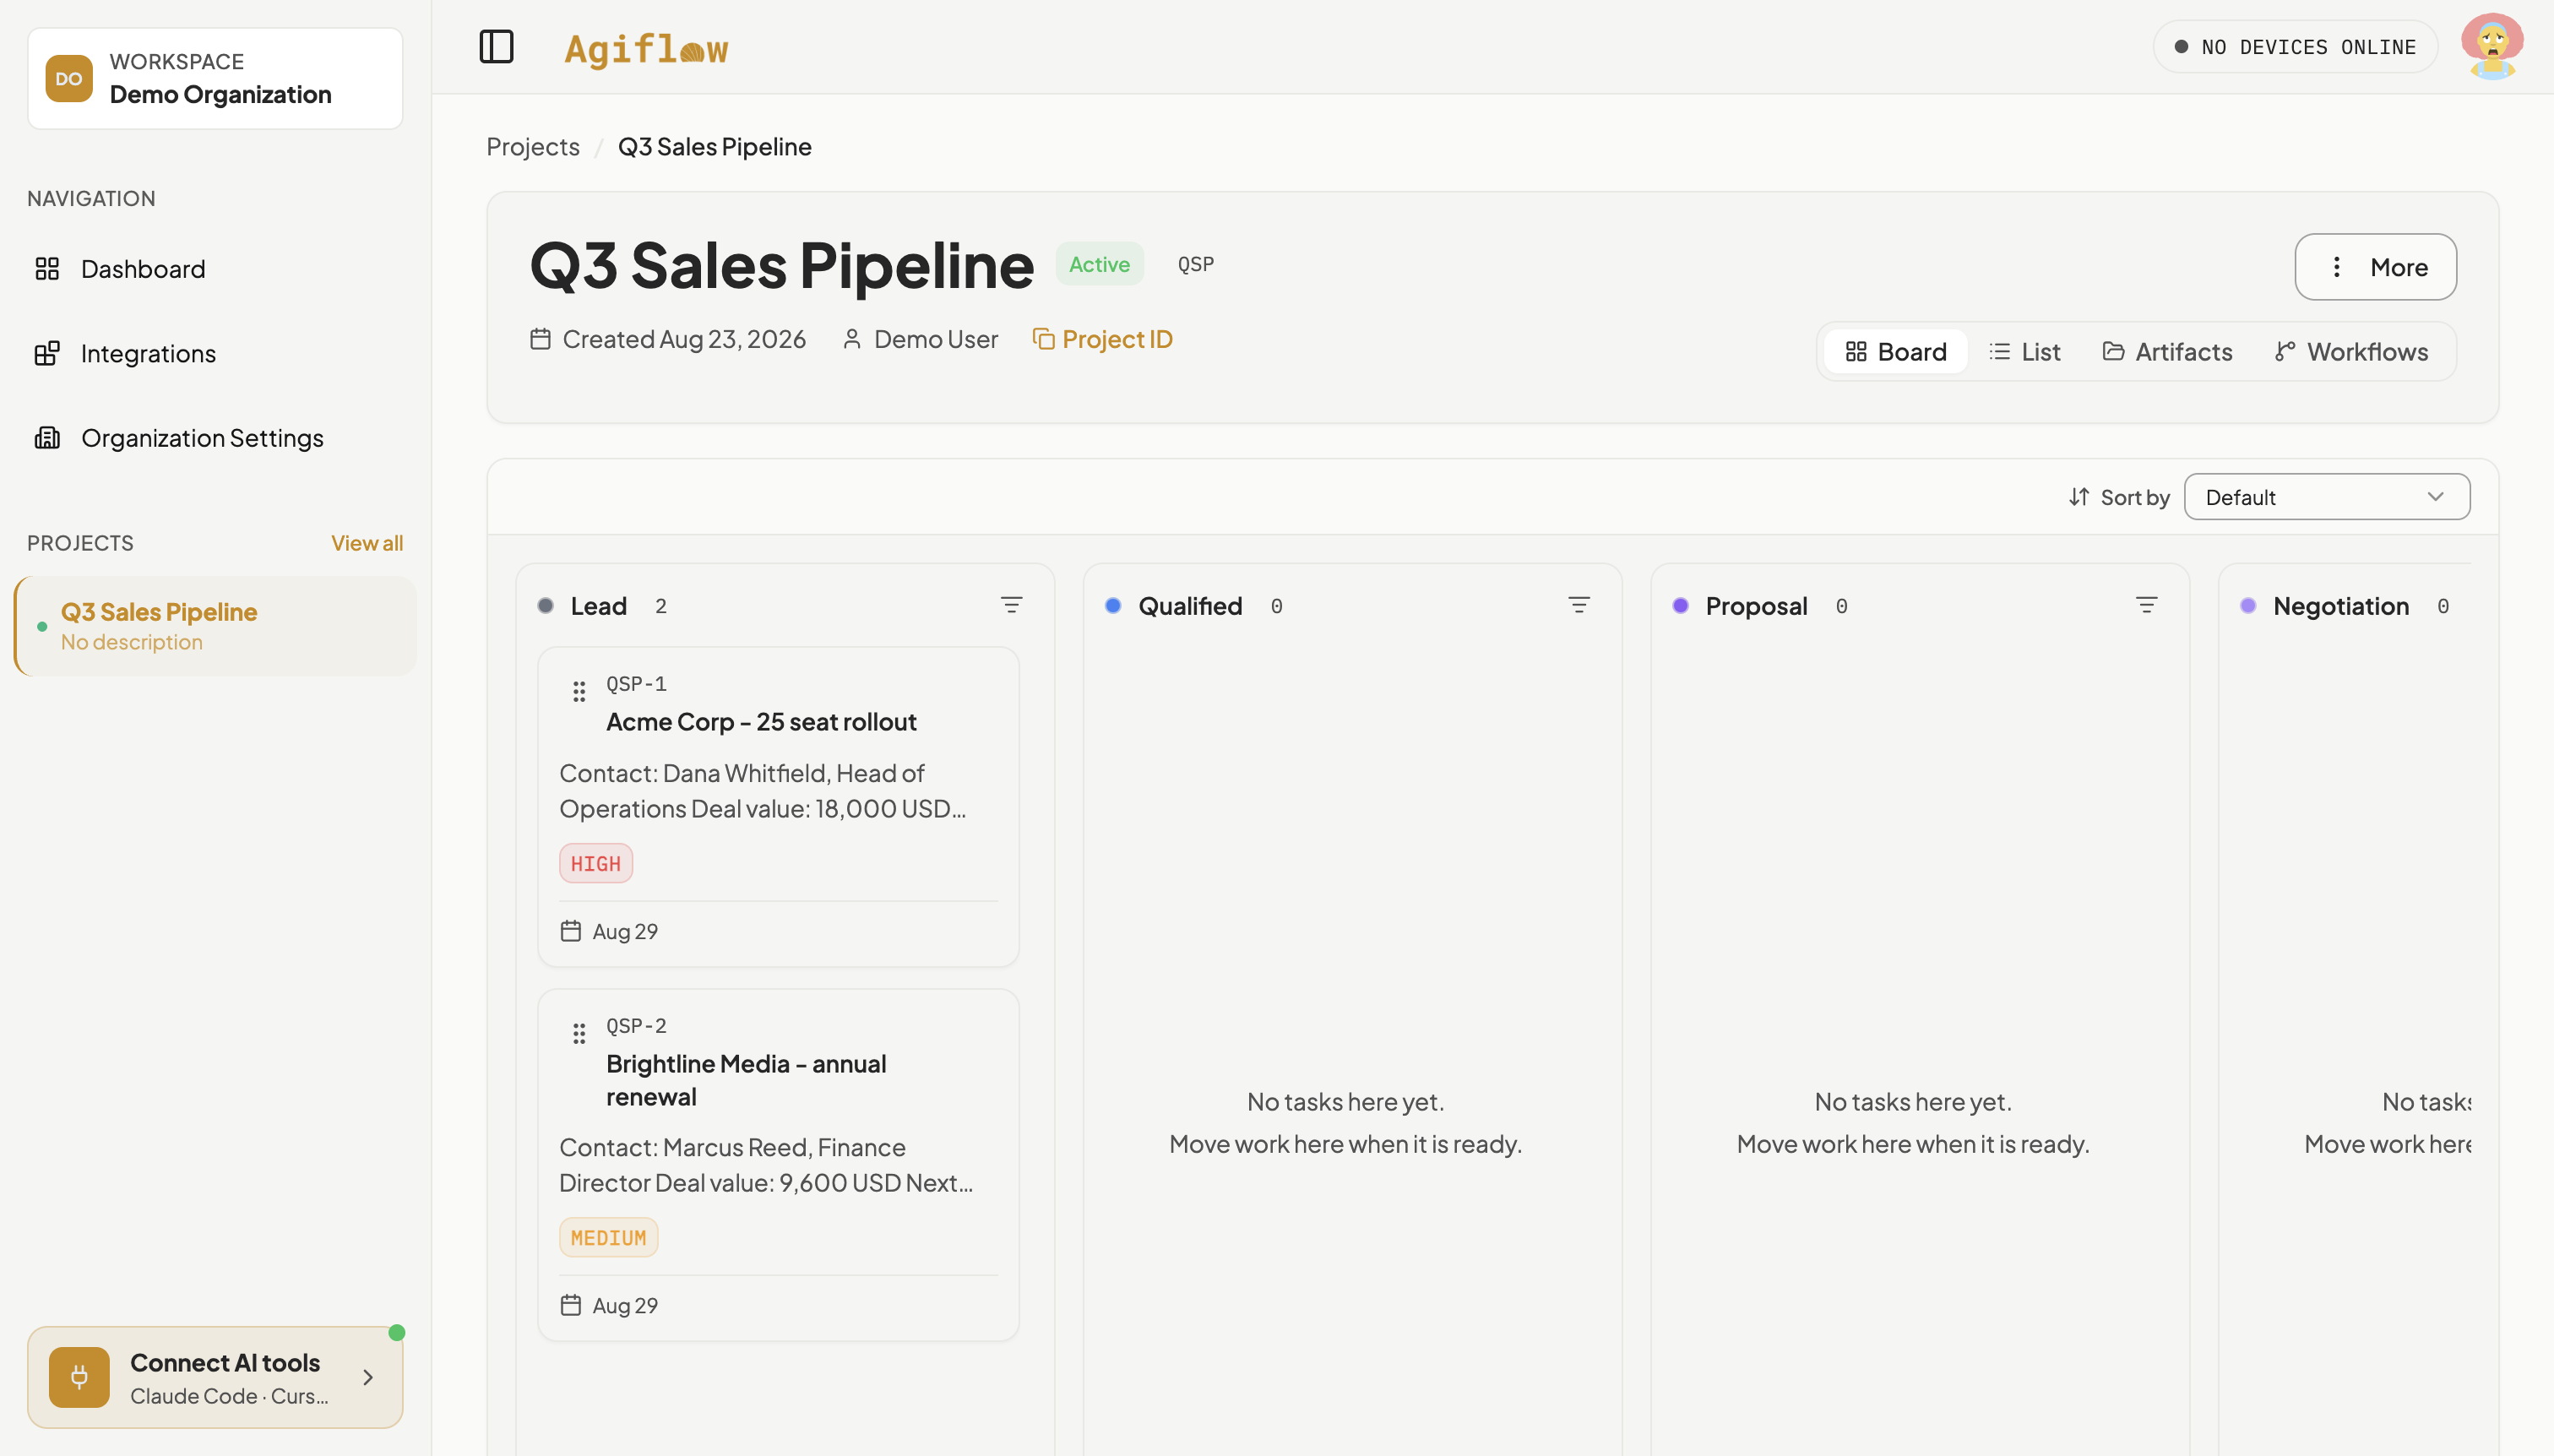
In my Q3 Sales Pipeline project, create two tasks in the Lead stage. First: title "Acme Corp - 25 seat rollout", priority high, description: Contact: Dana Whitfield, Head of Operations Deal value: 18,000 USD Next step: send the pilot proposal Second: title "Brightline Media - annual renewal", priority medium, description: Contact: Marcus Reed, Finance Director Deal value: 9,600 USD Next step: confirm renewal terms Set the due date on both to this Friday.
The assistant calls Agiflow MCP tools to find the project and its Lead status, then creates both tasks and confirms them in its reply. Reloading the board shows two cards in Lead with those exact titles. The board renders each due date in your browser’s local timezone, so a card can read one calendar day later than the date the assistant reports. In the run behind this tutorial the assistant set Friday Aug 28 (UTC) and the board rendered Aug 29.
Step 7 : Move a deal by hand
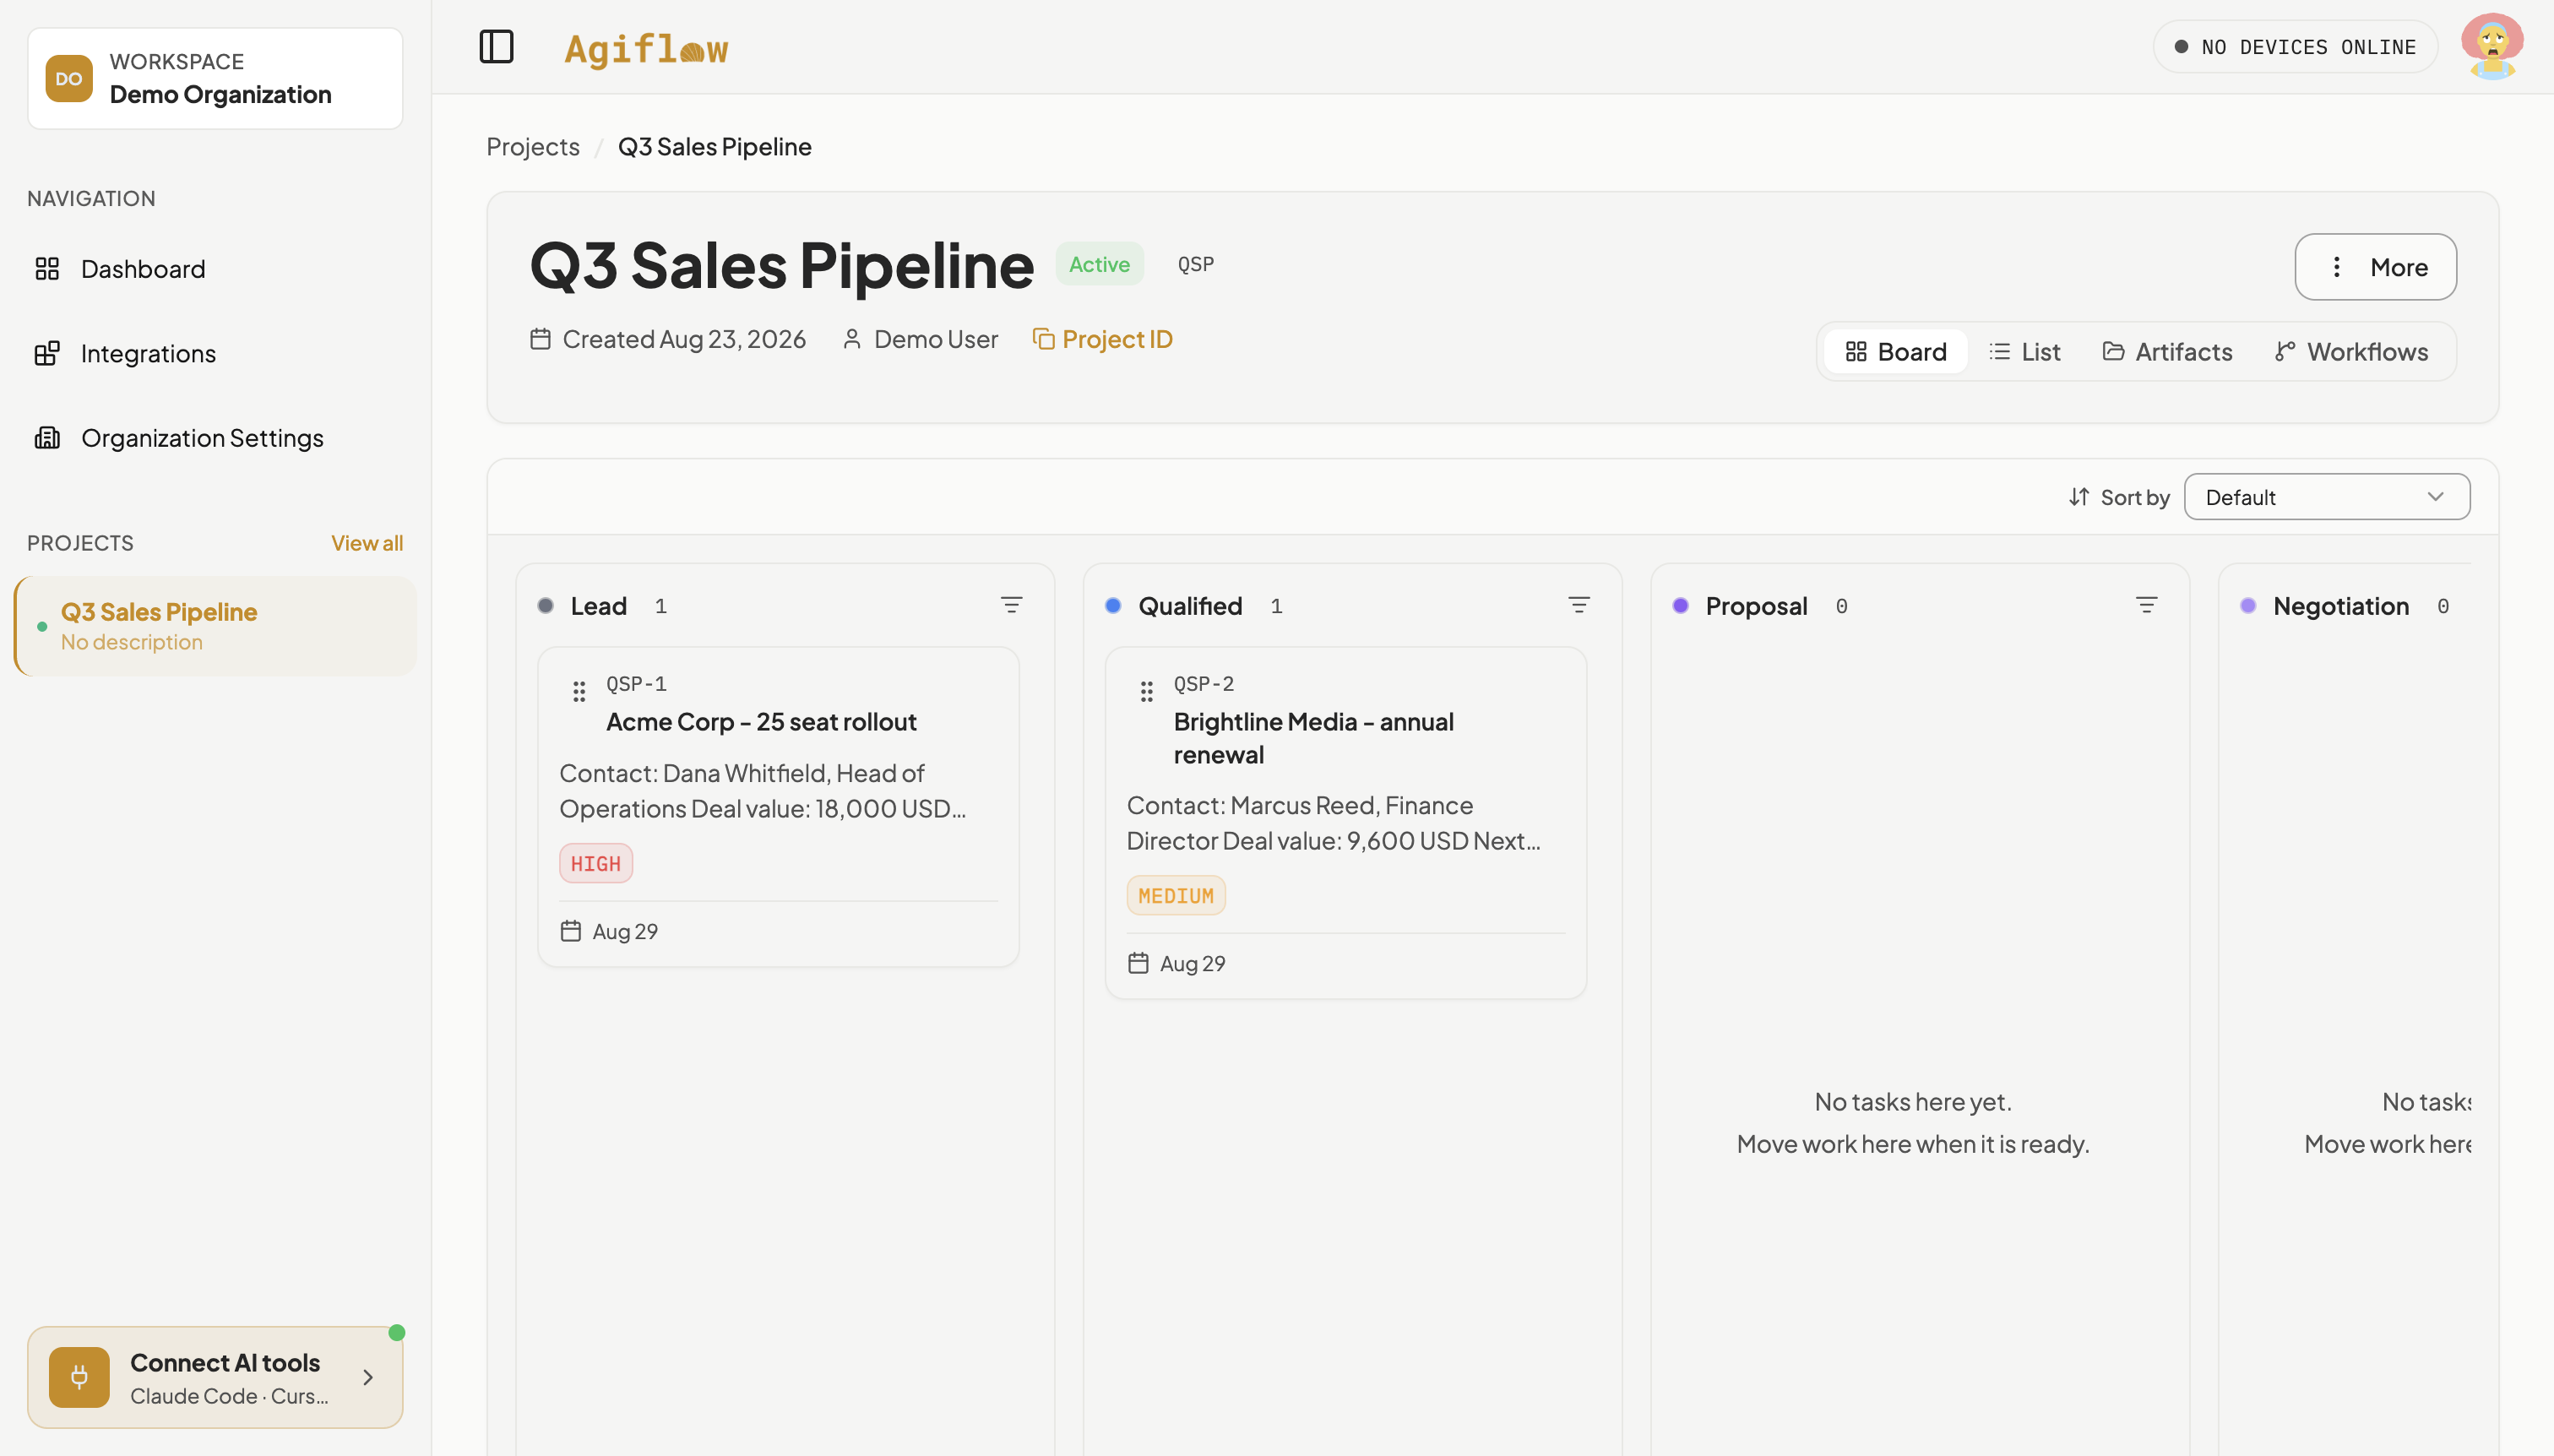
Drag the Brightline Media - annual renewal card from Lead to Qualified. The card renders under Qualified and stays there after a full page reload.
Step 8 : Ask the assistant to read the pipeline back
Confirm the assistant sees the same board you do, including the move you just made by hand:
List every task in the Q3 Sales Pipeline project with its current stage.
The assistant calls an Agiflow MCP tool to list tasks and replies with exactly two deals: Acme Corp - 25 seat rollout in Lead, and Brightline Media - annual renewal in Qualified, matching the board exactly.
Step 9 : Ask the assistant to move a deal
Advance a deal from the assistant side, and confirm the board agrees:
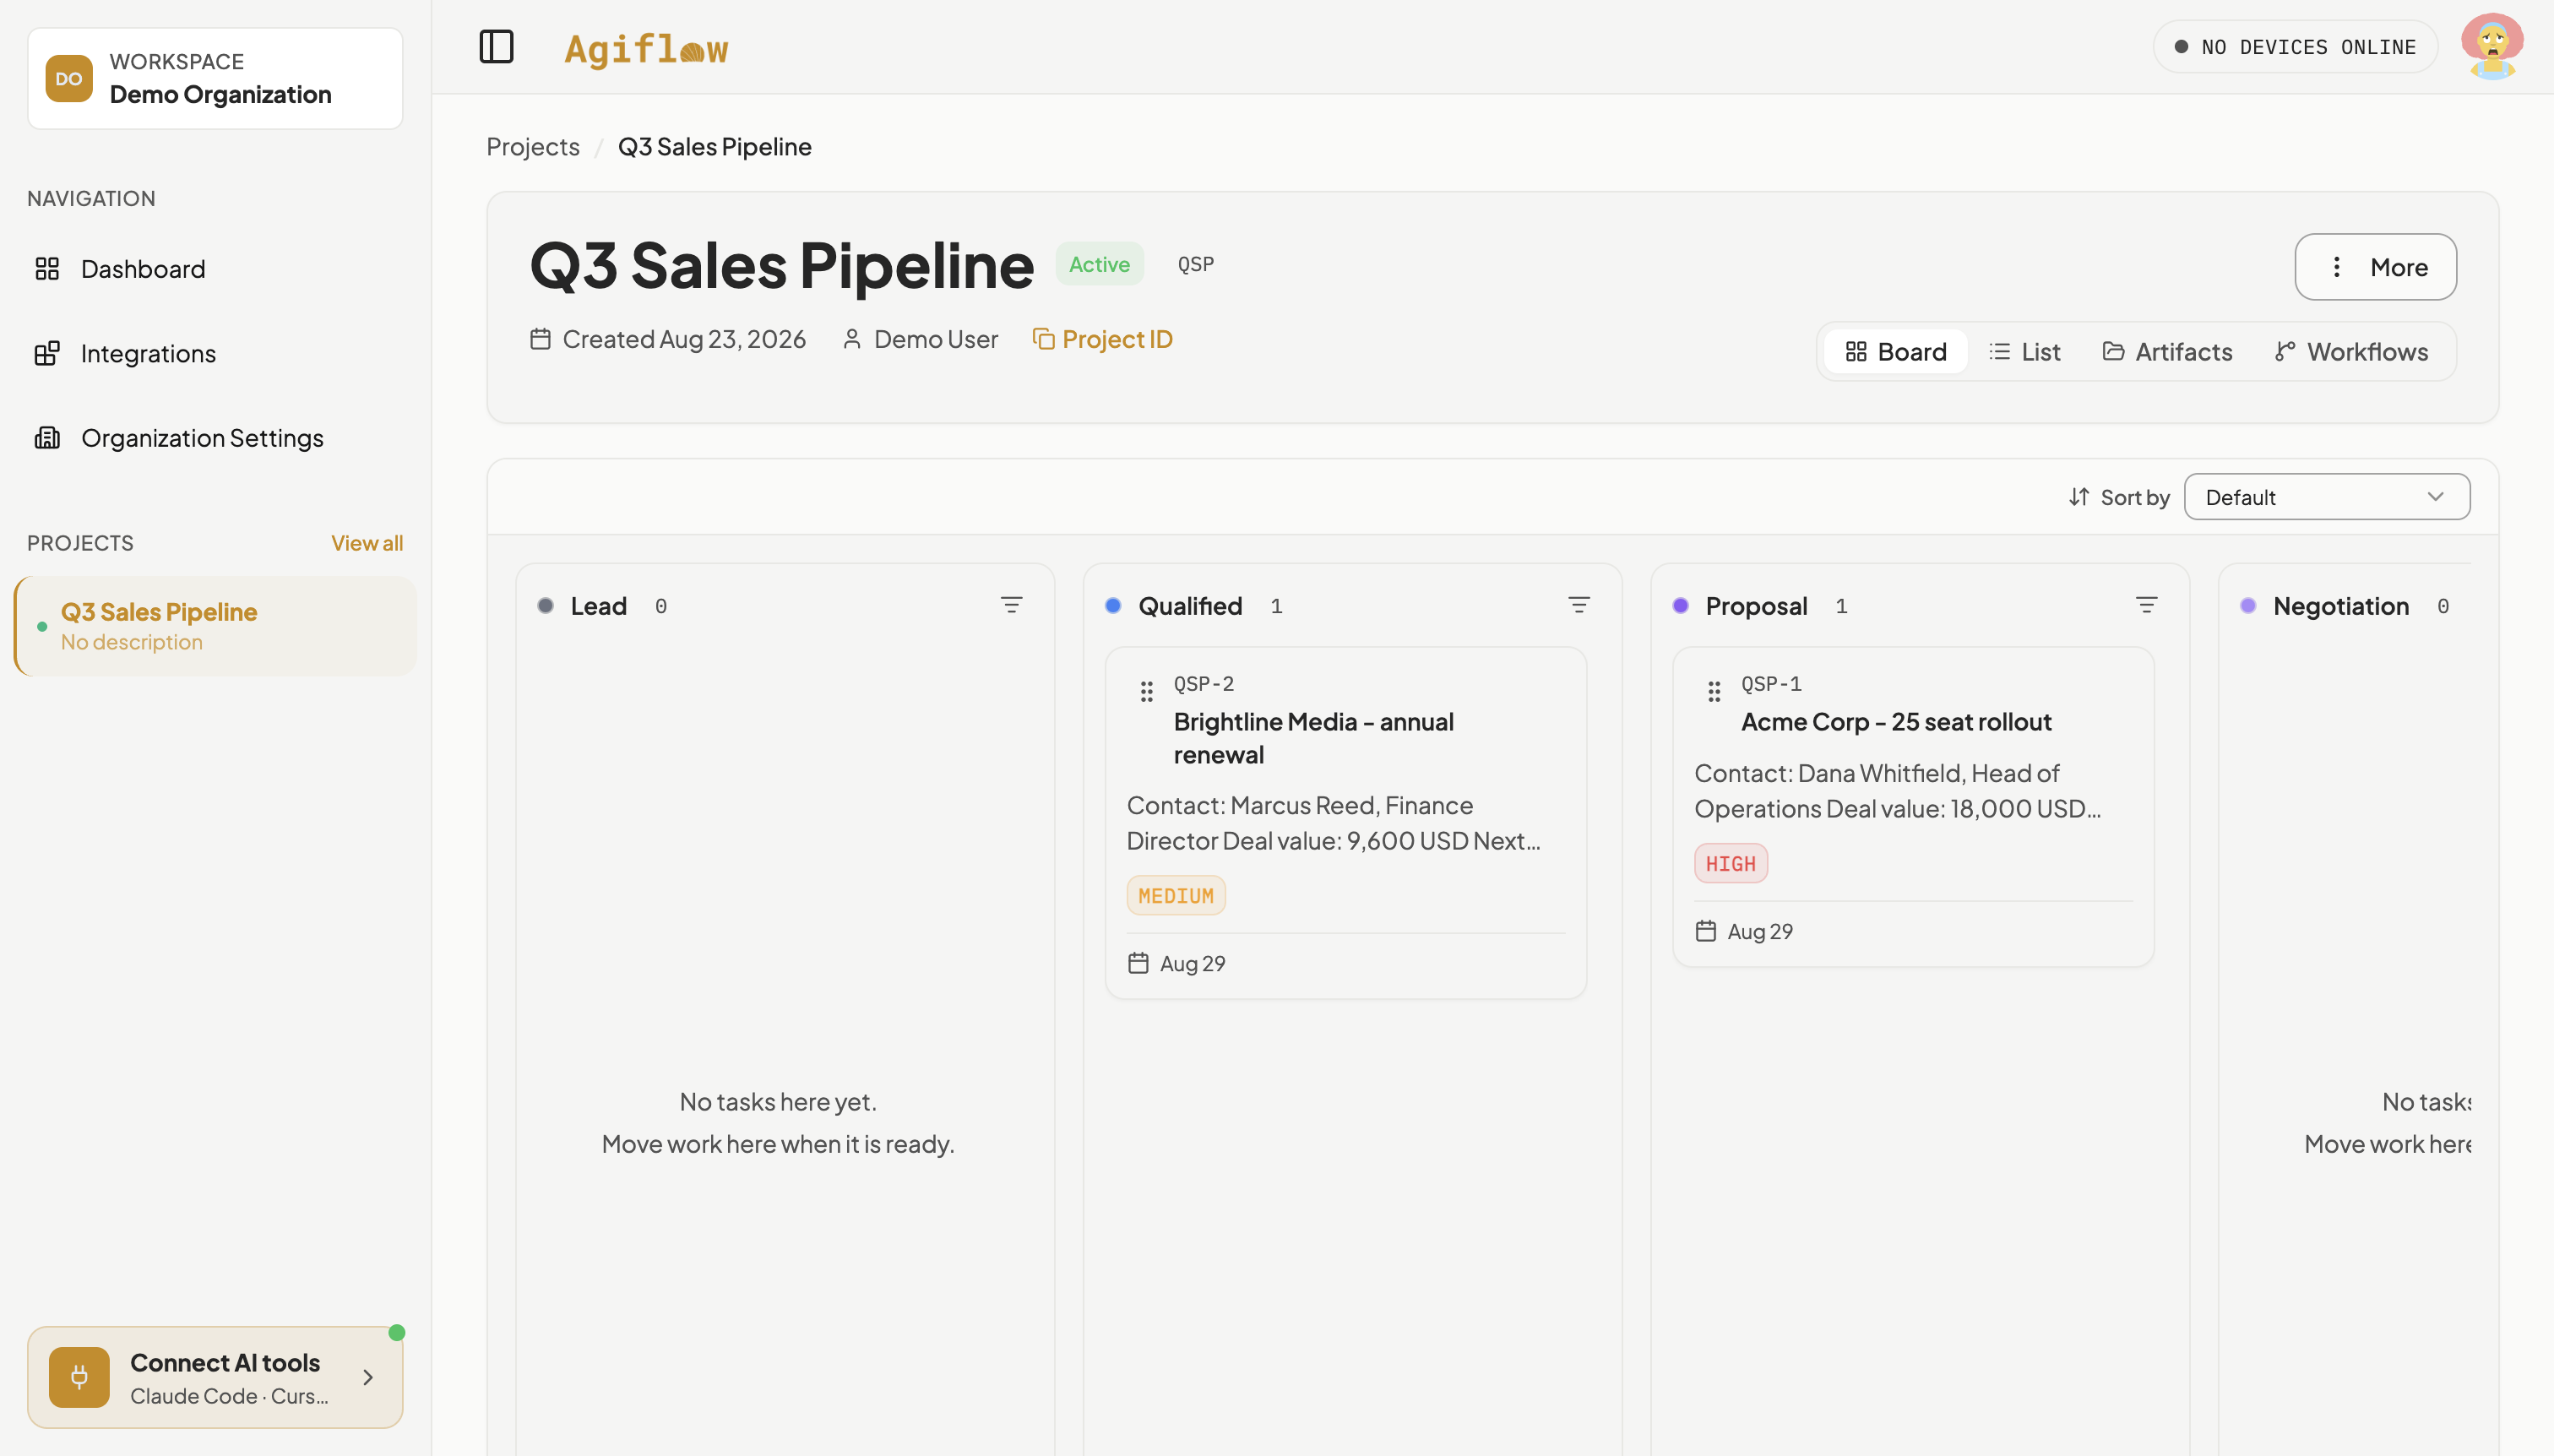
Move the Acme Corp - 25 seat rollout deal to Proposal.
The assistant calls an Agiflow MCP tool to update the task status and confirms the change. Reloading the board shows the card under Proposal.
Step 10 : Ask what needs following up
This is the question the whole setup exists to answer:
Which deals in Q3 Sales Pipeline have a due date this week, and what is the next step recorded on each?
The assistant calls an Agiflow MCP tool to list the tasks sorted by due date, then answers naming both deals, both due dates, and the “Next step” line quoted from each description: sending the pilot proposal for Acme Corp, and confirming renewal terms for Brightline Media. If you ever get a prose answer with no tool call behind it, that is not grounded in your board and should not be trusted.
05 : Confirm the end state
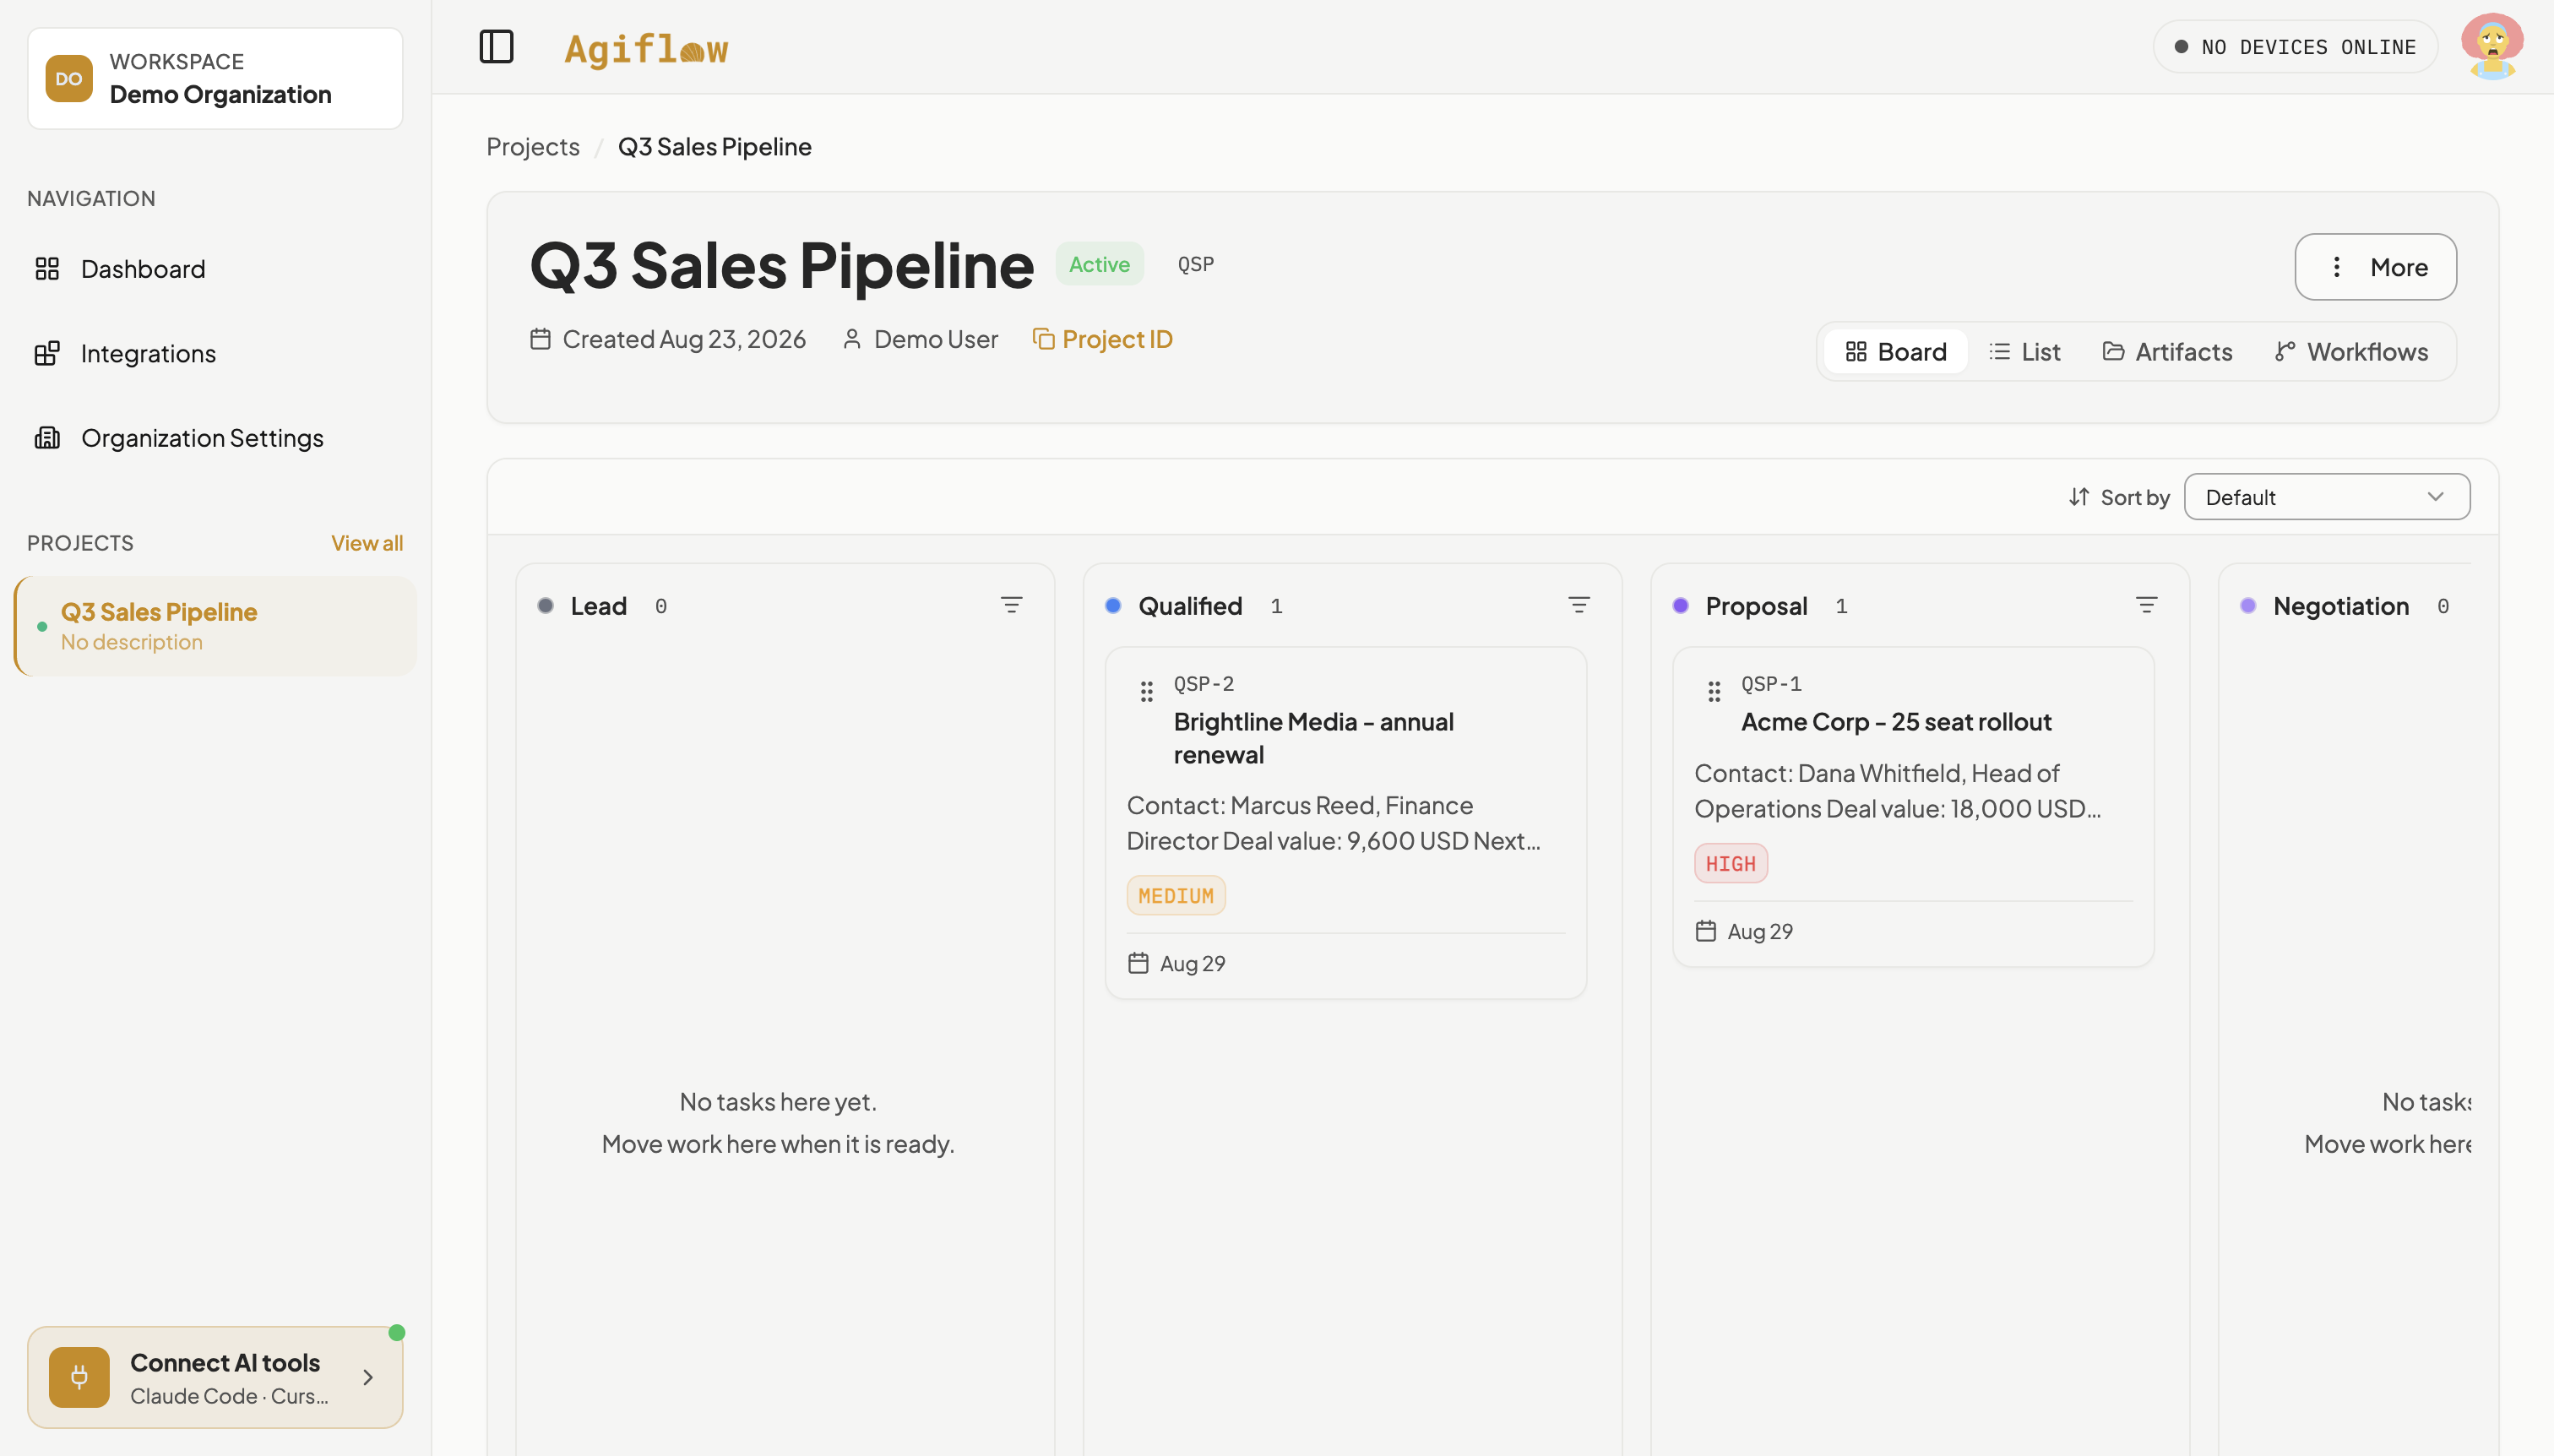
Navigate directly to the project board URL, forcing a full reload rather than clicking an in-app link. Acme Corp - 25 seat rollout sits in Proposal, Brightline Media - annual renewal sits in Qualified, and both cards show the same due date the assistant set in Step 6.
06 : When it goes wrong
The hand merge in Step 5 is incomplete: either the comma after the "url" line is missing, or the entire "headers" block was never pasted in. Open .mcp.json, confirm it has both url and headers with valid JSON, then relaunch claude and run /mcp again.
You likely chose “Continue without using this MCP server” on an earlier launch. That rejection is stored in .claude/settings.local.json inside the project folder. Delete or clear that file, then relaunch claude and approve the server when asked.
07 : Next step
Add your own deals the same way: ask your assistant to create them, or add them on the board directly. When you are done experimenting with the API key from Step 4, revoke it from Organization Settings > Developer > API Keys, the same place the connect modal footer points to.