For marketing teams
Run a Marketing Campaign
By the end you will have a Q3 Campaign Launch board built from Agiflow’s Marketing template, Claude Code connected to your workspace, a set of campaign tasks your assistant created in Brief, and one of those tasks assigned to a built-in campaign agent with a deadline on it.
01 : Before you start
An Agiflow account
Signing in with your email and password lands you on /dashboard.
Owner or Admin membership in your organization
Organization Settings > Invitations shows your own row as owner or admin.
Room to create one project
/dashboard/projects/new loads and shows "Choose a template to get started".
Room to generate one more API key
Organization Settings > Developer > API Keys lists fewer than 2 keys. The free plan caps at 2, and the Generate API key button in step 5 does nothing, with no error, once you are at the cap.
An email address that is not already a member of your organization
Any address you control that does not already appear in Organization Settings > Invitations or Members. Inviting an existing member fails.
Claude Code installed and signed in
Run claude --version. This tutorial was run against v2.1.240.
A terminal you can type into interactively
Approving the new MCP server in step 6 is an interactive prompt. There is no non-interactive substitute.
This tutorial documents one path only: Claude Code, connected over MCP. If you use a different assistant, see the connection guide for the other options the connect modal offers.
02 : Create your campaign board
Step 1 : Confirm your starting point
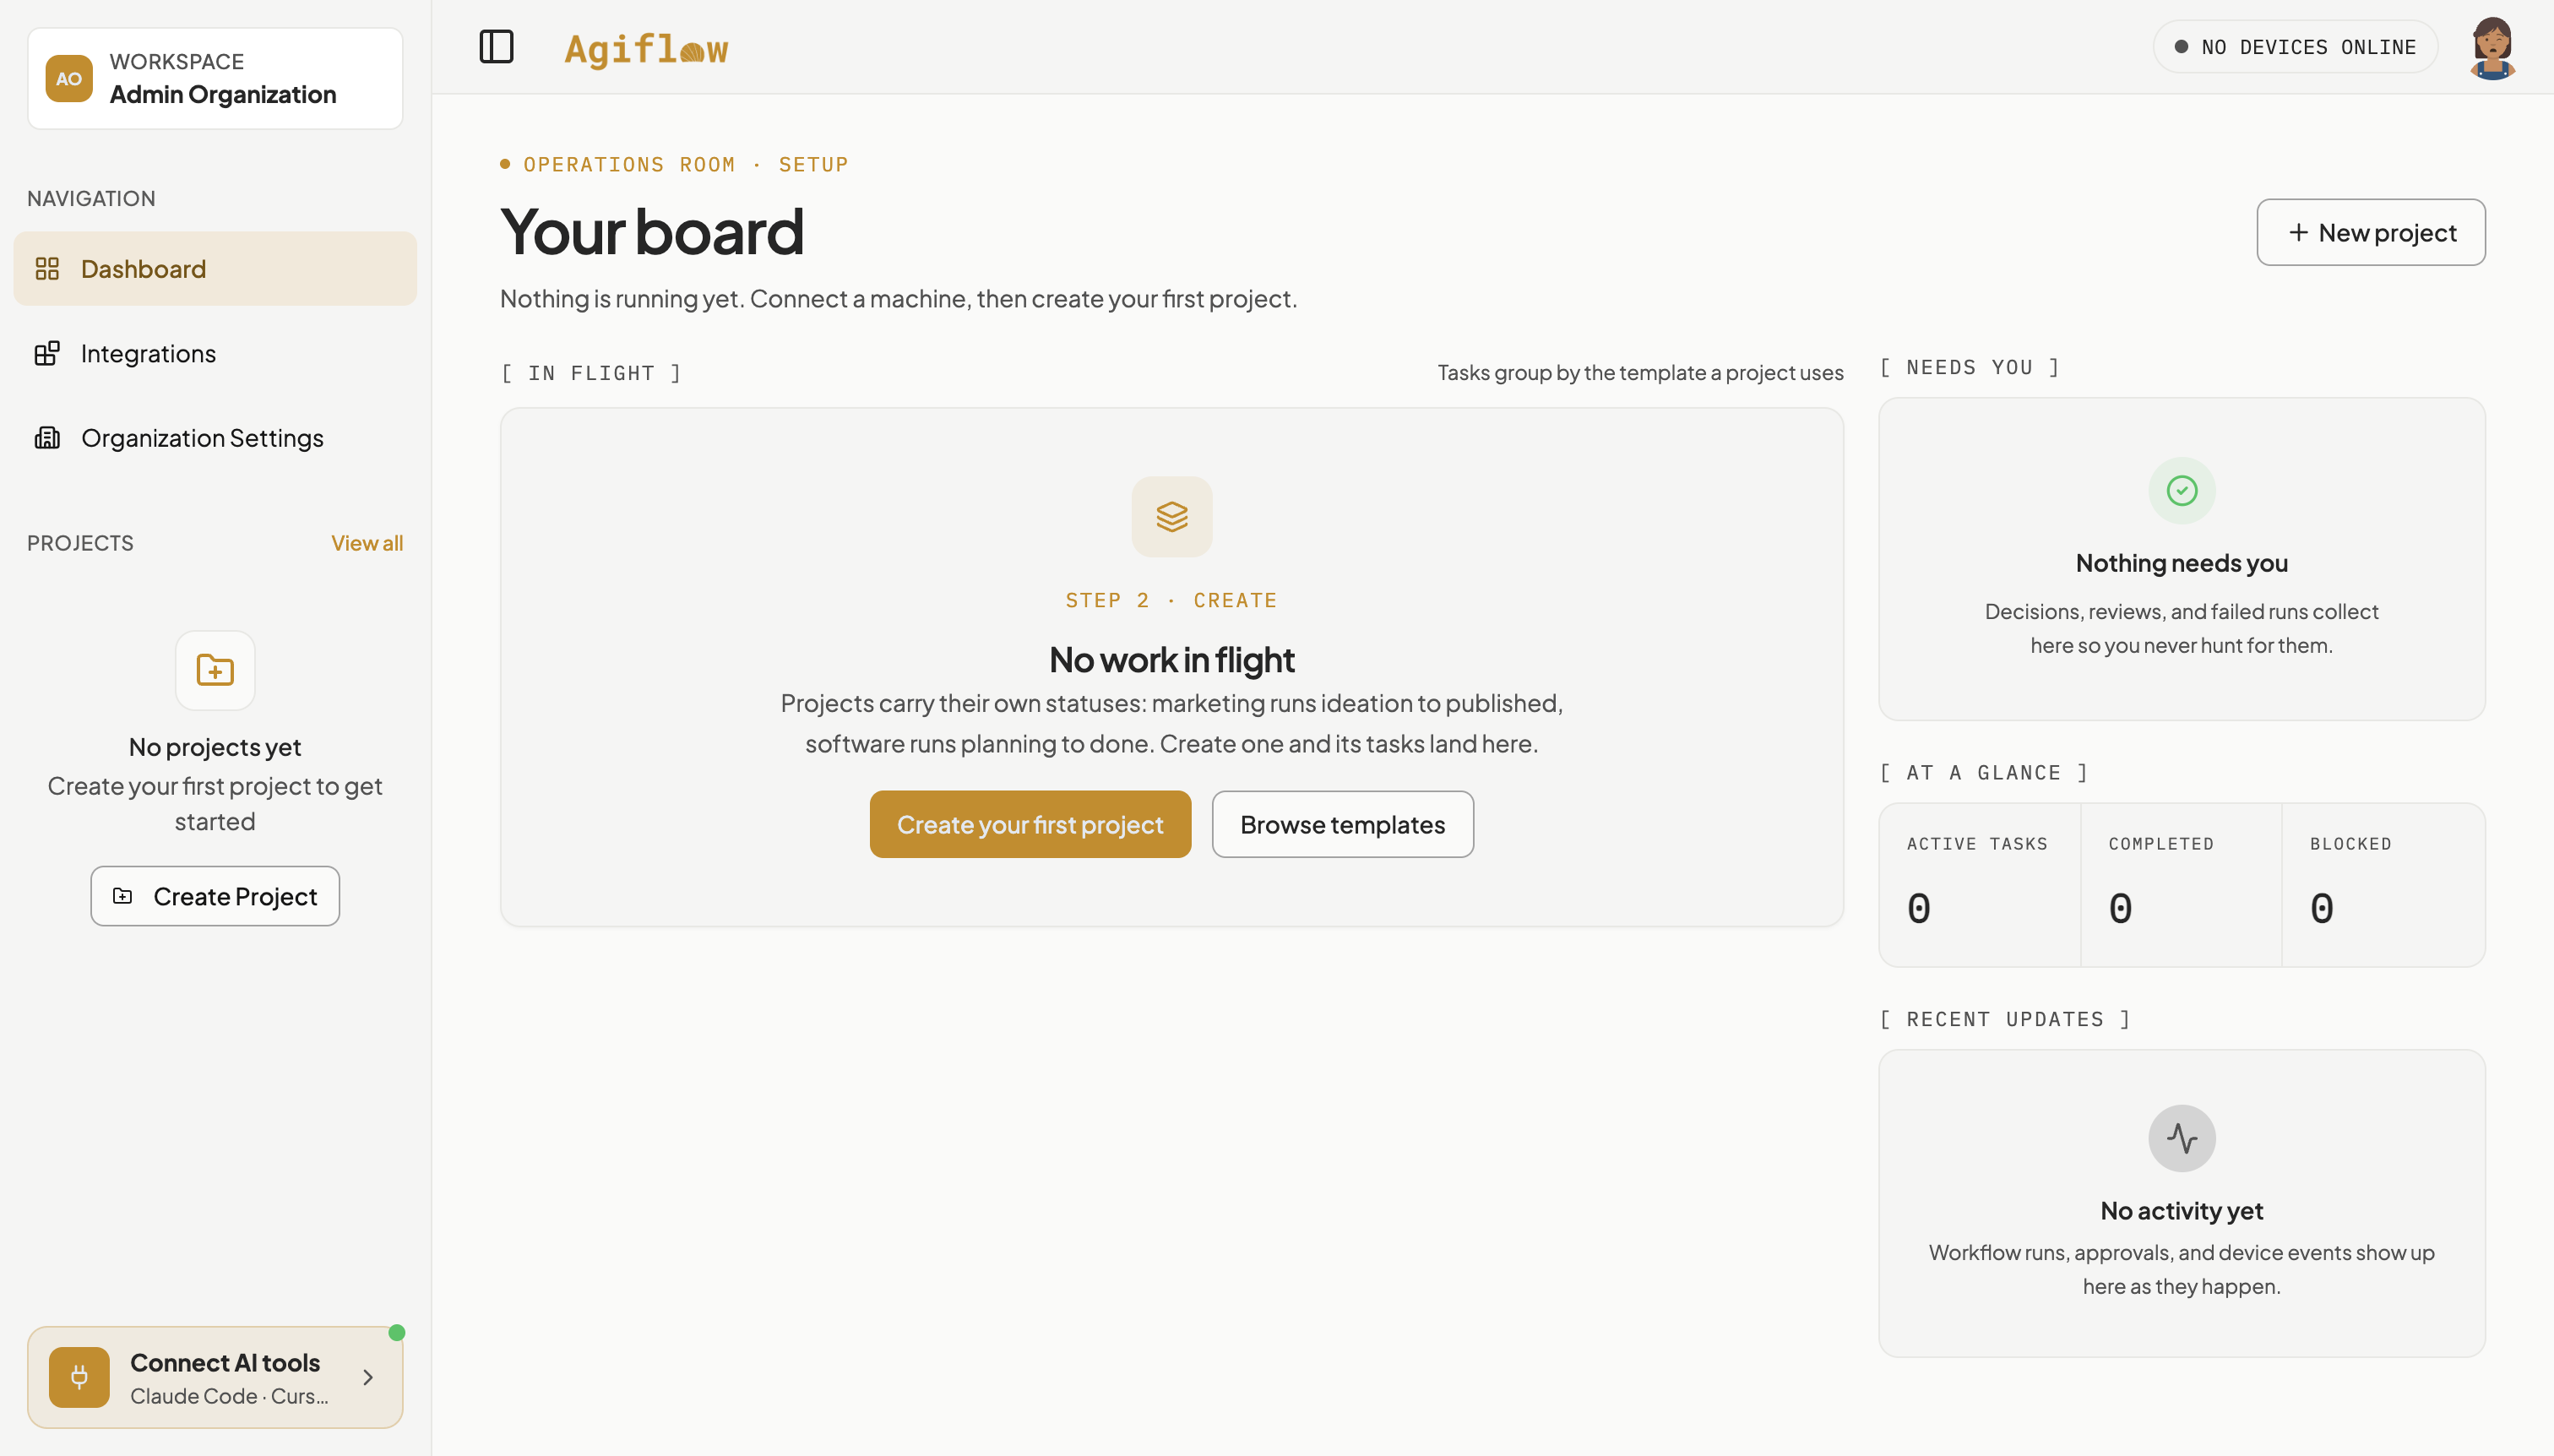
Open the app, click Sign in, and enter your email and password. You land on /dashboard, the sidebar shows your organization name, and no project named “Q3 Campaign Launch” is listed yet.
Step 2 : Create the project from the Marketing template
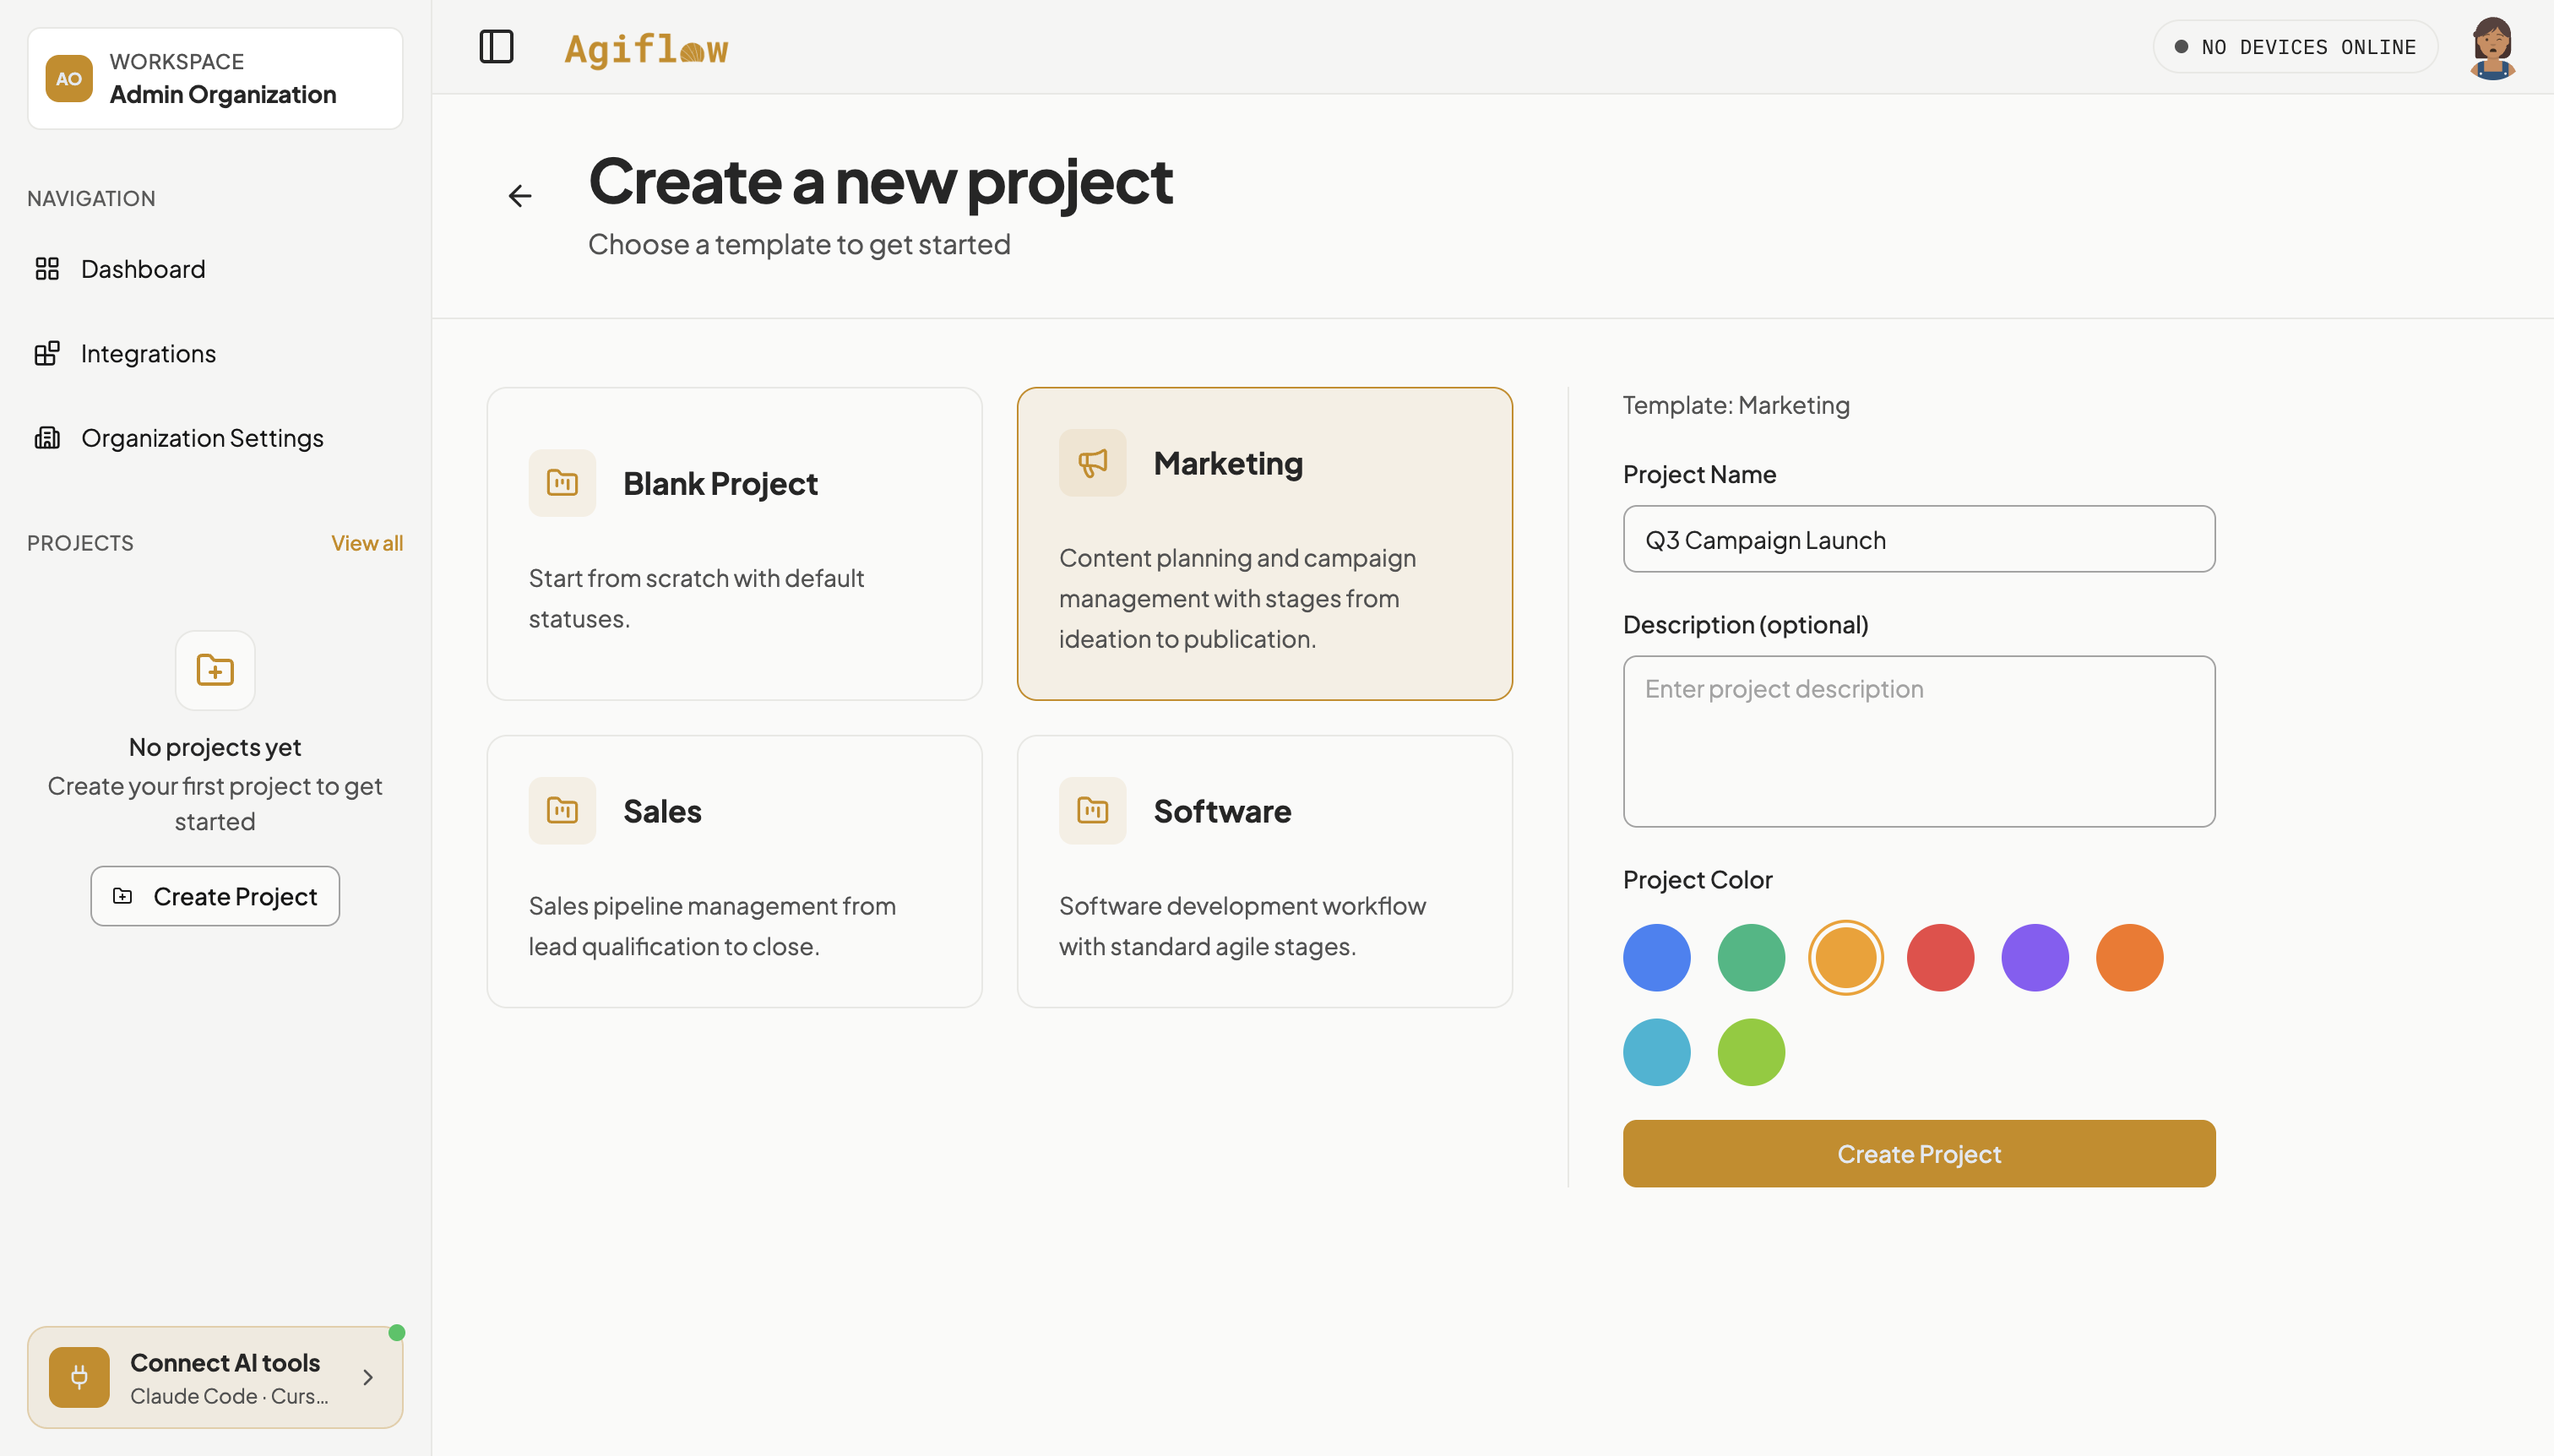
Navigate to /dashboard/projects/new. Under “Choose a template to get started”, click the Marketing card. Type the project name into Project Name:
Q3 Campaign LaunchLeave Description empty and leave Project Color as is, selecting the Marketing card already sets it. Then click Create Project.
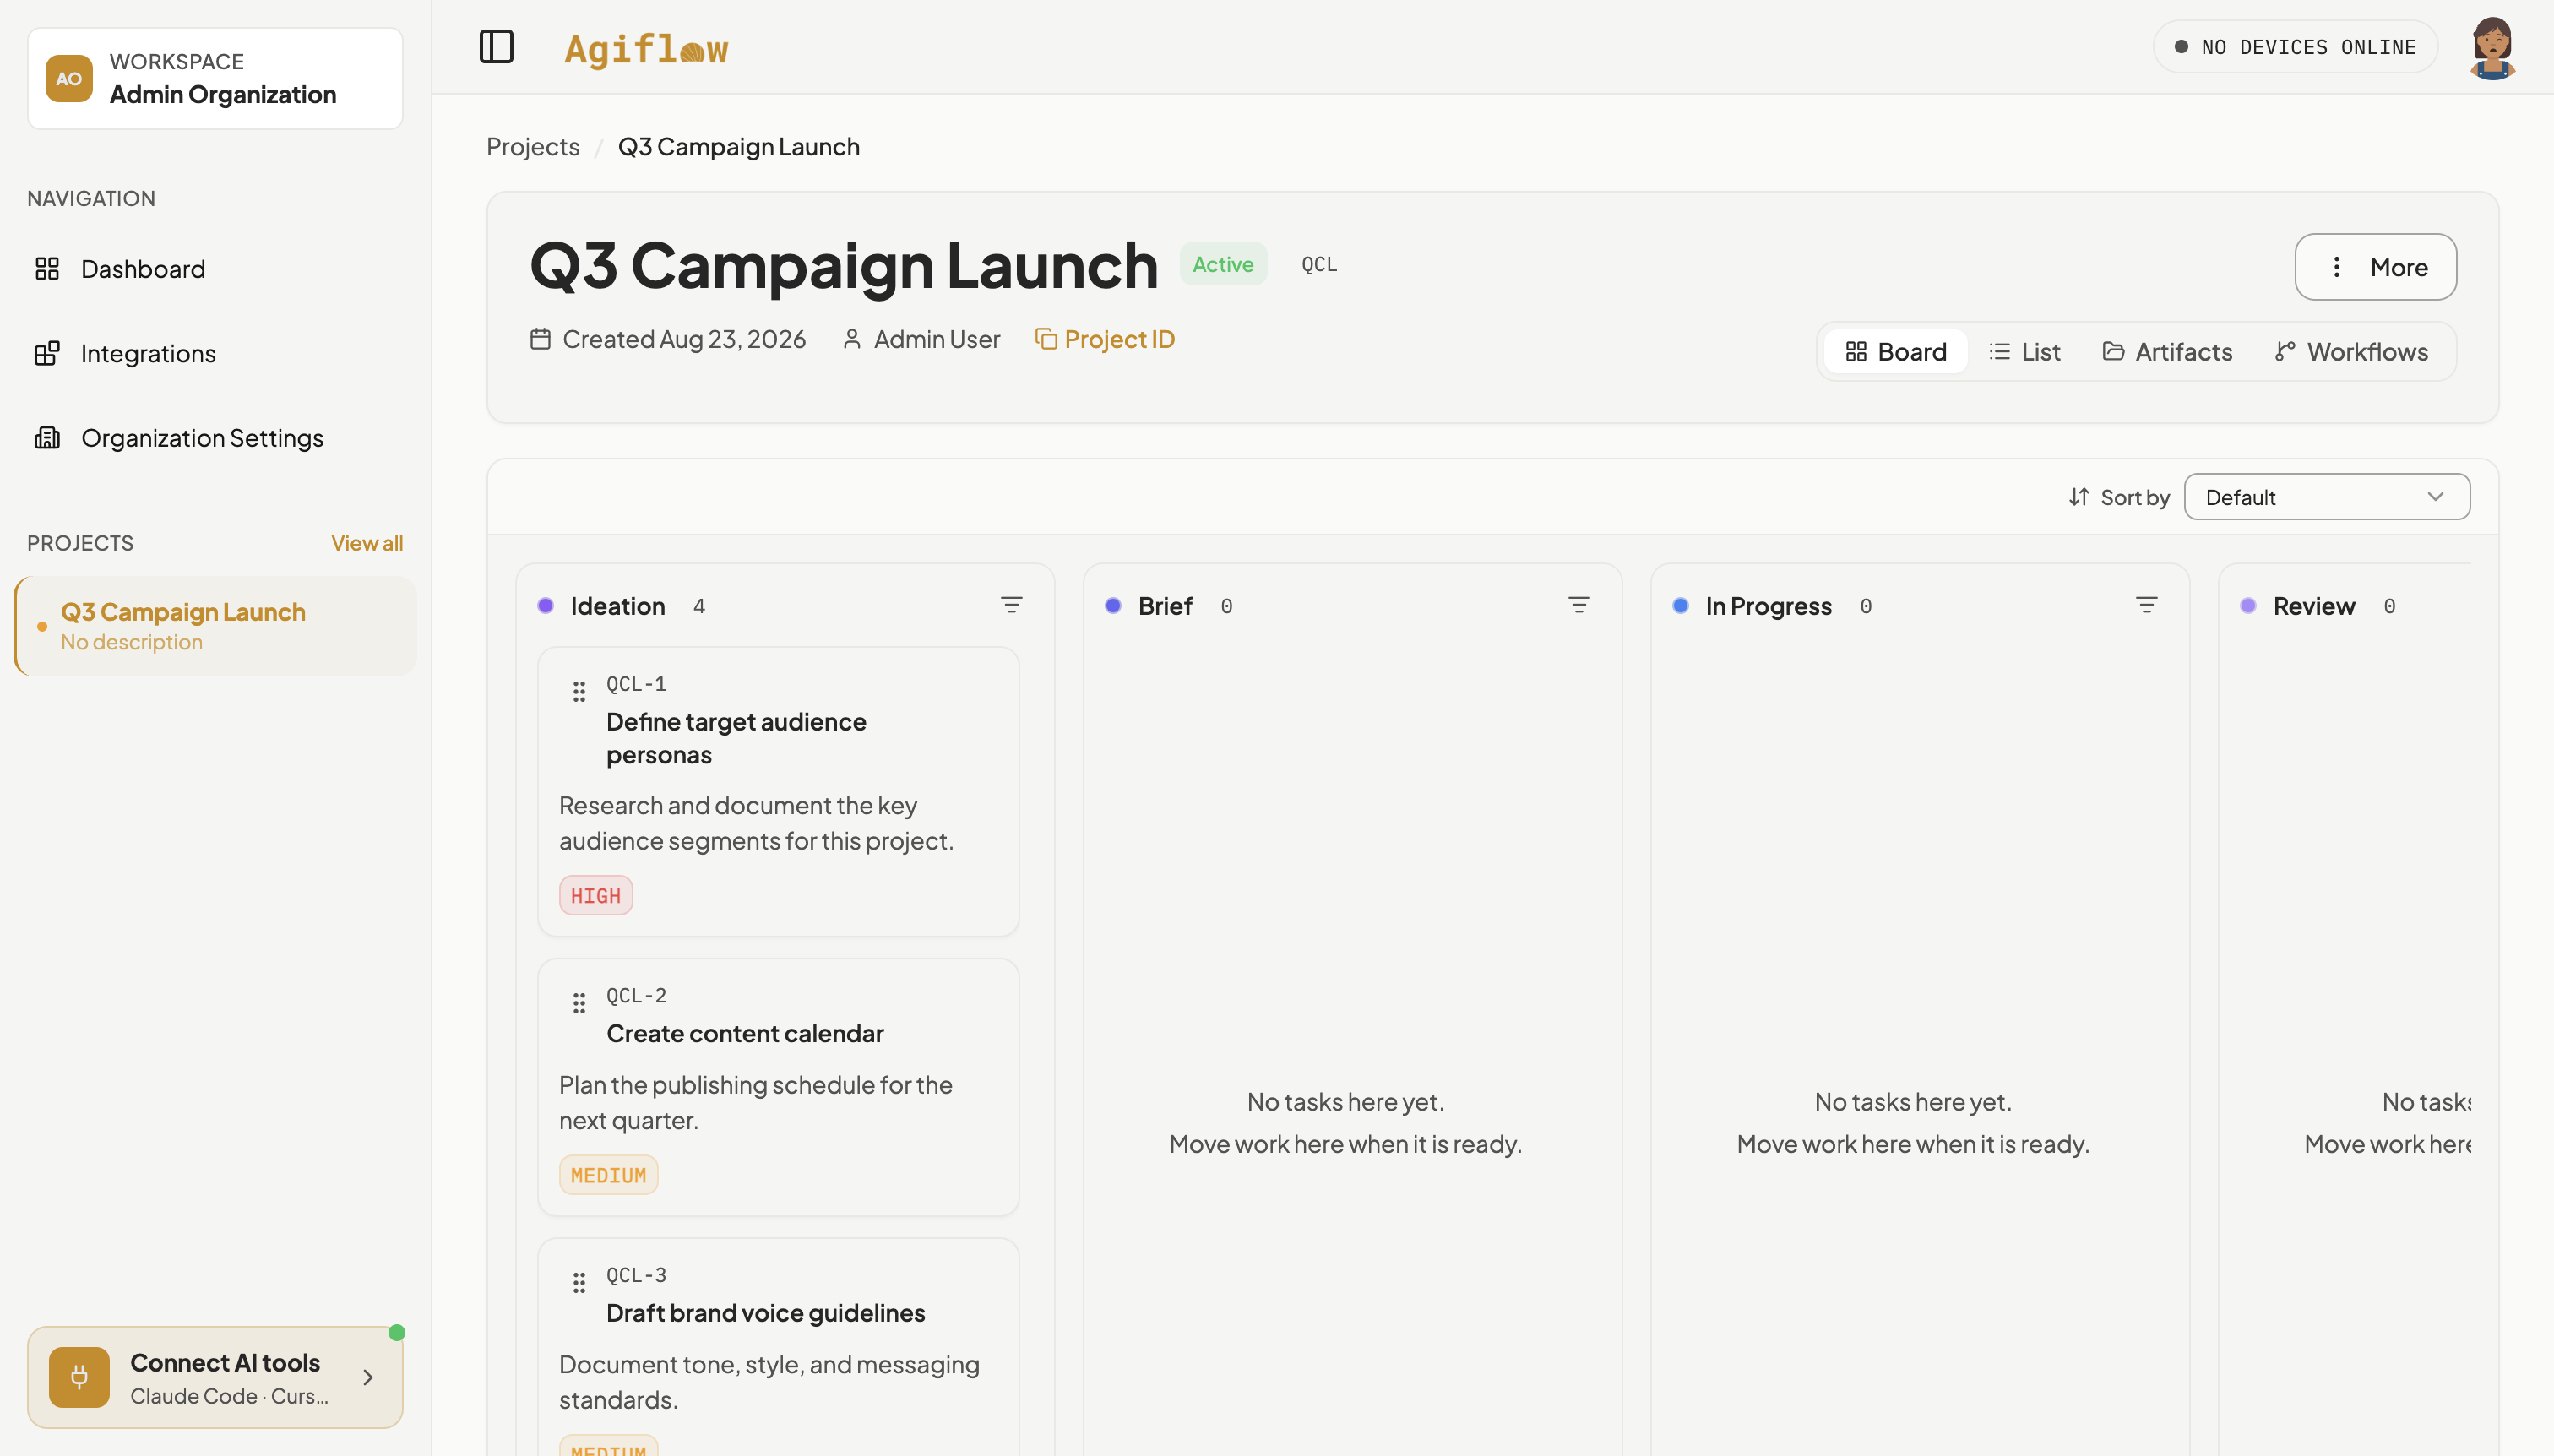
The browser lands on the new project’s board.
Step 3 : Read the board the template built
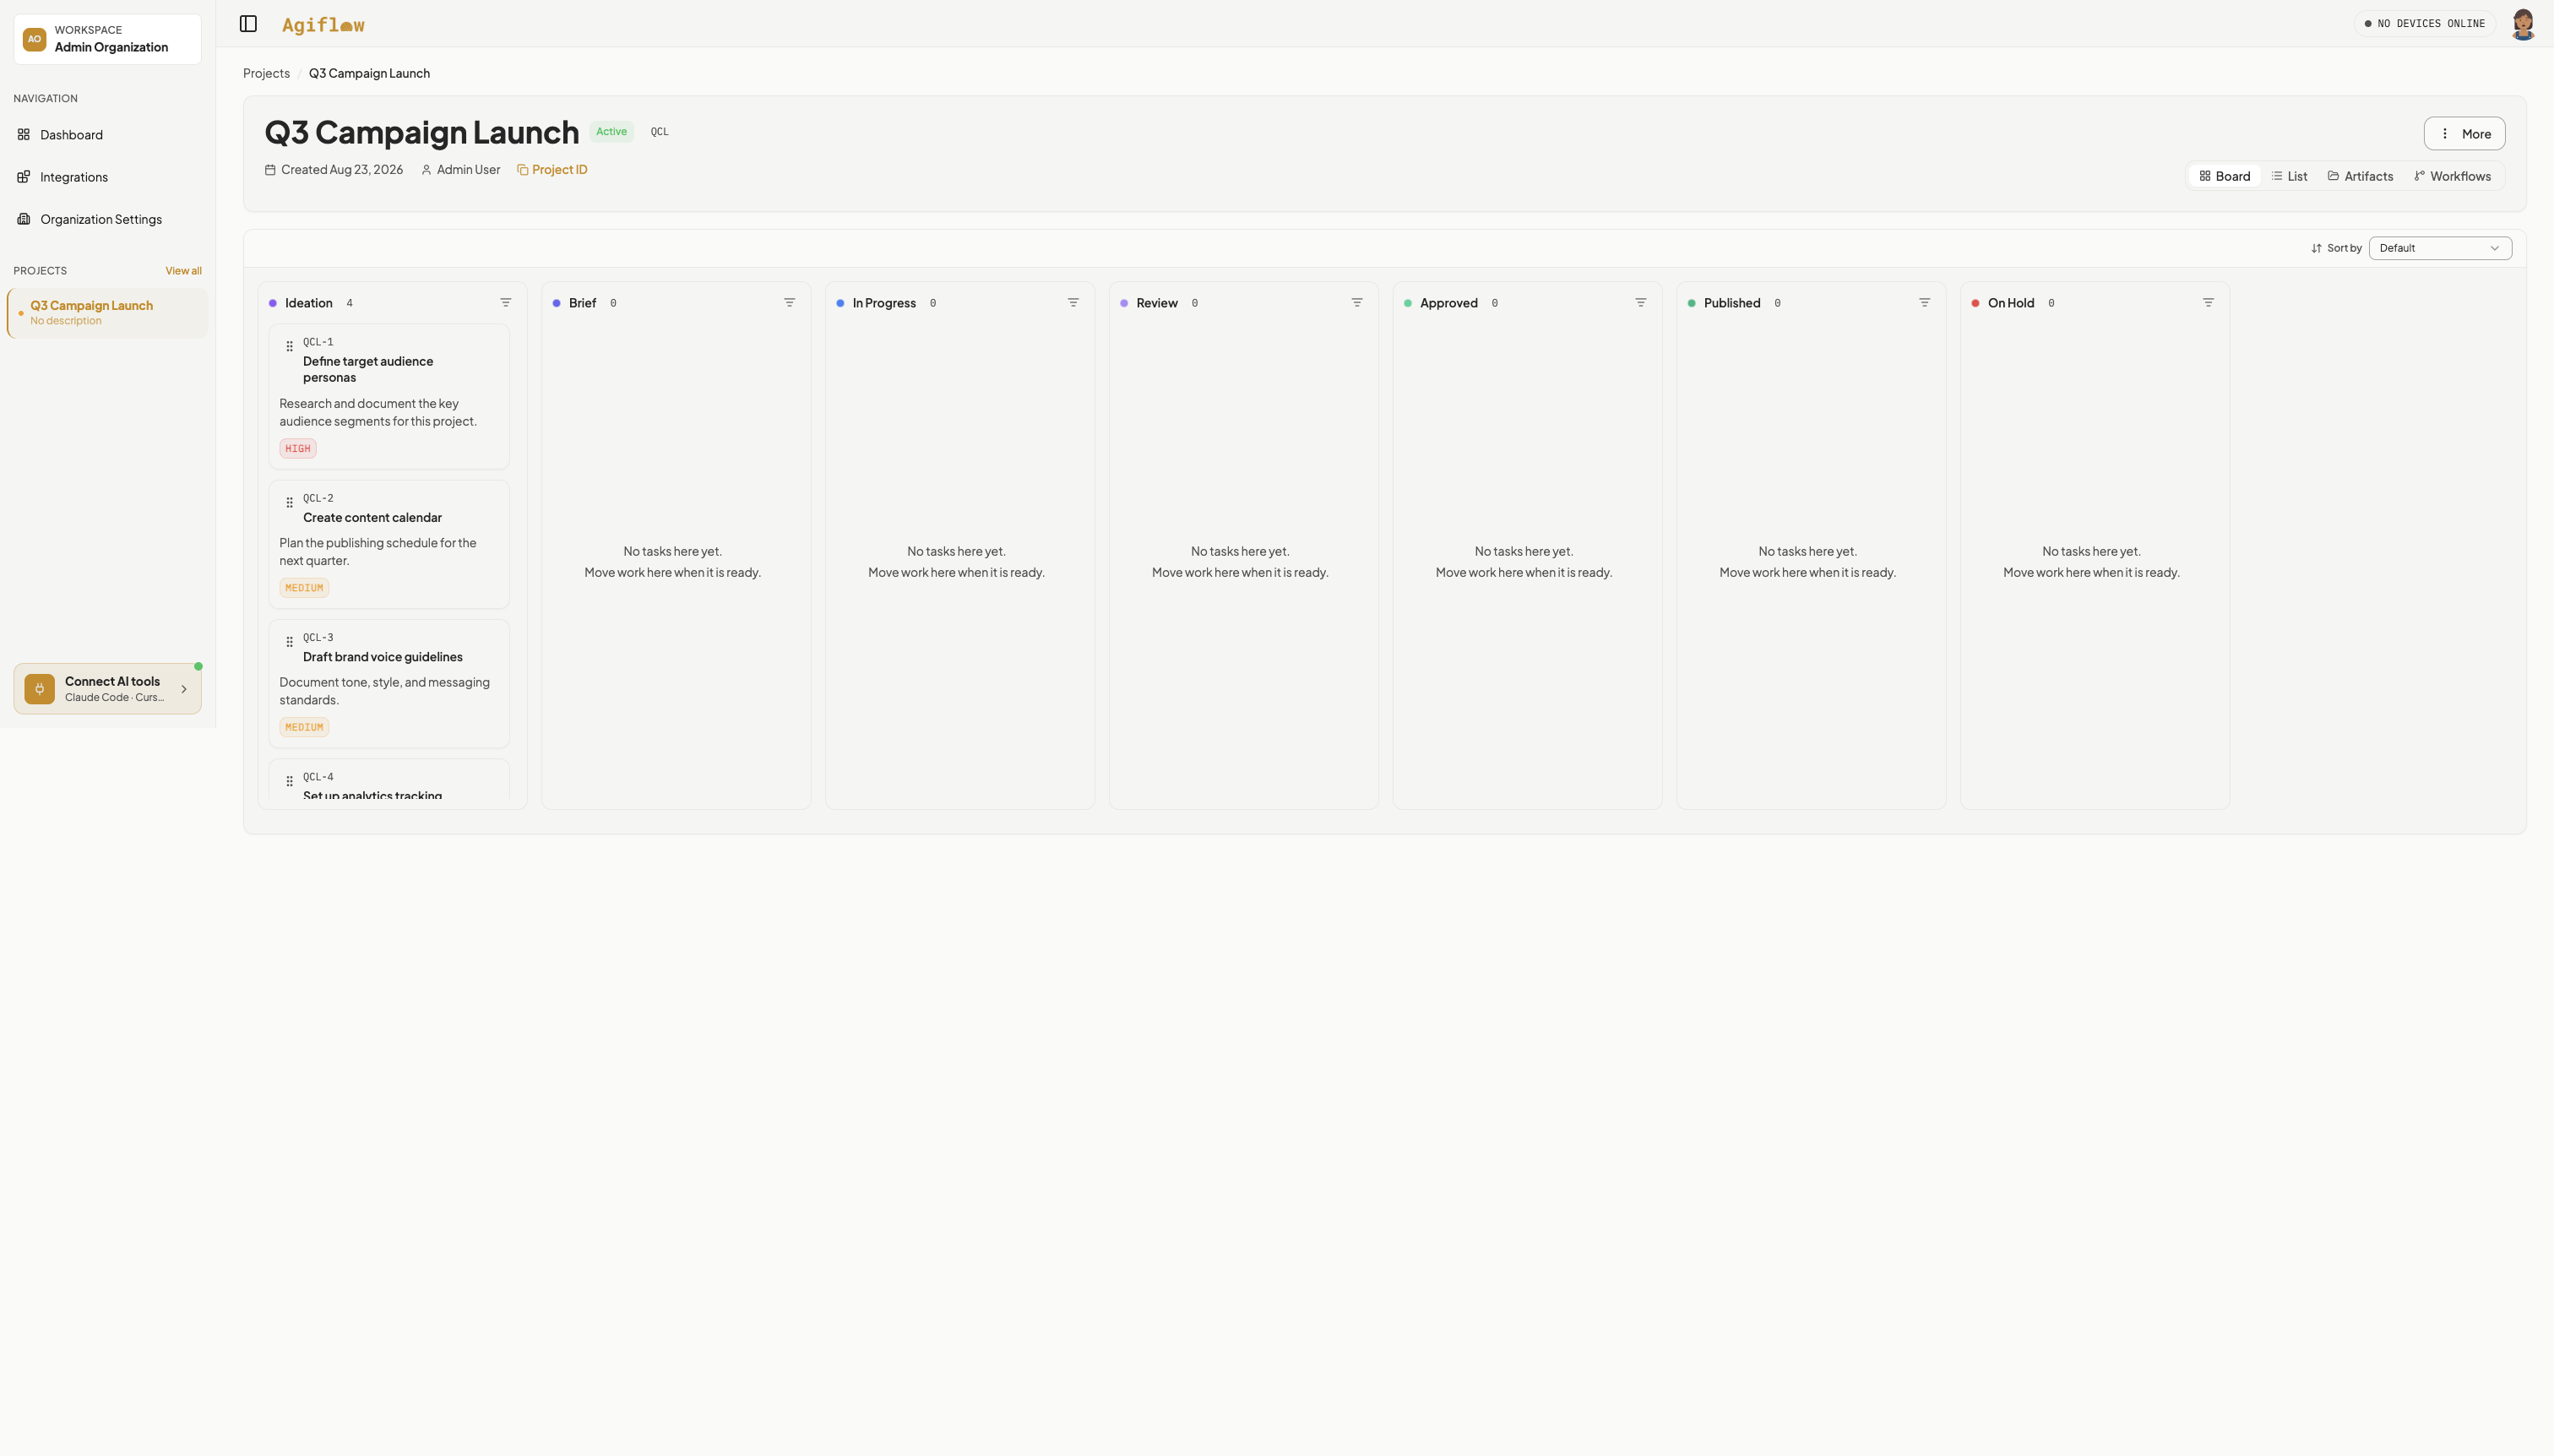
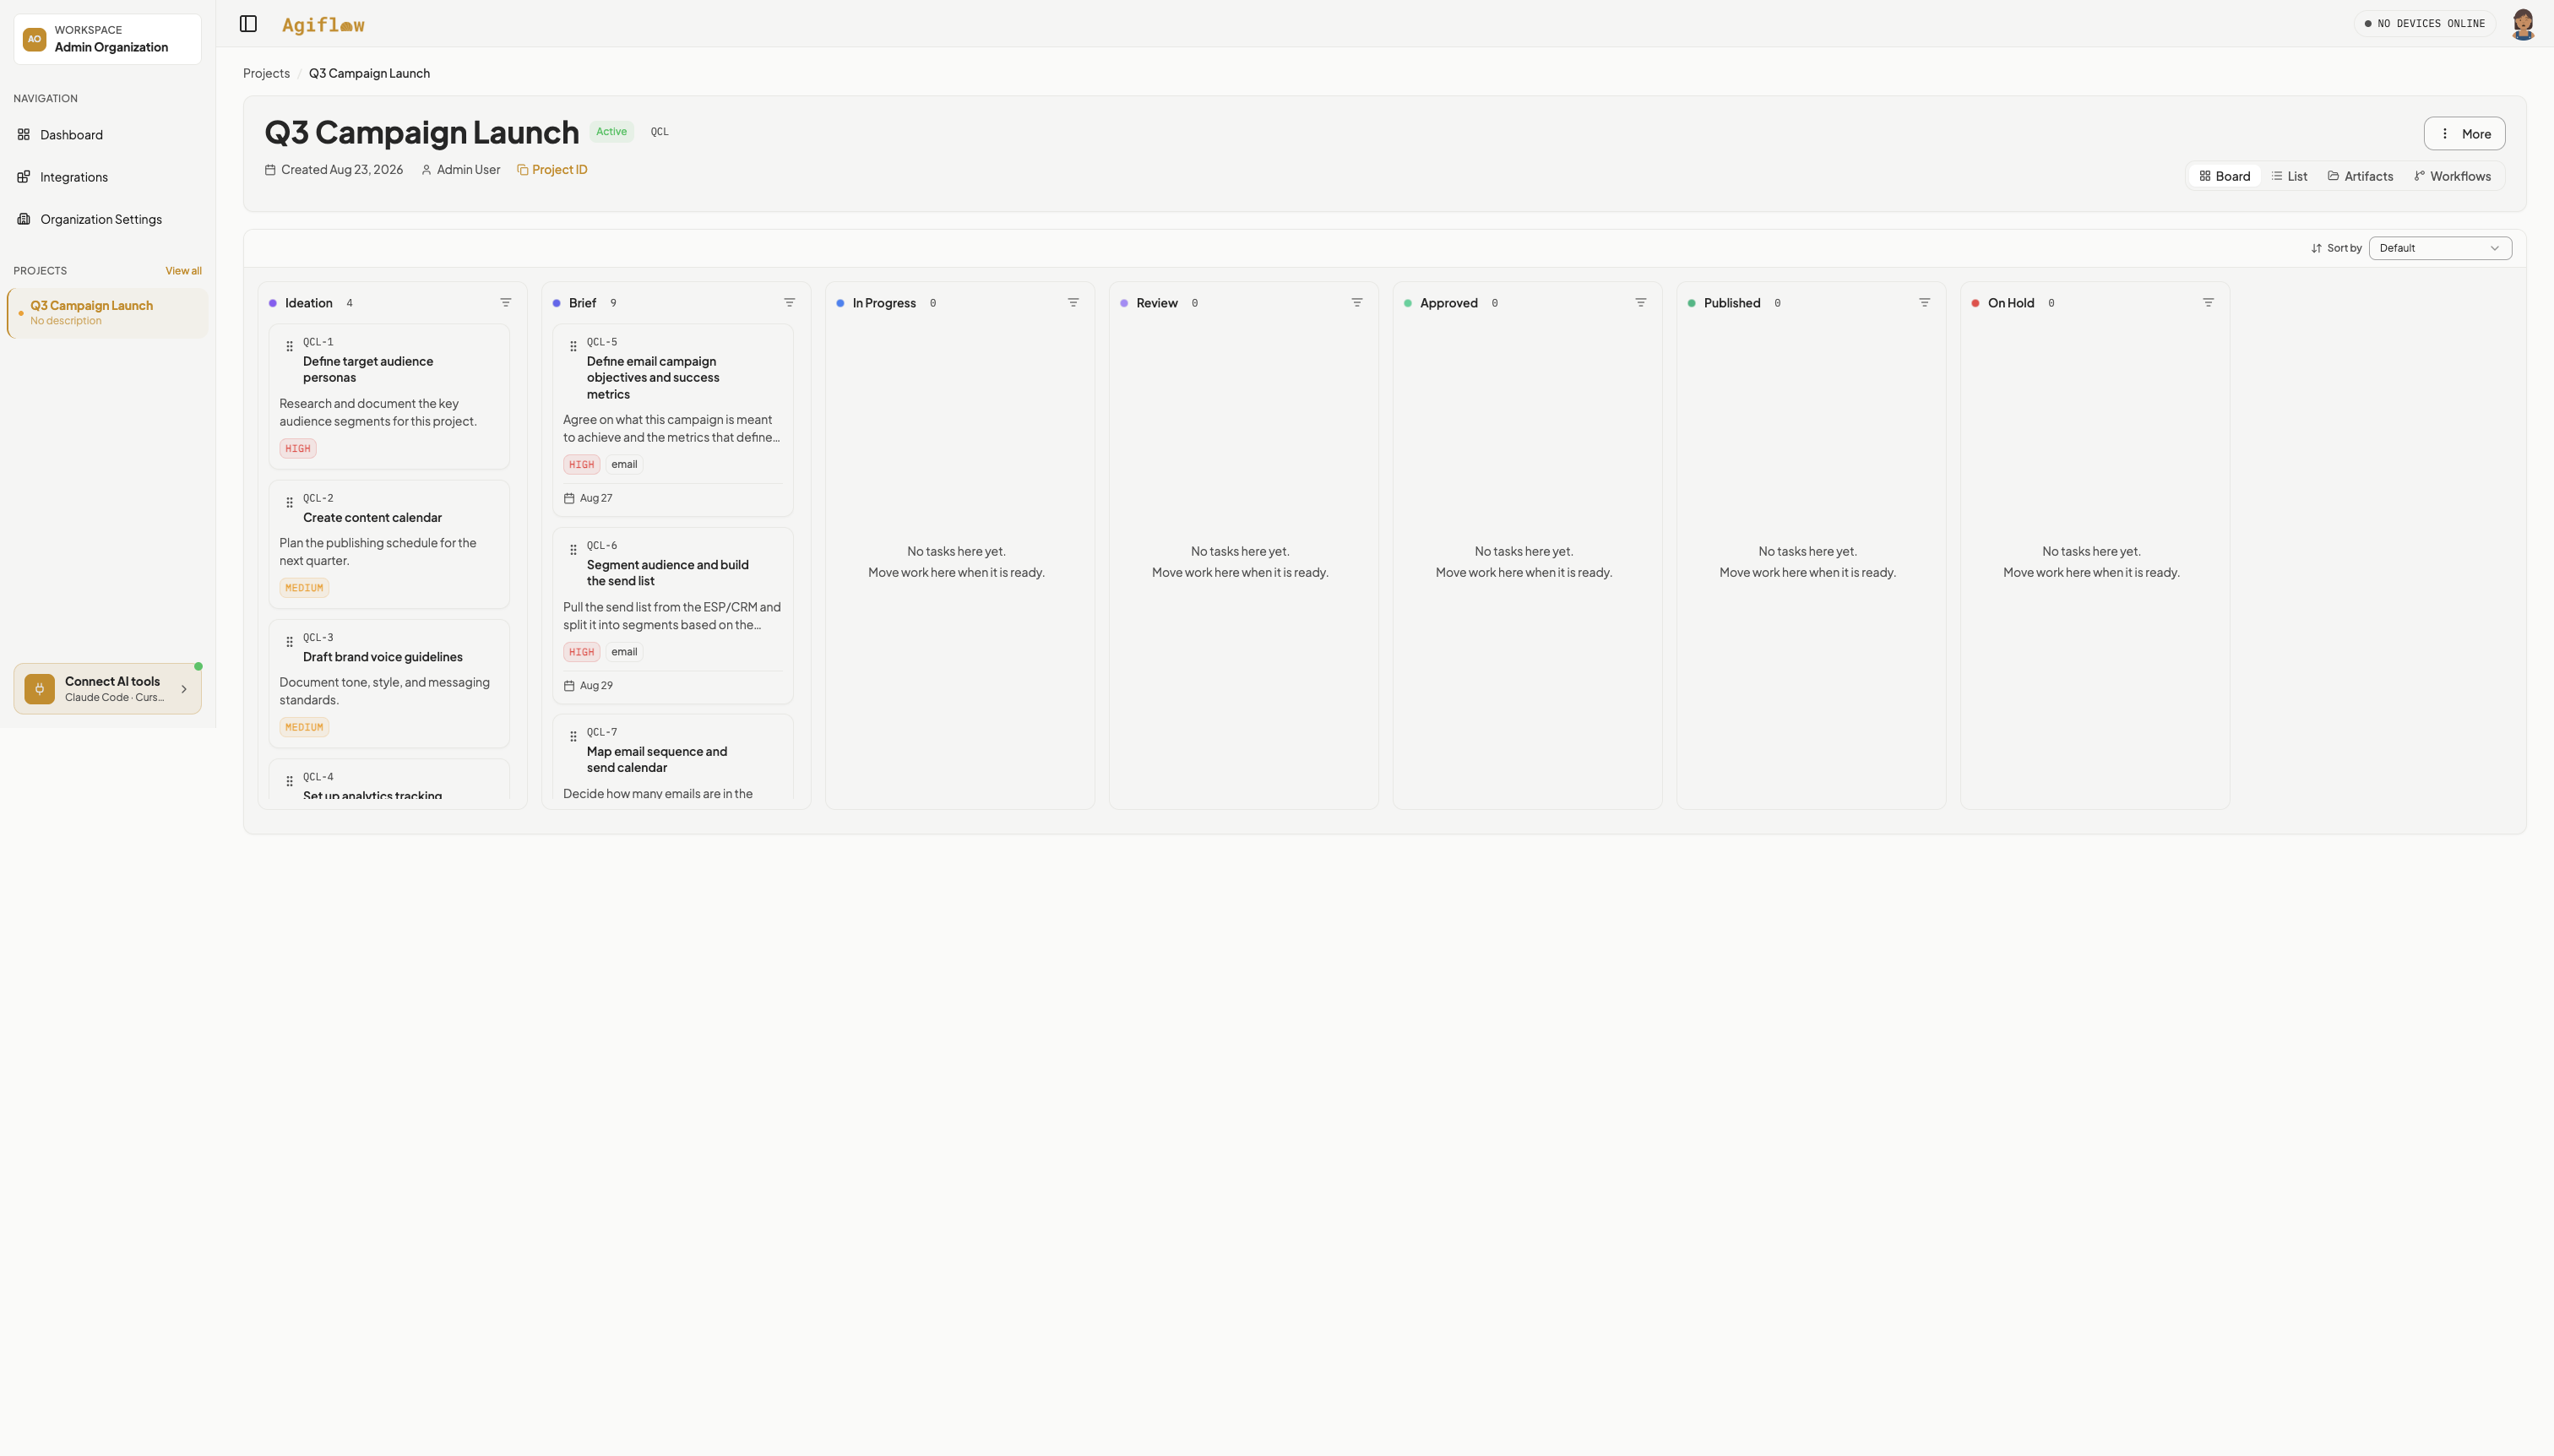
Stay on the project board. Seven columns appear in this order: Ideation, Brief, In Progress, Review, Approved, Published, and On Hold. Ideation holds exactly four starter tasks:
- Define target audience personas (High)
- Create content calendar (Medium)
- Draft brand voice guidelines (Medium)
- Set up analytics tracking (Low)
Every other column reads “No tasks here yet.” You may need to zoom your browser out to see all seven columns at once. This is a wide board, not a rendering problem.
The Marketing template also seeds two agent members, Social Media Manager and Content Strategist. There is no members page that lists them. The only place you see them is the assignee picker in step 9.
03 : Invite your team
Step 4 : Send one invitation
Navigate to /dashboard/organization/settings/invitations. Click the invite button (it reads Invite Your First Member on a workspace with no invitations yet, or Invite Member after that). In the dialog, type an email into the field placeheld colleague@example.com. Leave Role at its default, “Member”, then click Send Invitation. There is no team selector in this dialog.
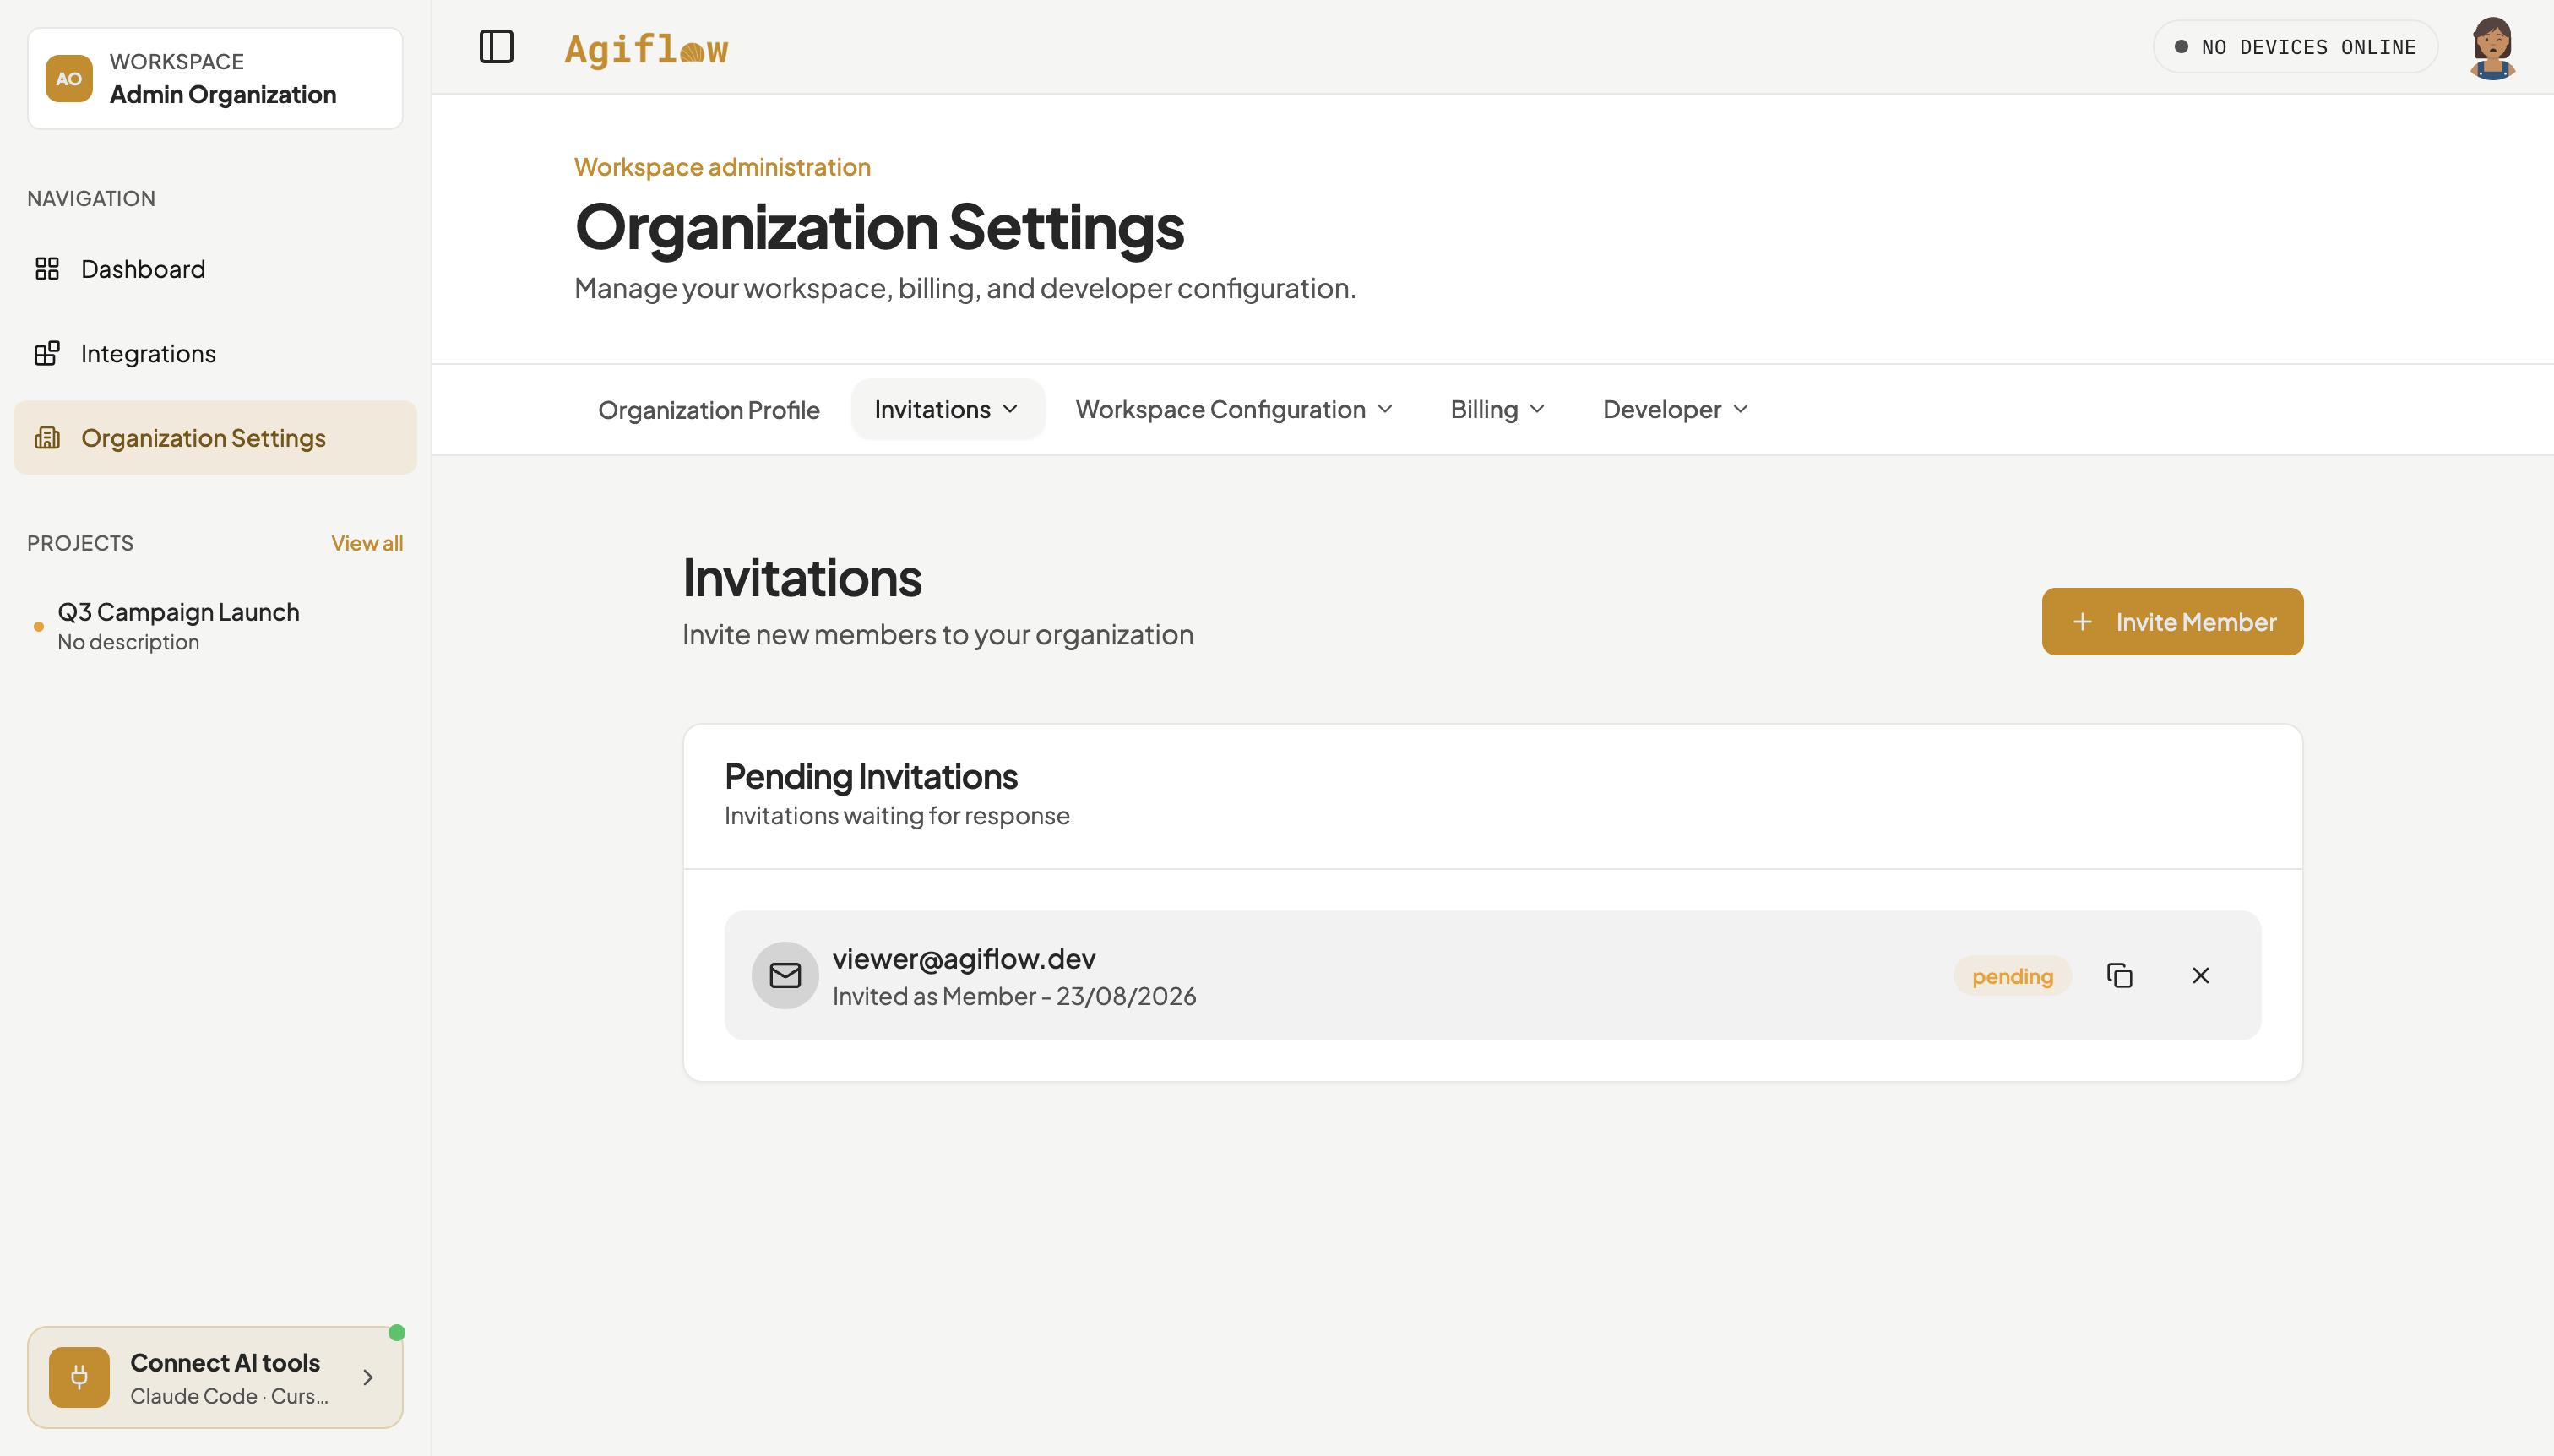
The dialog closes and the invitations list shows a row for that email with a pending badge and an “Invited as Member” line carrying today’s date.
04 : Connect Claude Code
Step 5 : Copy your connection details from the product
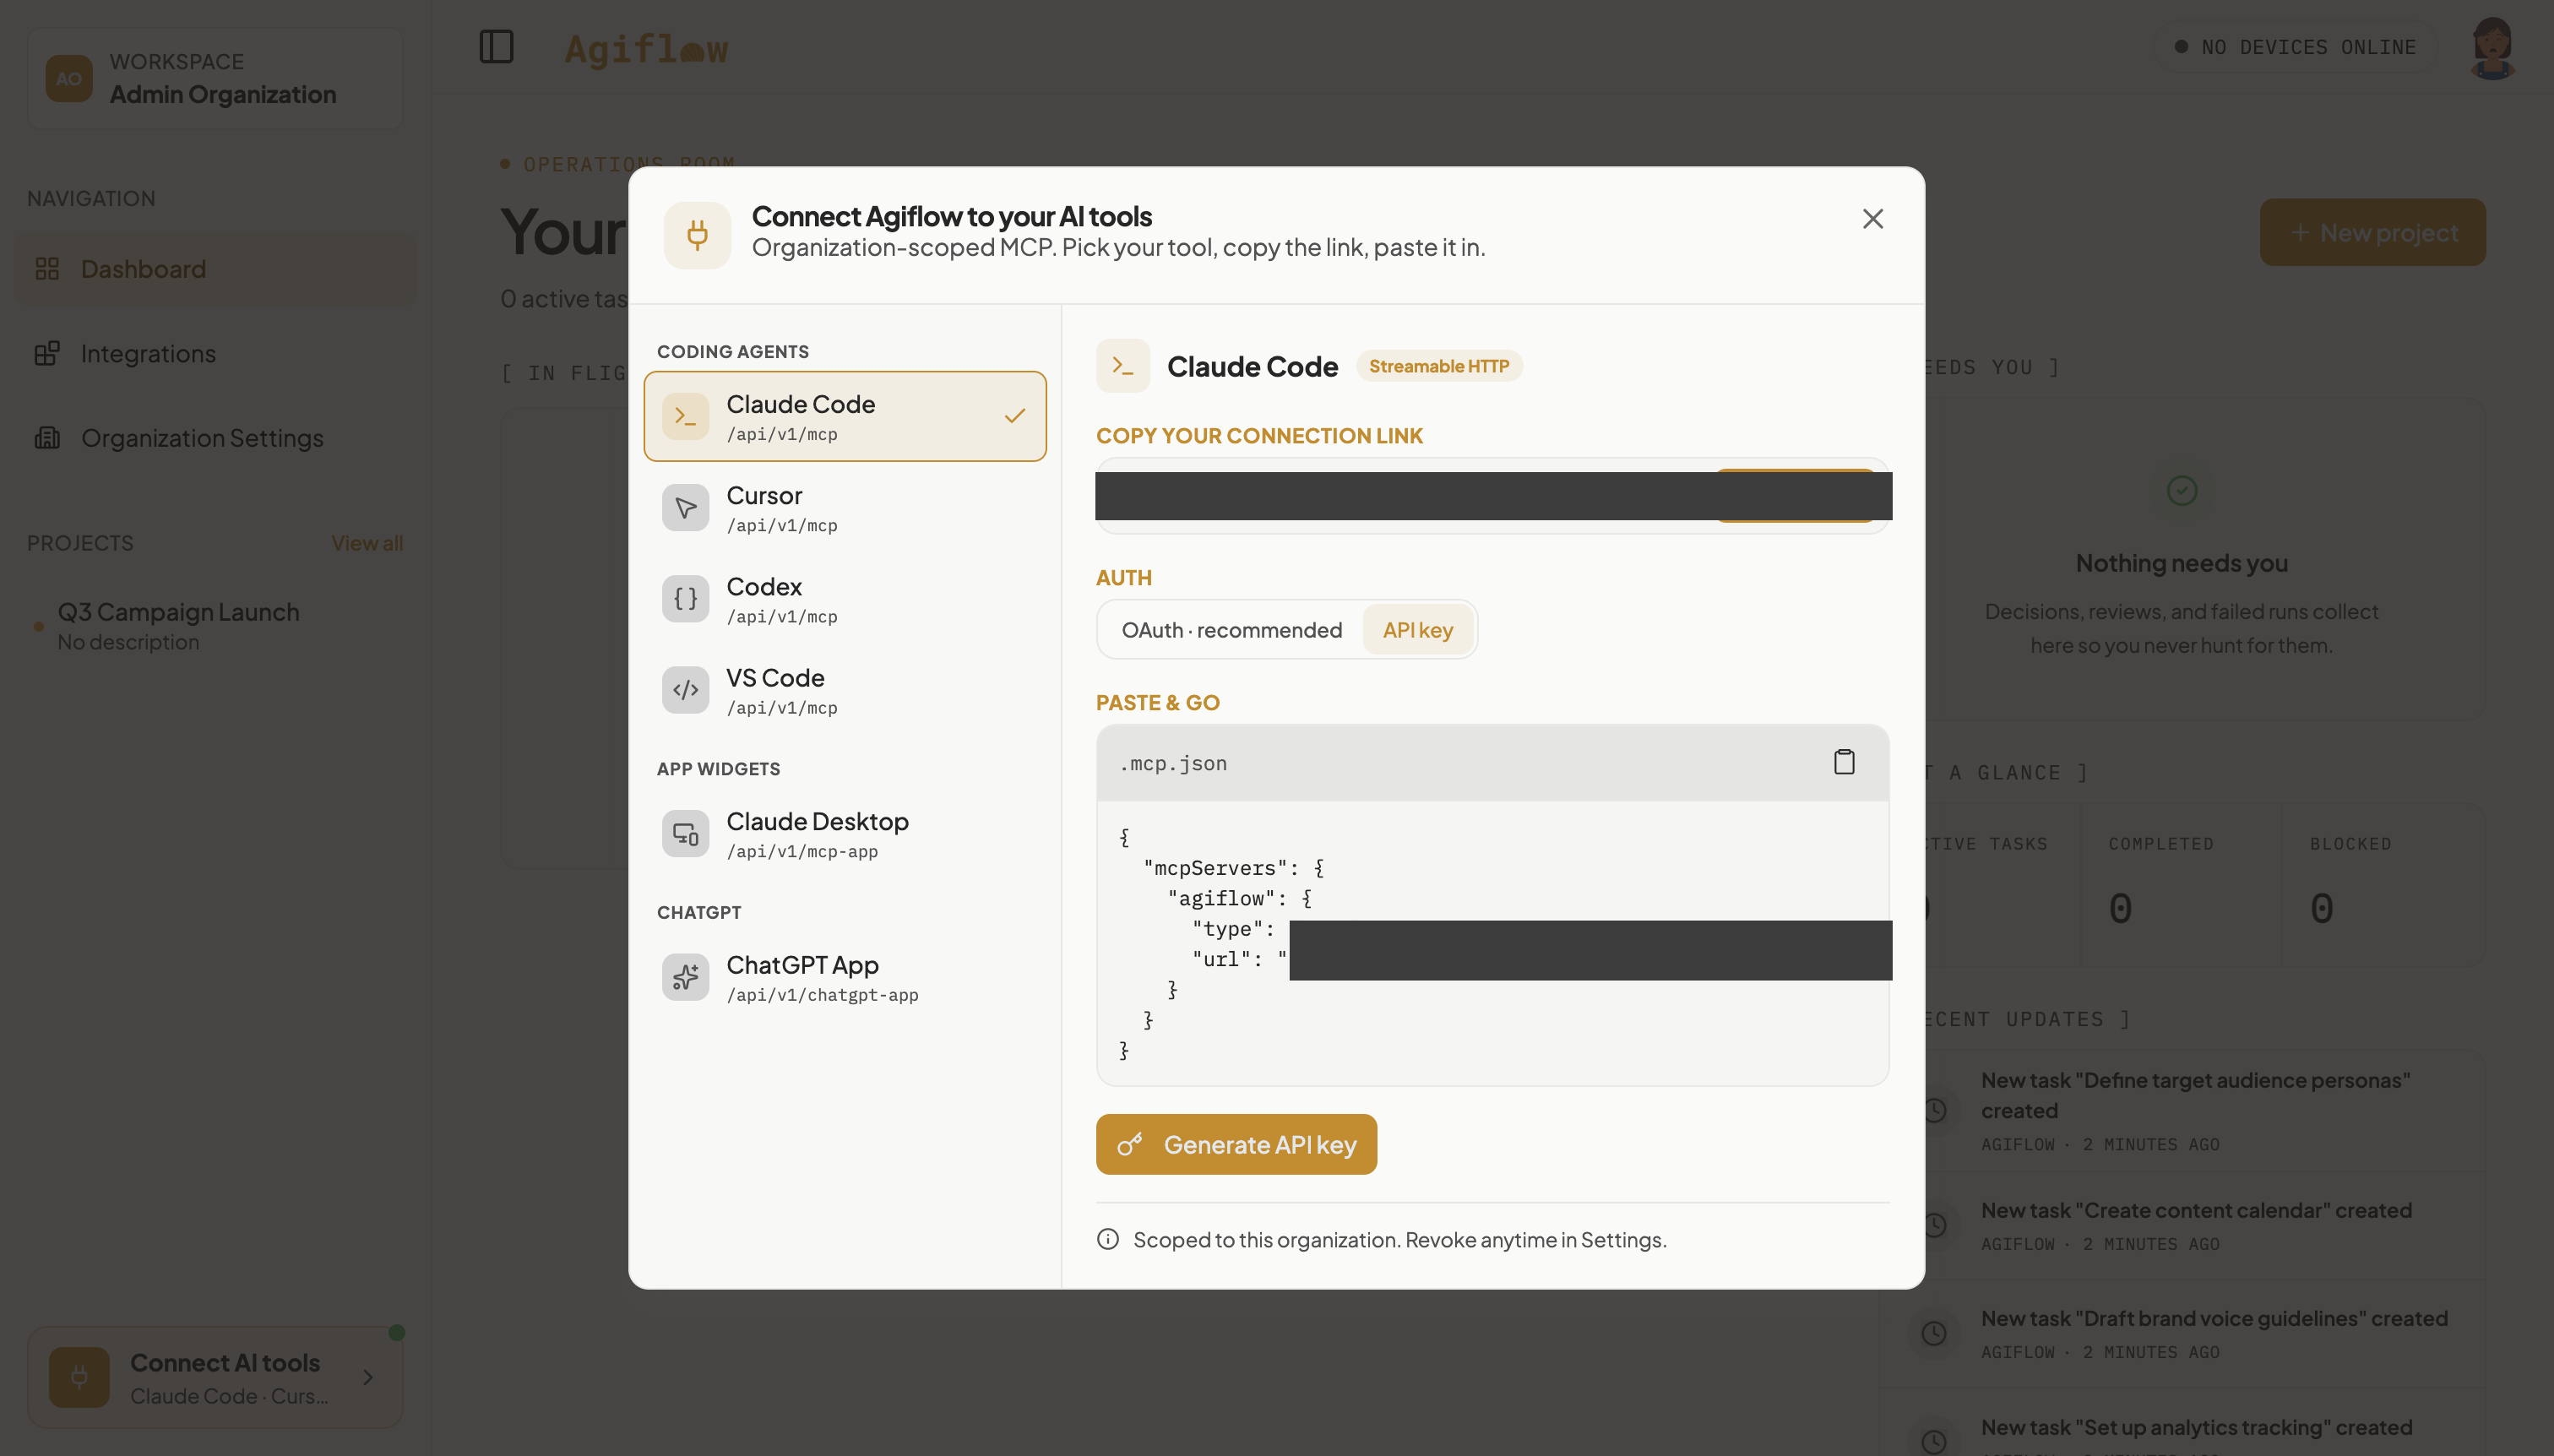
In the left sidebar footer, click Connect AI tools. In the modal “Connect Agiflow to your AI tools”, Claude Code is already selected. Under AUTH, click the API key pill (the default is OAuth). Under PASTE & GO, click the copy icon on the .mcp.json block, then click Generate API key.
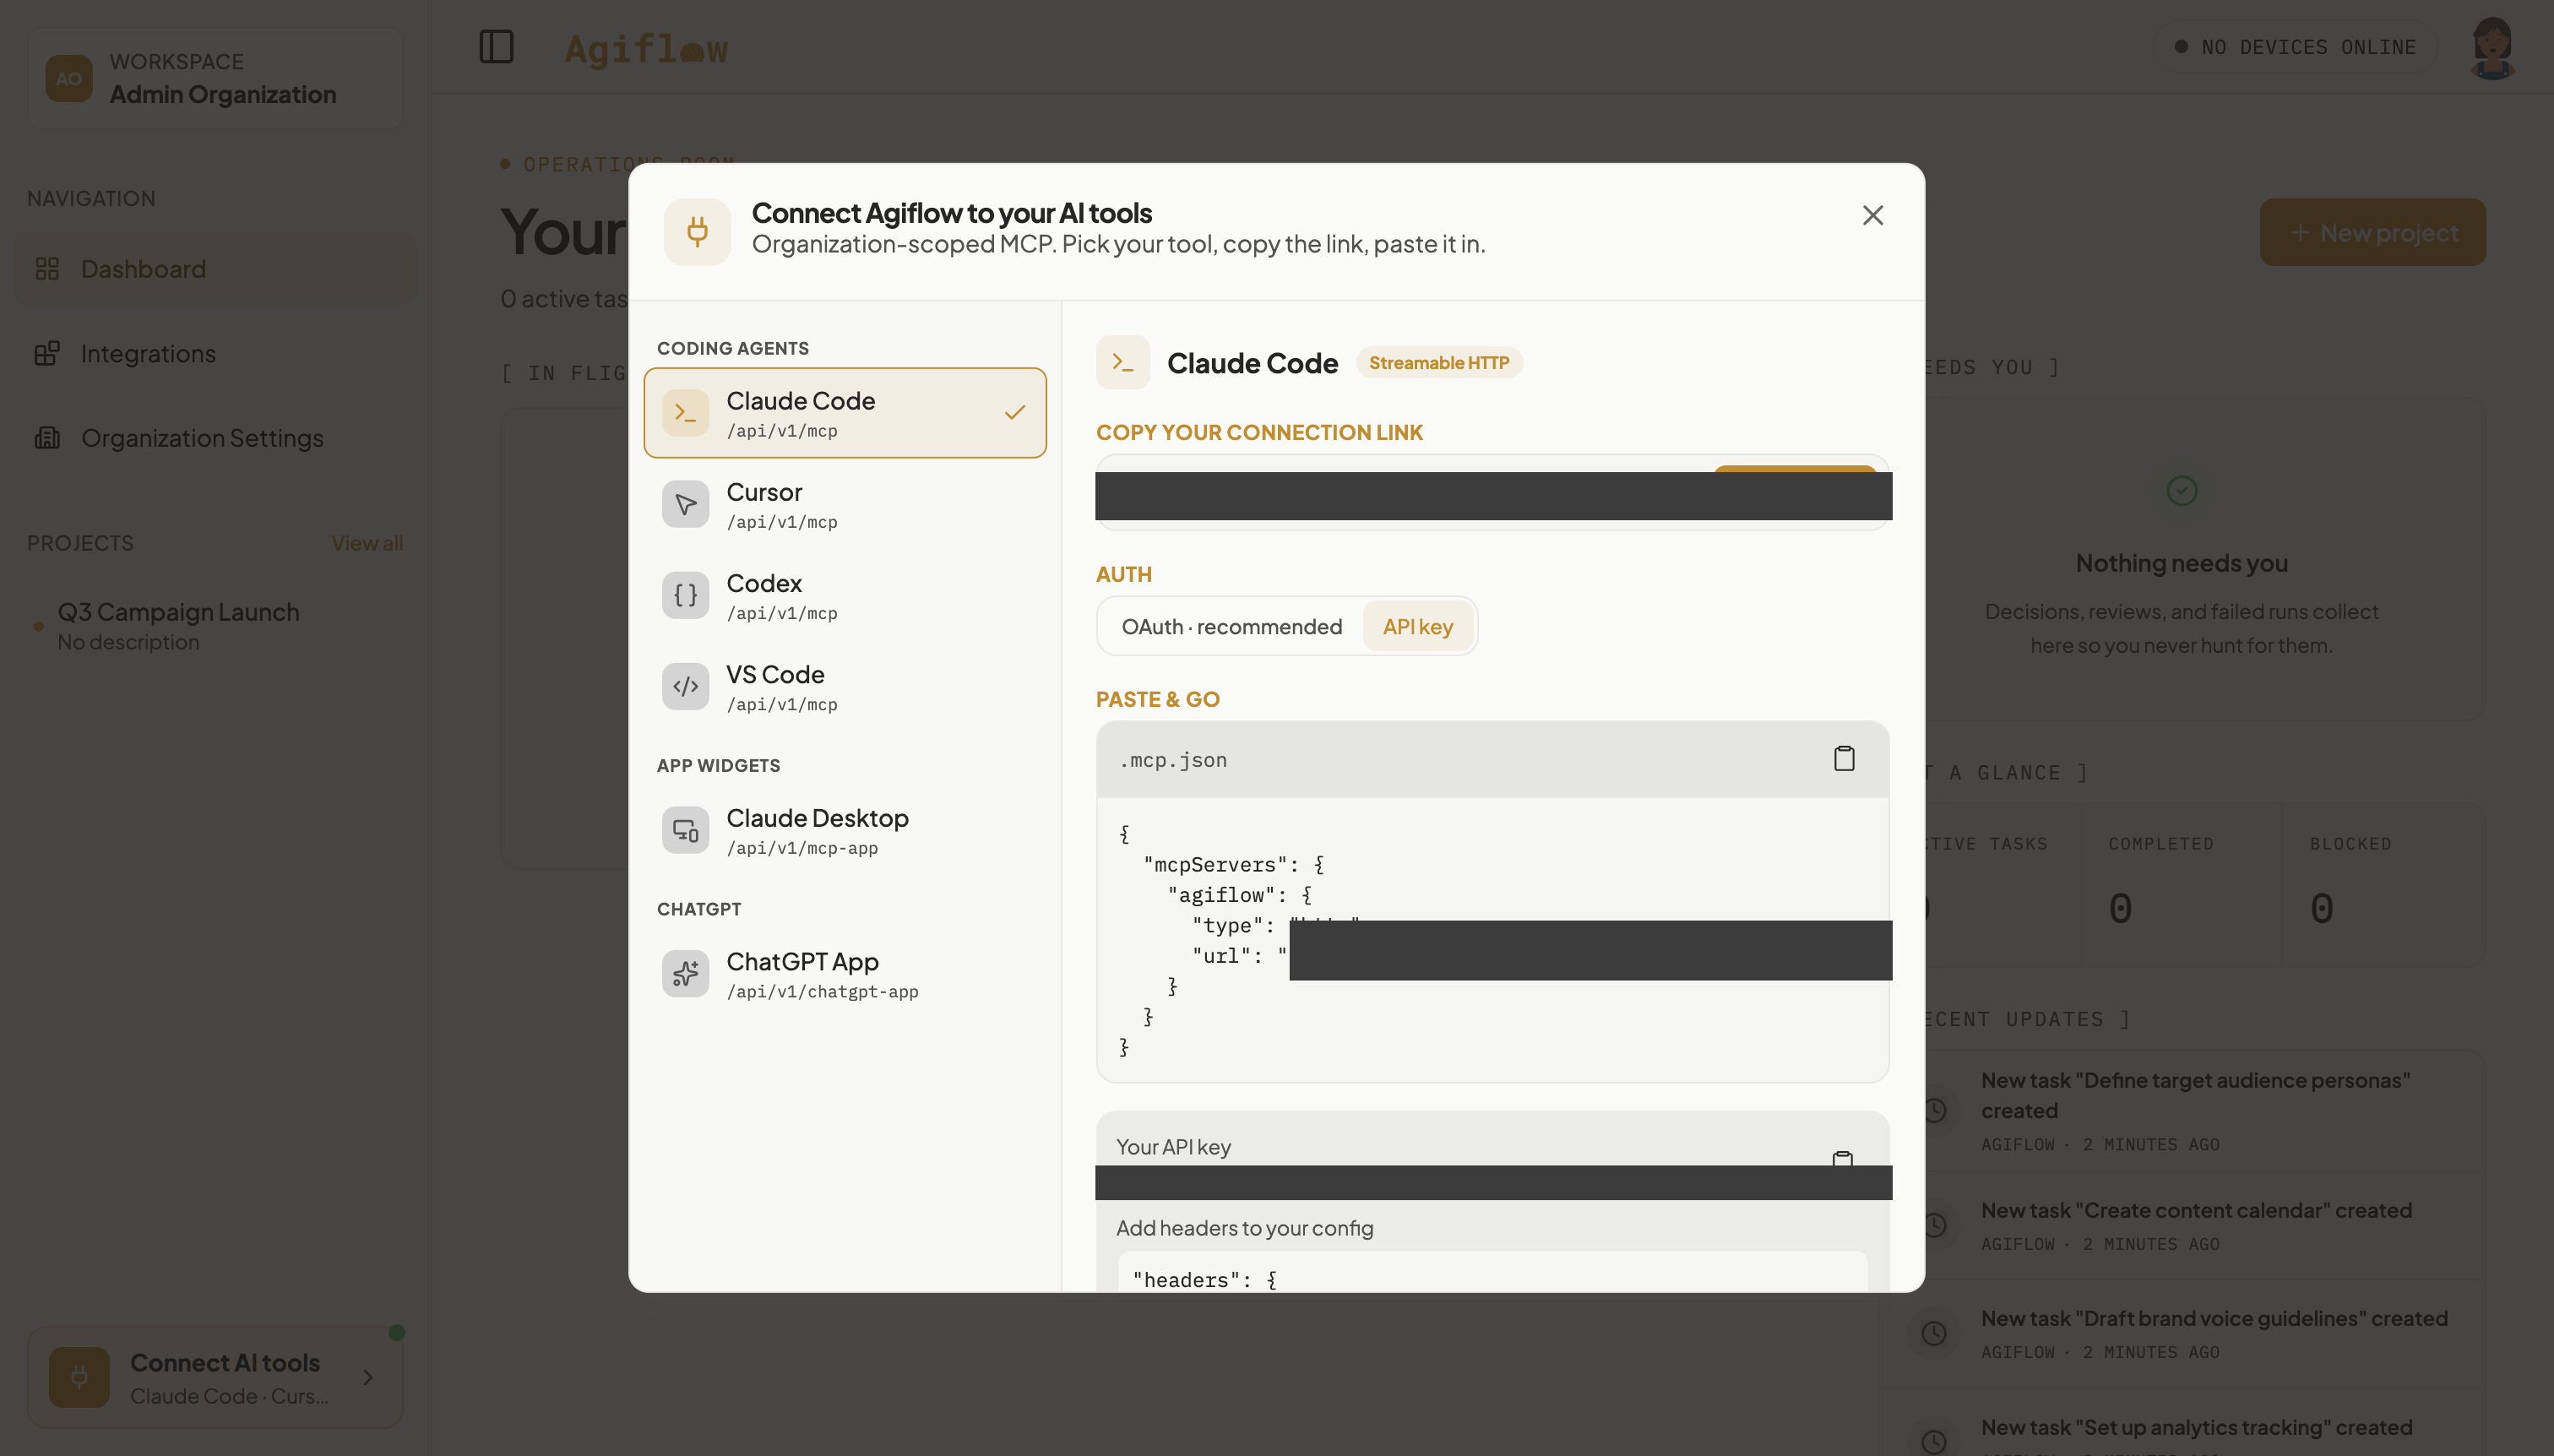
A Your API key block appears with its own copy icon, and below it a second block captioned “Add headers to your config”. The key value begins with agiflow_. This connection is organization scoped: the board you reach in later steps is selected by name, “Q3 Campaign Launch”, not by a project id in the URL.
Step 6 : Build .mcp.json and confirm the assistant is connected
Create and enter a folder:
mkdir -p ~/q3-campaign-launch && cd ~/q3-campaign-launchStart the file, then paste the .mcp.json fragment you copied in step 5, press Return, then press Ctrl+D:
cat > .mcp.jsonThe product hands you two separate fragments and offers no single copy-the-finished-config action, so merge the second one by hand. Add a comma to the end of the "url" line, then paste the "headers" block from the modal inside the "agiflow" object. The finished file has exactly this shape, with your own two values in place of the angle-bracket text:
{
  "mcpServers": {
    "agiflow": {
      "type": "http",
      "url": "<your connection link from COPY YOUR CONNECTION LINK>",
      "headers": {
        "x-api-key": "<your API key>"
      }
    }
  }
}
Launch the assistant:
claudeOn a brand new folder, Claude Code first shows a one-time folder-trust prompt, “Quick safety check: Is this a project you created or one you trust?”. Choose 1. Yes, I trust this folder and press Enter. The MCP approval prompt then appears:
New MCP server found in this project: agiflow

MCP servers may execute code or access system resources. All tool calls
require approval. Learn more in the MCP documentation.

❯ 1. Use this MCP server
  2. Use this and all future MCP servers in this project
  3. Continue without using this MCP server

Enter to confirm · Esc to cancel
Choose option 1 and press Return. Inside Claude Code, run:
/mcpFind the agiflow row. It should show a connected status and a tool count greater than zero. The run behind this tutorial read:
agiflow - connected - 35 toolsRunning claude mcp list from a plain terminal reports “Pending approval (run claude to approve)” and never shows “connected” for a fresh .mcp.json. You need the interactive approval above, then /mcp inside a running claude session.
05 : Work the campaign through your assistant
Step 7 : Ask your assistant to read the campaign board
List every task on the Q3 Campaign Launch board with its current status.
The assistant calls the Agiflow MCP tools and returns the four starter tasks from step 3, all of them in Ideation, with their titles and priorities intact. No schema validation error appears, and no clarifying question is needed: even though the connection is organization scoped, the assistant selects the Q3 Campaign Launch board from its name alone. This reply took about 15 seconds in the run behind this tutorial.
Step 8 : Ask your assistant to plan the campaign
Break our Q3 email campaign into tasks on the Q3 Campaign Launch board. Put each one in Brief, and give each a due date in the next three weeks.
This step takes about a minute. The assistant creates every task in one pass without asking for confirmation, reports them back with the due dates it resolved, and may volunteer a few assumptions worth checking, since the project has no description of the campaign for it to draw on. Reload the board: Ideation still holds the original four tasks, and Brief now holds the new campaign tasks, each with a due-date badge.
A card can read one calendar day later than the date the assistant states in its reply. Trust the date on the board card, not the assistant’s own summary table.
06 : Assign a campaign agent and set a deadline
Step 9 : Assign a campaign agent to a task
On the board, click the Define target audience personas card to open its quick-view panel. Click Assign Agent in the panel header. The picker lists only agent members: Social Media Manager and Content Strategist. Choose Social Media Manager.
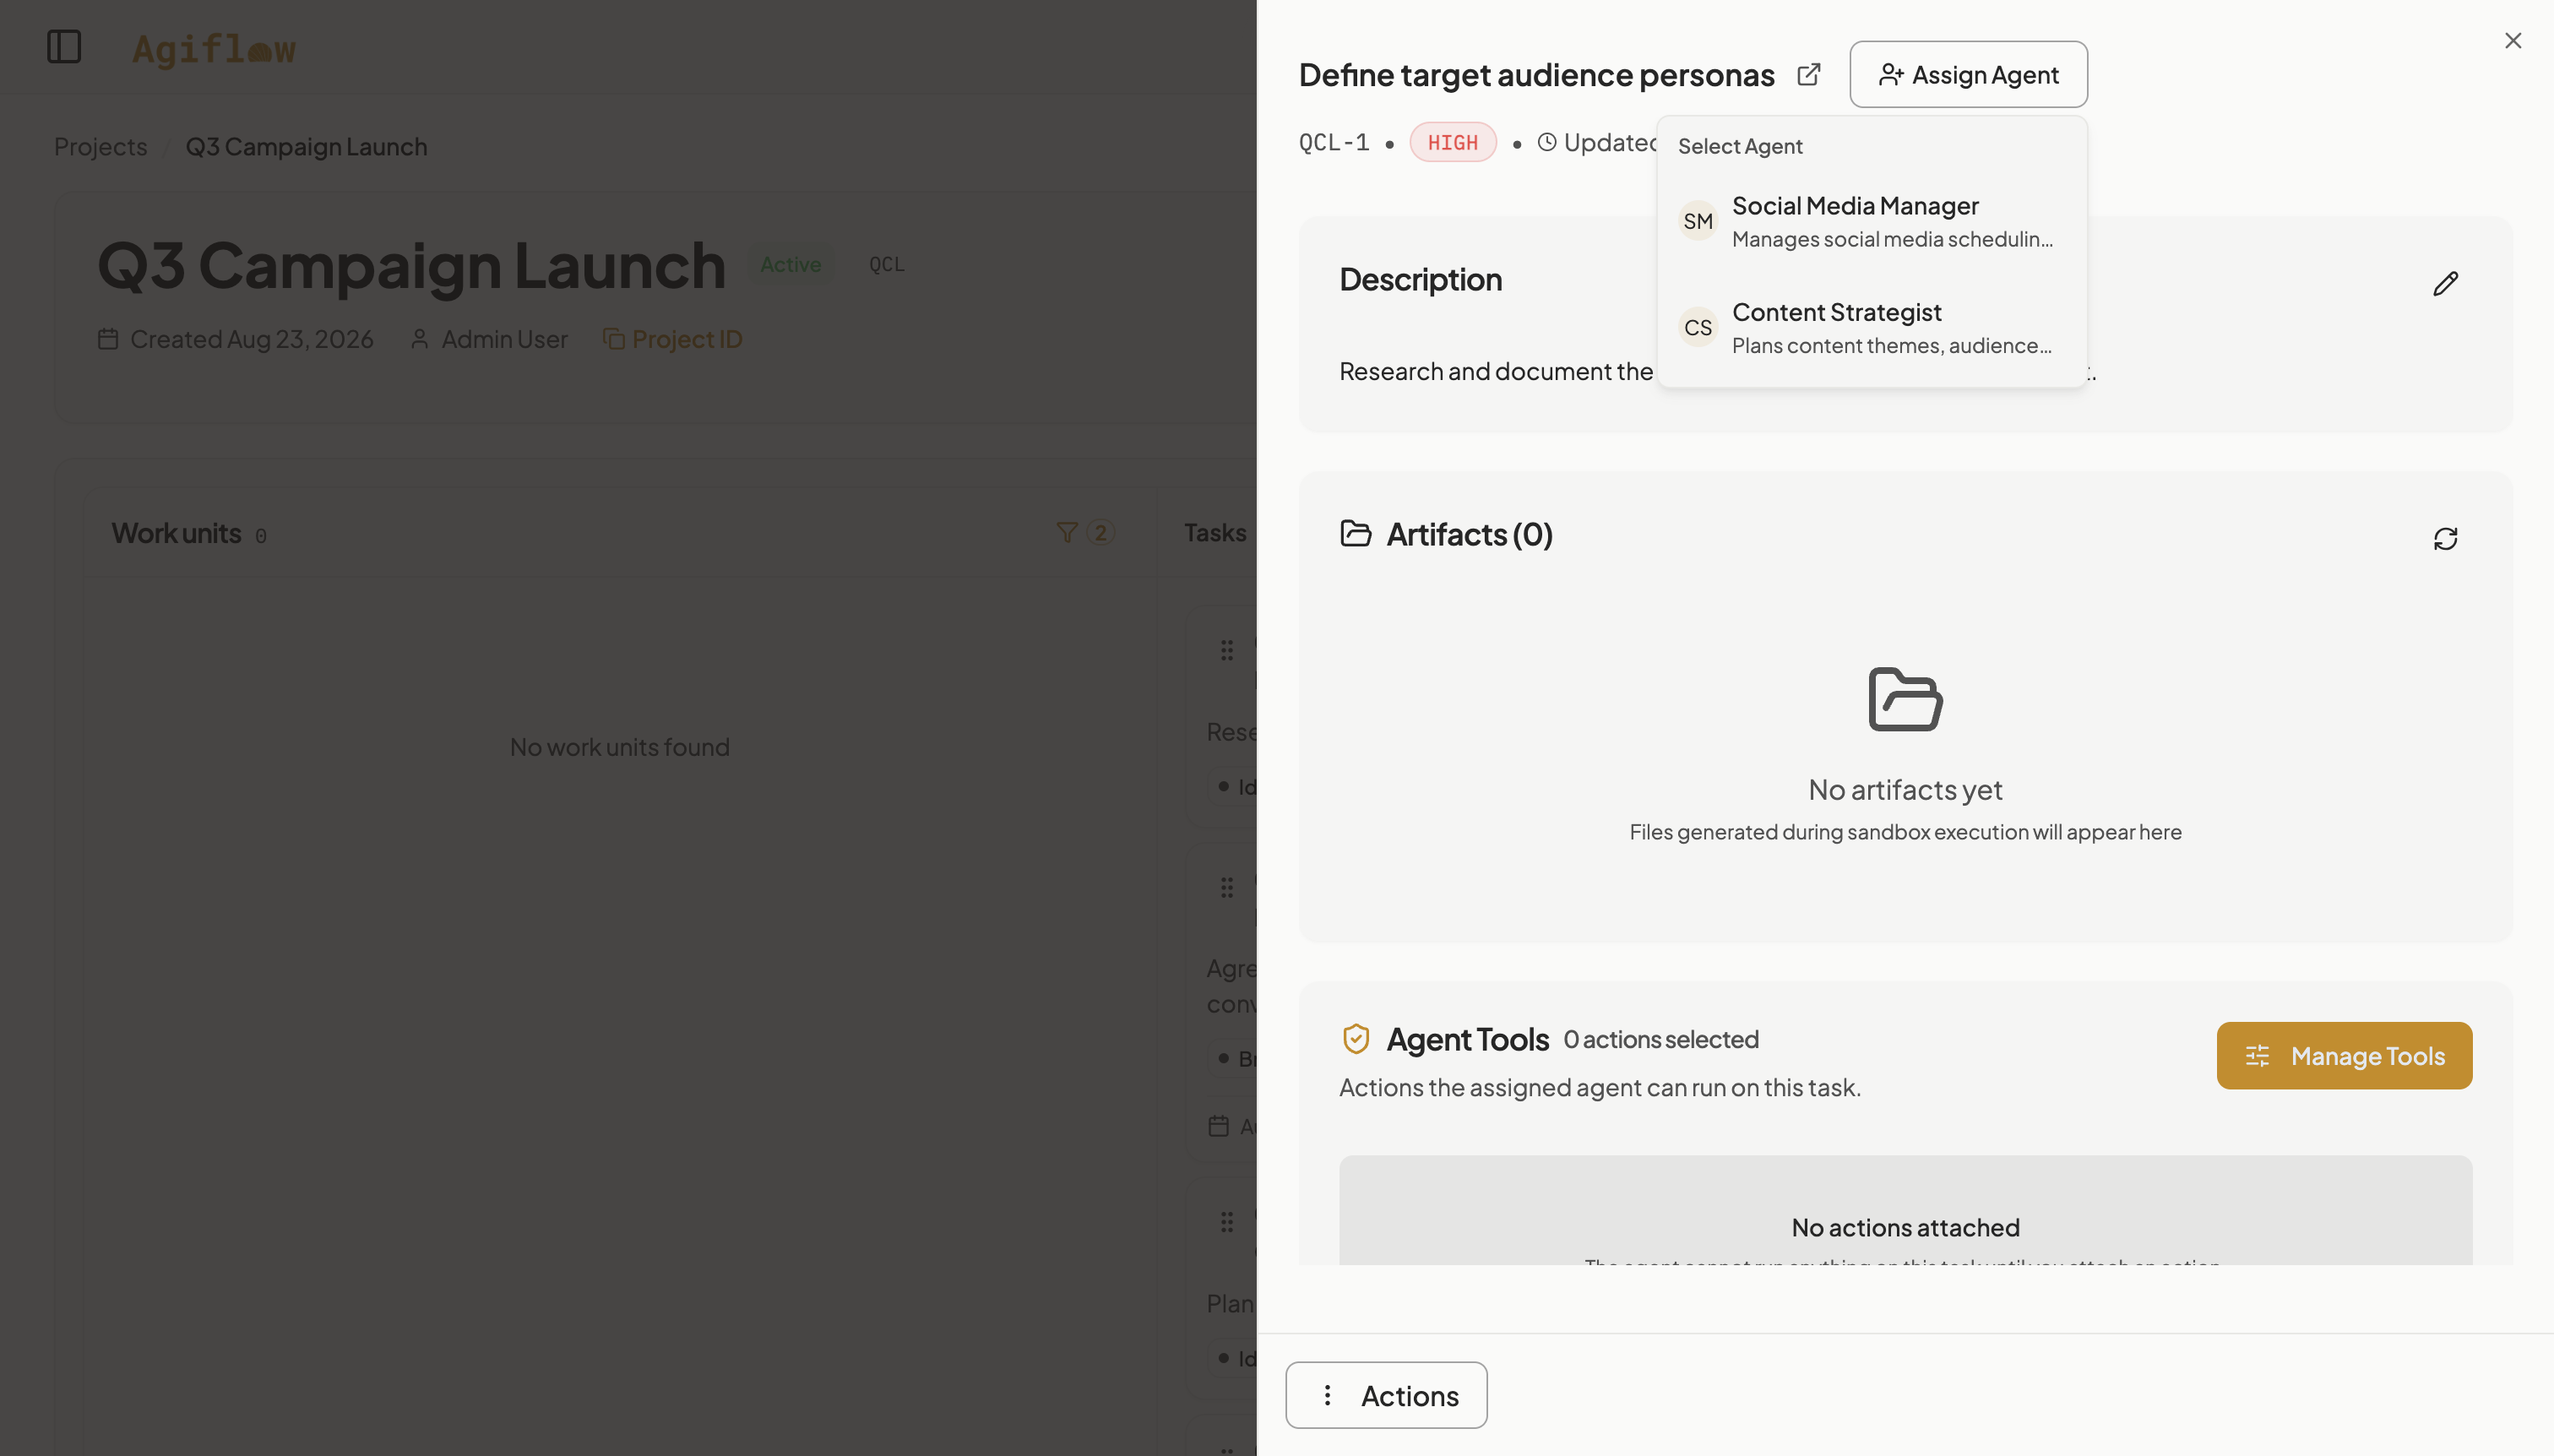
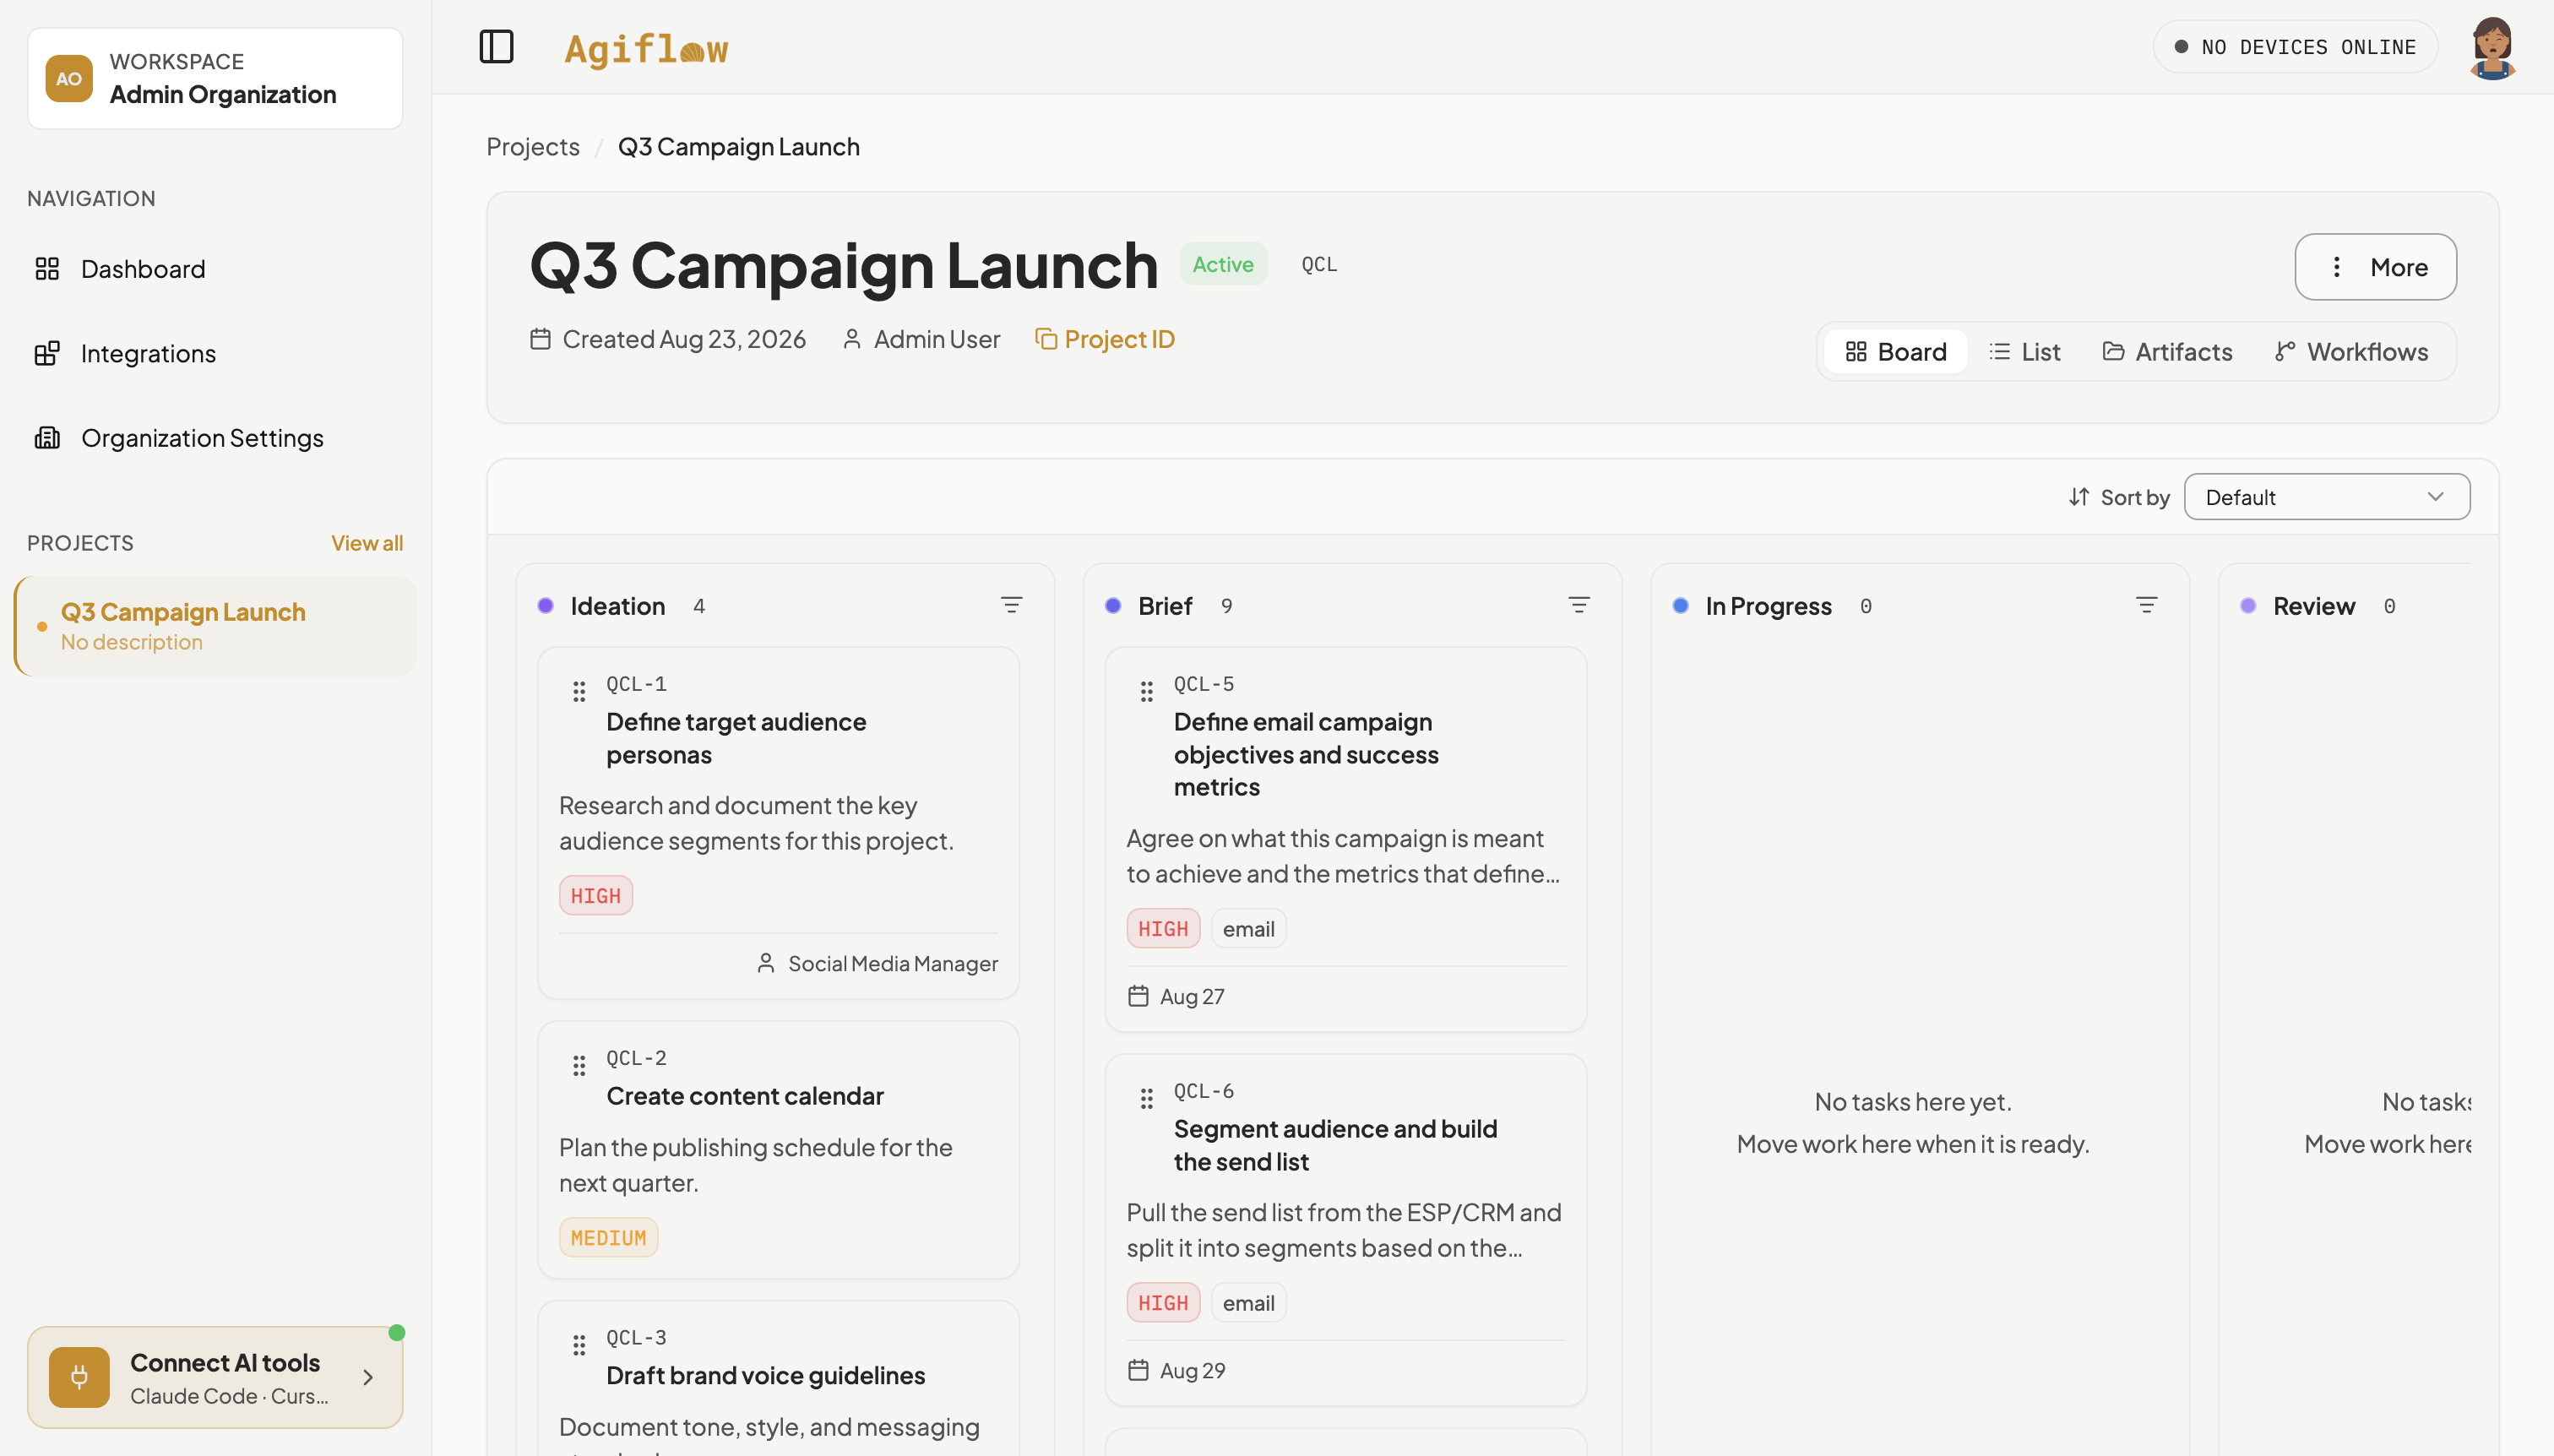
The panel closes, and the board card shows Social Media Manager as the assignee without reopening the task.
Step 10 : Set a deadline and confirm your end state
Open the task’s full page (the external-link icon next to the task title in the quick-view panel, or the card’s own URL). On the dedicated task page, click Actions, then Edit Task. Click the Due Date field and type a date, then click Update Task.
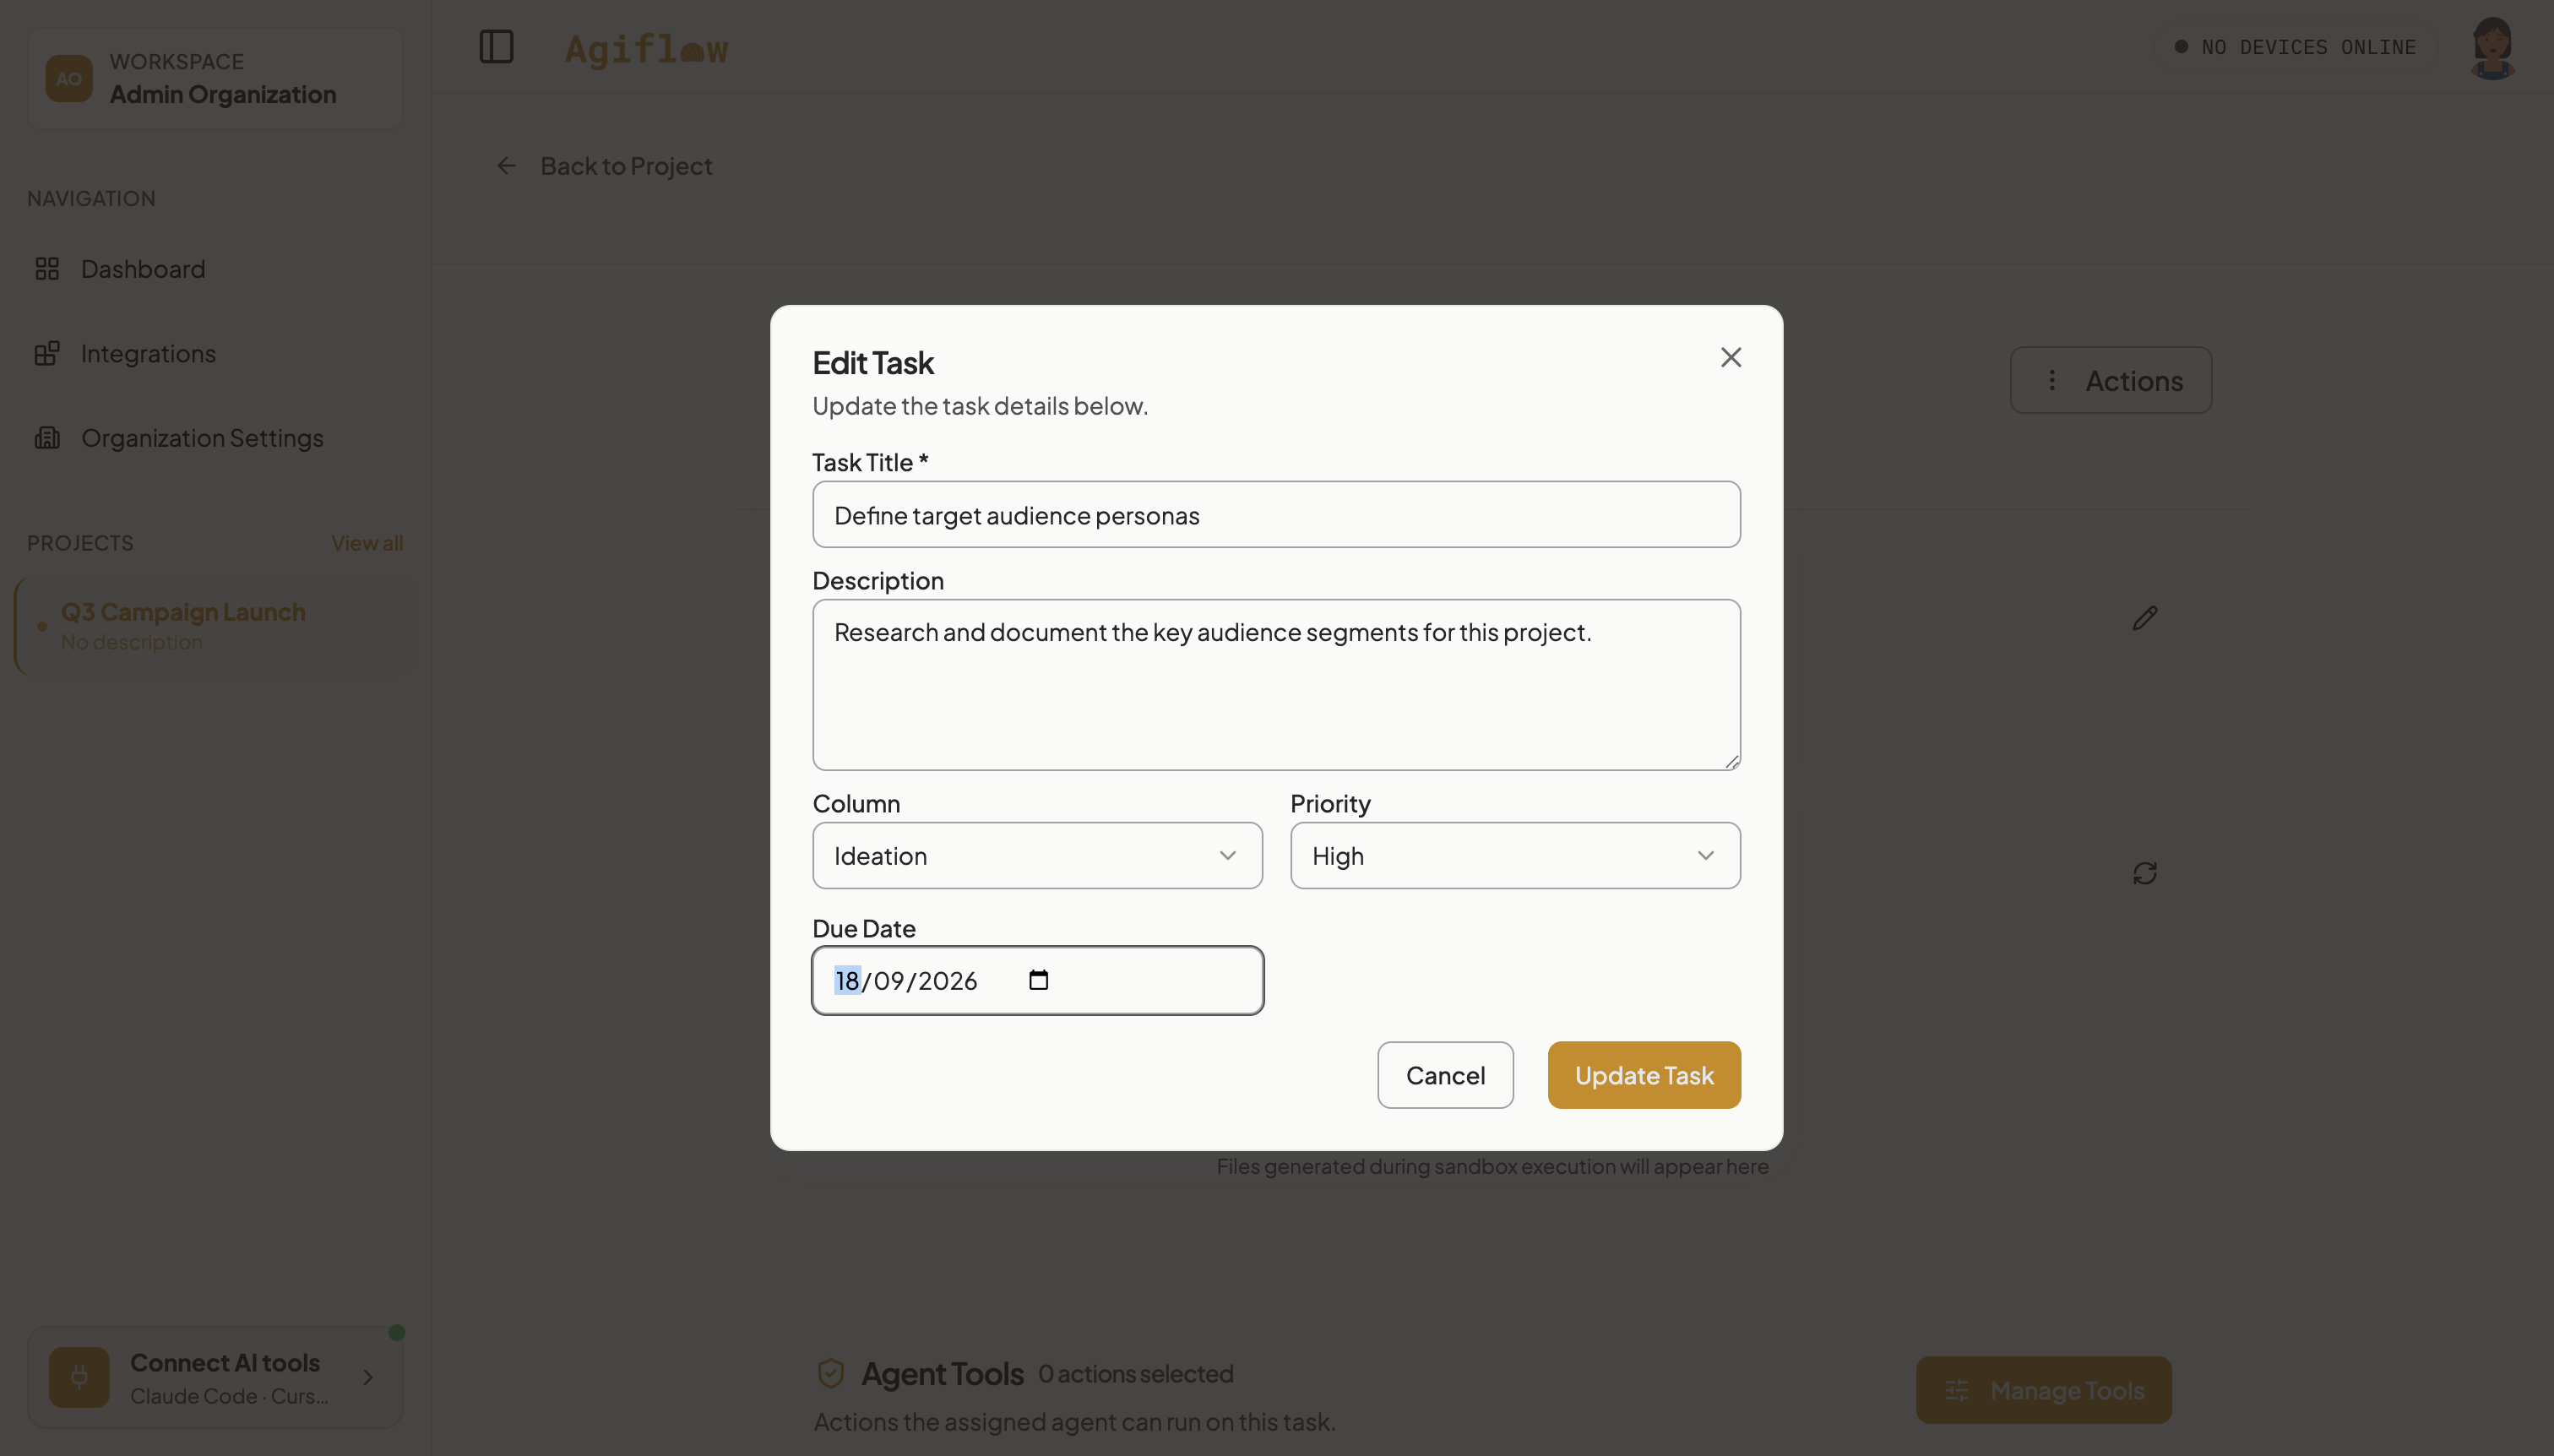
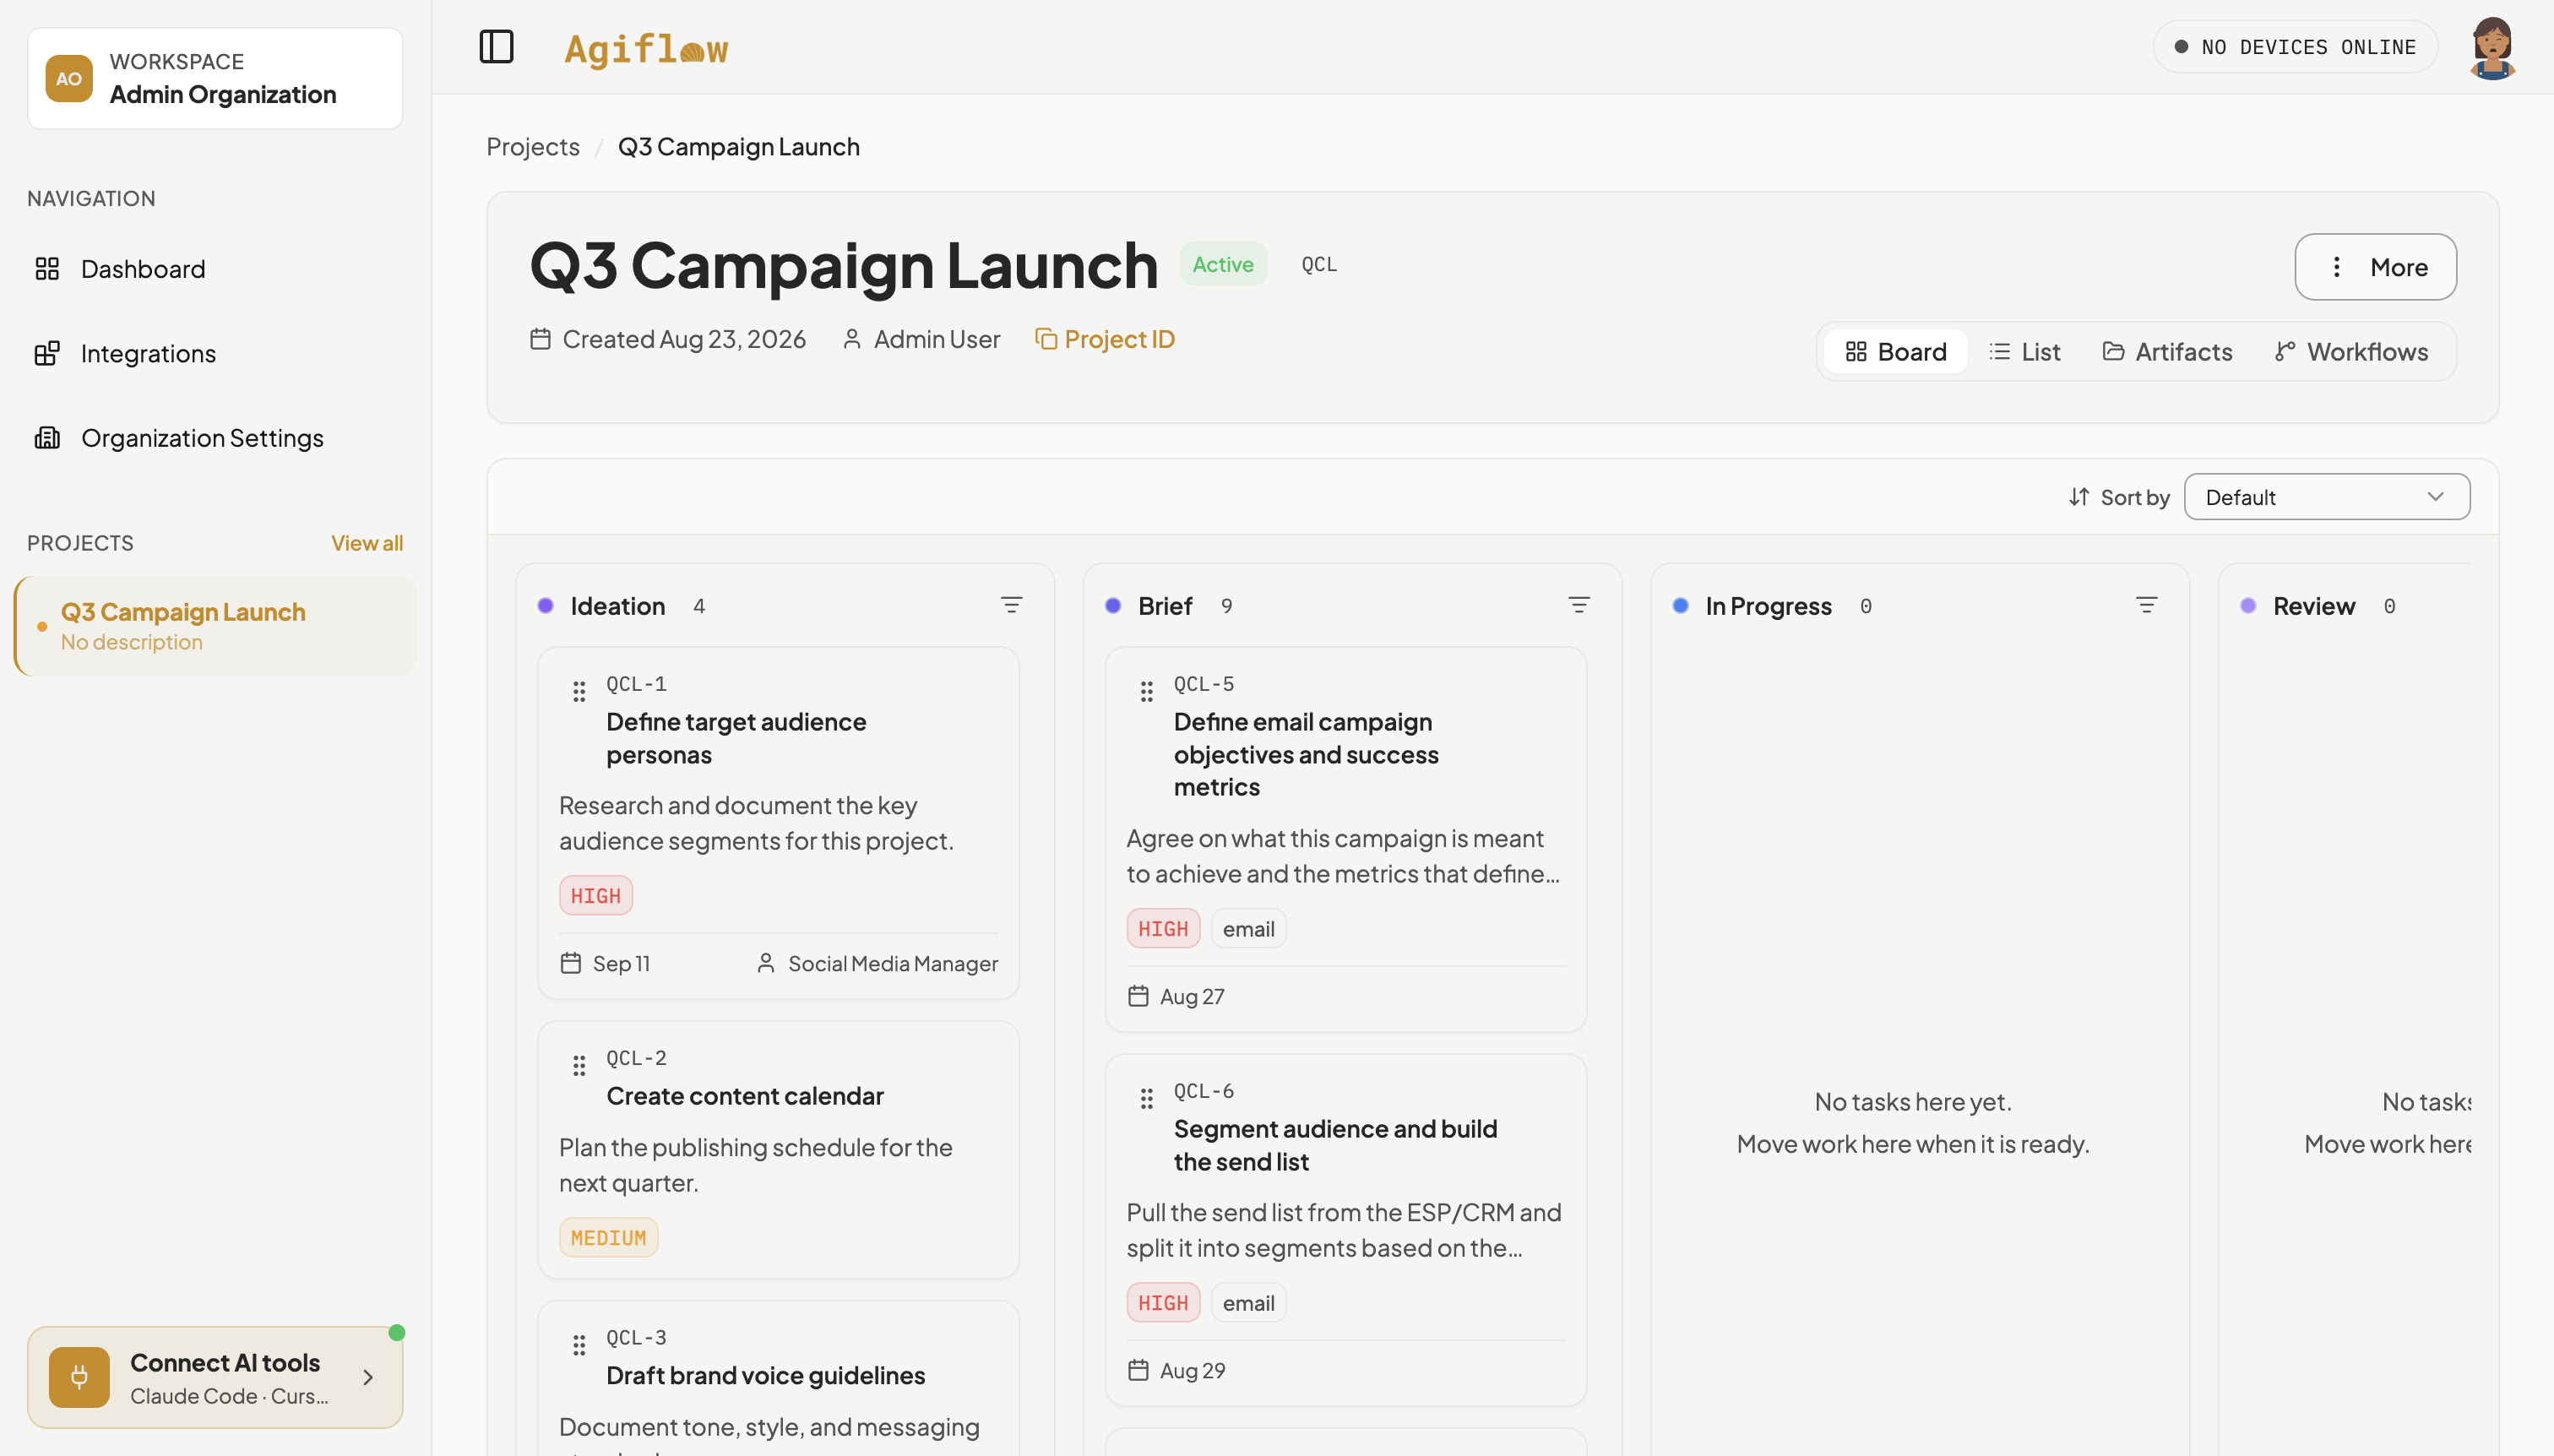
The dialog closes with no error toast. The task card on the board now shows both the Social Media Manager assignee and the due date, without reopening it. Your board now matches the end state: seven Marketing stages, the four seeded starter tasks, the assistant-created campaign tasks in Brief, and one task assigned with a deadline.
07 : Next step
Ask your assistant to plan the remaining Ideation tasks the same way you planned the email campaign, or assign Content Strategist to one of them. When you are done experimenting with the API key from step 5, revoke it from Organization Settings > Developer > API Keys, the same place the connect modal footer points to.