Tutorial
Get started with Agiflow on mobile
Published · Last updated
In this tutorial, we will install the Agiflow mobile app, sign in, walk through the welcome screens, and explore the main tabs so you can check on your AI agents from anywhere.
By the end, you will have a working Agiflow mobile session and know how to navigate the Home dashboard, your project Board, the Projects list, and Settings.
Quick start
To get started with Agiflow on mobile, install the app, sign in with Google, GitHub, or email, complete the three-page welcome carousel, then use the Home, Board, Projects, and Settings tabs to manage your AI agents.
- Prerequisites: an Agiflow account and the mobile app on iOS or Android
- Sign in and let Agiflow auto-select your default workspace
- Swipe through onboarding or tap Skip, then explore the four main tabs
What you need
- An Agiflow account. If you do not have one yet, you can create it during sign-in.
- The Agiflow mobile app installed on your iOS or Android device.
Sign in to your account
Open the Agiflow app. You should see the Agiflow logo and the tagline "Orchestrate your AI agents. Ship faster, stay in control."
Sign-in options
1. Tap Continue with Google or Continue with GitHub if you see those buttons.
2. Or enter your email in the Enter your email field and your password in the Enter your password field, then tap Continue.
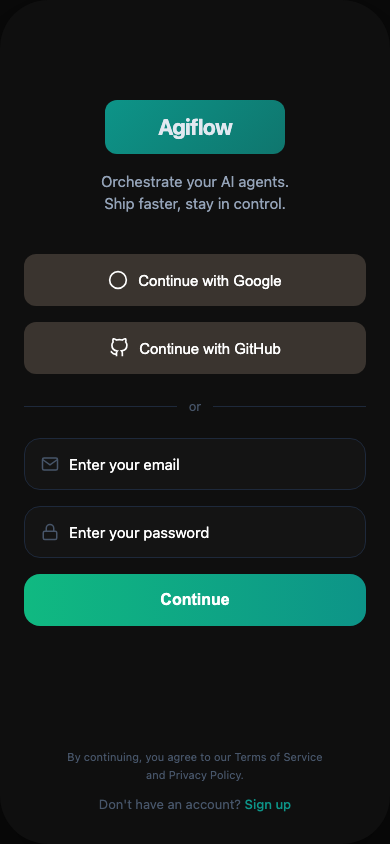
The images in this guide are source-derived visual references based on verified native app source code. Native runtime screenshot capture was unavailable during production, so use these images for orientation rather than exact device rendering.
If you do not have an account yet, tap Sign up and follow the prompts to create one. By continuing, you agree to the Terms of Service and Privacy Policy.
Once you sign in, Agiflow automatically selects your default workspace from your account. You do not need to pick a workspace manually.
Walk through the welcome screens
After signing in, you should see a welcome carousel with three pages. Swipe left to move through them, or tap Skip at the top right to go straight to the app.
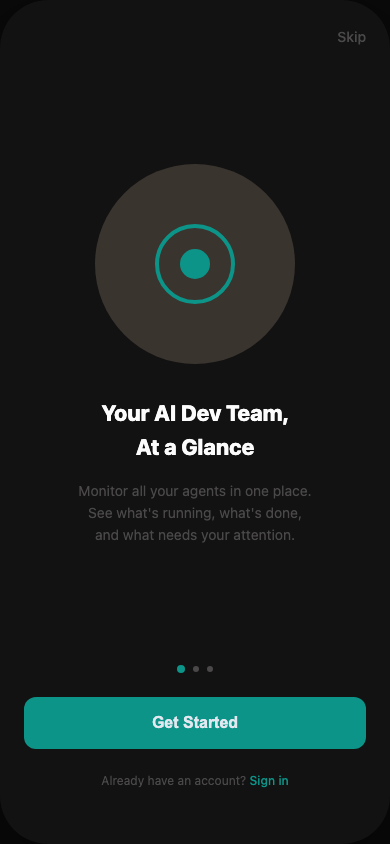
Page 1 — Your AI Dev Team, At a Glance
You should see the heading "Your AI Dev Team, At a Glance" and the description:
Monitor all your agents in one place. See what's running, what's done, and what needs your attention.
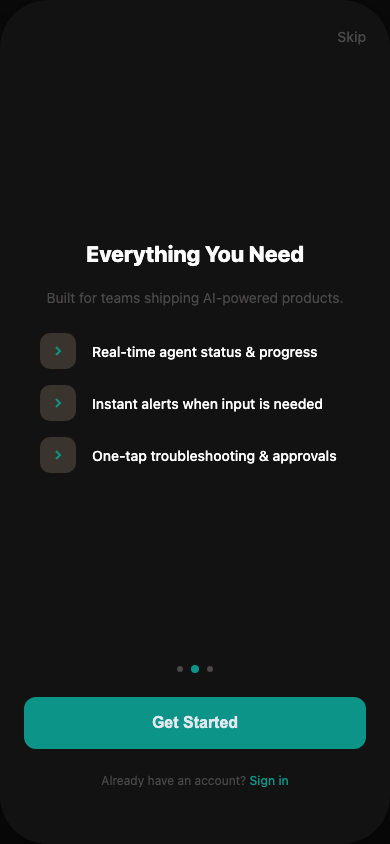
Page 2 — Everything You Need
You should see the heading "Everything You Need" and a list of features:
- Real-time agent status & progress
- Instant alerts when input is needed
- One-tap troubleshooting & approvals
Page 3 — Ready to Ship Faster?
The last page shows "Ready to Ship Faster?" with the message:
Join teams who stay in control of their AI agents.
At the bottom of the screen, you should see three dots showing which page you are on. When you reach the last page, tap Get Started to enter the app. If you already have an account and skipped ahead, you can tap Sign in instead.
Explore the main tabs
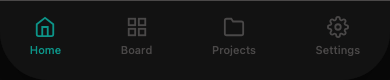
Once you finish the welcome screens, the app opens to the Home tab. At the bottom of the screen, you should see four tabs:
Tap any tab to switch between them.
Home — your command center
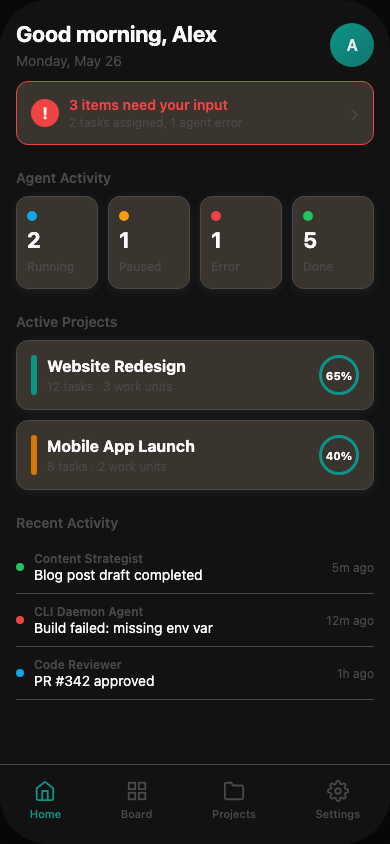
The Home screen greets you by name and shows today's date. You should see the following sections:
Attention banner
If any items need your input, a banner appears near the top saying something like "3 items need your input". Tap this banner to open your Inbox and review what requires attention.
Agent Activity
A row of four cards shows the current state of your agents:
- Running — agents currently working
- Paused — agents that have stopped
- Error — agents that encountered a problem
- Done — tasks completed today
Active Projects
Below Agent Activity, you should see a list of your active projects. Each project card shows the project name, the number of tasks and work units inside it, and a circular progress indicator. Tap a project card to open its detail view.
Recent Activity
At the bottom of the Home screen, you should see a feed of recent actions from your agents, including task completions, assignments, and errors. Each entry shows what happened and how long ago.
Pull down on the Home screen to refresh all of this data at once.
Board — your project tasks
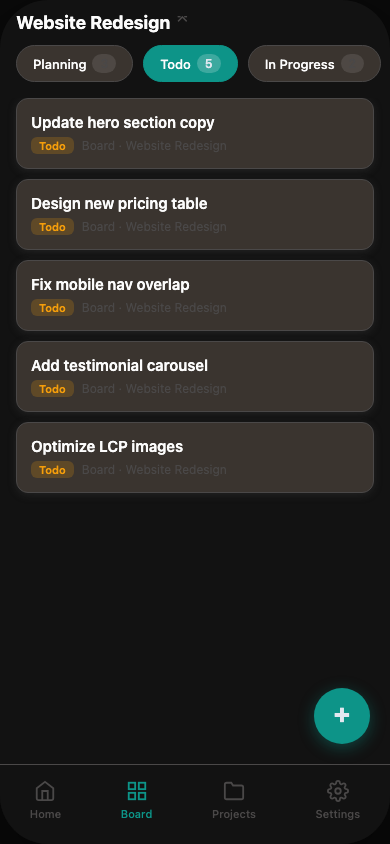
Tap the Board tab to see your project tasks organized by status.
At the top, you should see the name of the currently selected project. Tap the project name to open a selector and choose a different project.
Below the project name, you should see a row of lane tabs such as Planning, Todo, In Progress, and Done. Each tab shows a count of tasks in that status. Tap a lane to view the tasks inside it.
Tasks appear as cards in a scrollable list. Each card shows the task title and status. Tap a task card to open its detail view.
In the bottom-right corner, you should see a circular + button. This is currently a placeholder; task creation is not covered in this guide.
Projects — your project list
Tap the Projects tab to browse all of your projects.
You should see a list of projects with their names and status indicators. Tap any project to view its overview, including the project board, workflows, and artifacts.
Settings — account and preferences
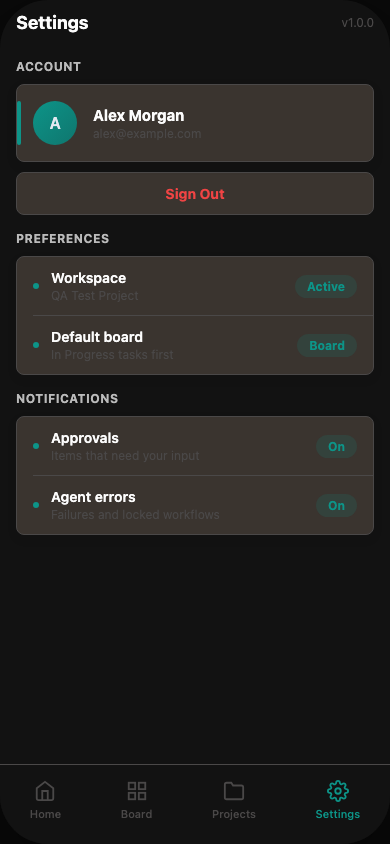
Tap the Settings tab to manage your account and app preferences.
Account
Your profile card shows your name and email address. Below it, tap Sign Out if you need to switch accounts.
Preferences
- Workspace — shows your active workspace name and status
- Default board — shows your default board view
Notifications
- Approvals — toggle alerts for items that need your input
- Agent errors — toggle alerts for failures and locked workflows
What to do next
You now know how to sign in to Agiflow on mobile and move between the main tabs. Here is what to try next:
- Return to the Home tab and check if any attention items need your input.
- Open the Board tab, select a project, and review the tasks in the Todo lane.
- If you also use ChatGPT, follow the ChatGPT setup guide to connect your board.